9 of 12
• Data Access: whether the jukebox can communicate
with TouchTunes server to receive updates from the
TouchTunes Dashboard. The jukebox must have data
access to receive any new settings you may have
made to it via the TouchTunes Dashboard.
For installation and activation, the jukebox needs the
Logged In, Music Access and Data Access indicators to
be green.
When the jukebox is fully initialized, the Attract Screen of
the Customer Interface appears.
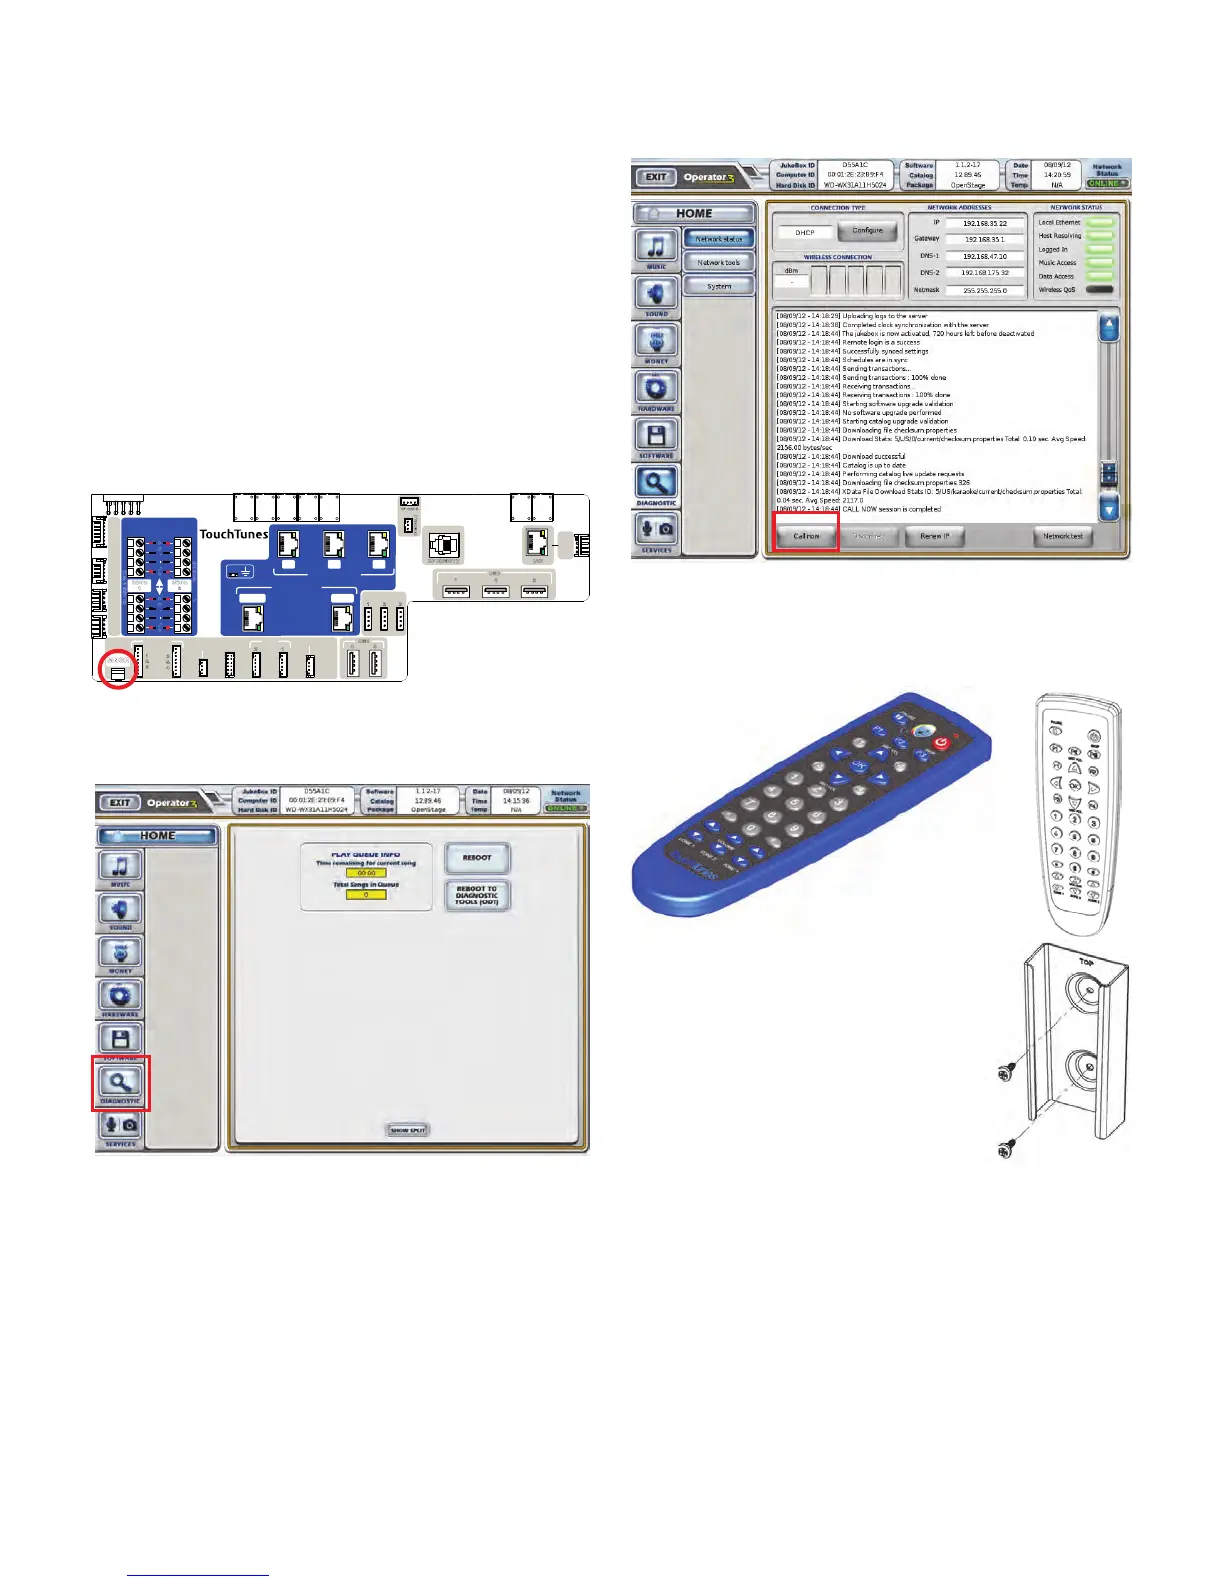
Step 14: Call Now
After you activate Playdium, ensure you perform a “Call
Now” so that your jukebox is equipped with the most up-to-
date software.
To do this, access the Diagnostics menu of the Operator
Interface.
1. Locate the Manager button on the backplane.
2. Press and release the Manager button.
Playdium displays the Operator main menu.
3. From the Main menu, select the Diagnostic button.
4. Press the Call now button at the bottom of the menu.
Playdium communicates with the TouchTunes servers
and downloads the most recent software build.
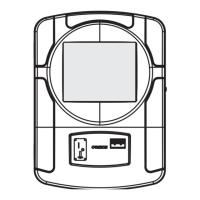
Step 15: Set Up the Remote Control
The remote control is powered by two 1.5V AAA batteries.
Insert the batteries in the compartment on the rear of the
remote. Use only high-quality alkaline batteries.
By default, the remote control ID is set to 000. To change
the remote control ID:
LAN
USB
1
2 3
4
USB
5
PAYMENT
LIGHT
DOOR
SWITCH
COIN
ACC
BILL
ACC
SERIAL
1
EXT. LIGHT
1
2 3
AUDIO IN
2 1 3
AUDIO OUT
MIC 1 AUX
SPK
2
3
&
4
1
&
2
RF REMOTE
LEFT TOP
SIDE LIGHT
VOLUME PCB OPTION 2
RIGHT
SIDE LIGHT
OPTION 2
ID MODULE
MNGR
R
-
+
L
+
-
ZONE
2
SPEAKERS
R
-
+
L
+
-
ZONE
1
CL
ASS
2 W
I
RING
CL
ASS2WIRING
Use the mounting bracket to install
the remote control on a wall for easy
access.
Fasten the bracket to the wall with
two screws as illustrated.