5
PREPARATIONS
NOTE: If you’re already familiar with iron-on coverings, you
may nd that the covering on the Ultimate requires less heat
than other coverings you’ve worked with. Too much heat
causes seams and edges to separate as the covering tightens.
The optimum temperature measured on the surface of a cover
sock on a cover iron is about 280ºF [140ºC] which requires
a dial setting of about 300ºF [150ºC] or “medium” heat on
most covering irons. You can go a little higher if necessary,
but be careful around seams and overlapping edges. If the
covering blisters up and cannot be pressed back down, the
iron may be too hot, or you are leaving it in one location for
too long—try reducing the heat or moving the iron a little
faster. Another option is perforating the blister in a few areas
with a #11 hobby blade.
A covering iron with a cover sock is preferred over a heat
gun. With a covering iron you can apply heat only where
required. With a heat gun you may inadvertently overheat a
seam causing separation.
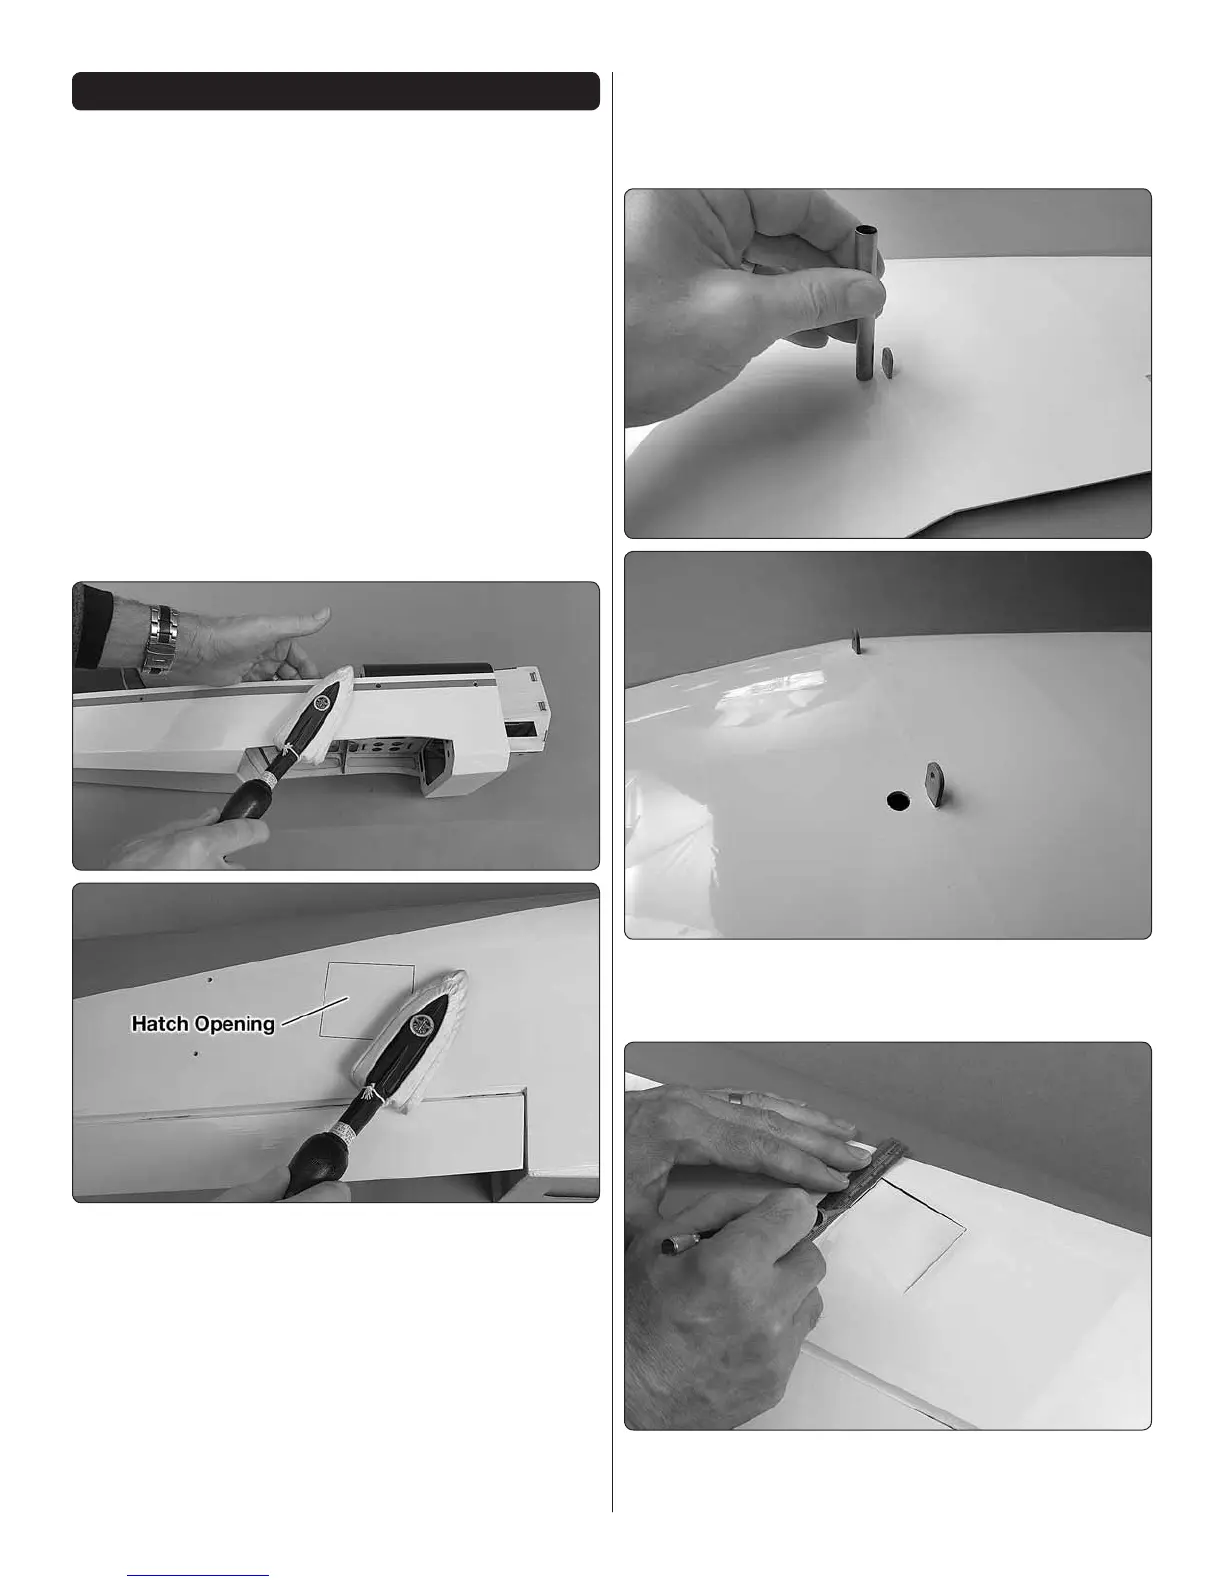
❏
1. Use a covering iron with a cover sock to tighten any
loose covering. Wherever the covering is attached to wood,
press down on the iron to thoroughly bond the covering to
the balsa underneath. Where possible, reach inside the model
and support sheeted areas while tightening the covering to
prevent the sheeting from bending inward. If you’ll be using
the top wing aileron servos, also be sure to securely bond
the covering to the structure on the bottom of the top wing
around the aileron hatch openings. (The area of the hatch has
been outlined with a felt-tip pen for illustration in the image.)
❏
2. Before proceeding with assembly, now would be a good
time to make sure all the hinges in the ailerons are secure.
Pull hard on each aileron to check the hinges. Apply thin CA
to any hinges that may not be secure.
Perform the steps 3 through 7 if installing aileron servos
in the top wing.
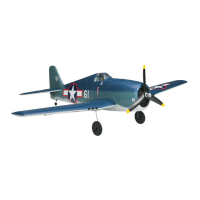
❏
3. Use a hobby knife (or a 3/8" brass tube sharpened on
the end) to cut a hole in the bottom of the top wing where
shown for the servo wire.
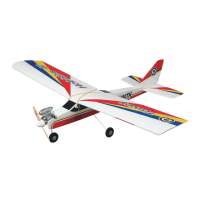
❏
4. Use a straightedge as a guide to cut the covering
approximately 3/16" [5mm] inside the edges of the aileron
hatch openings.