14
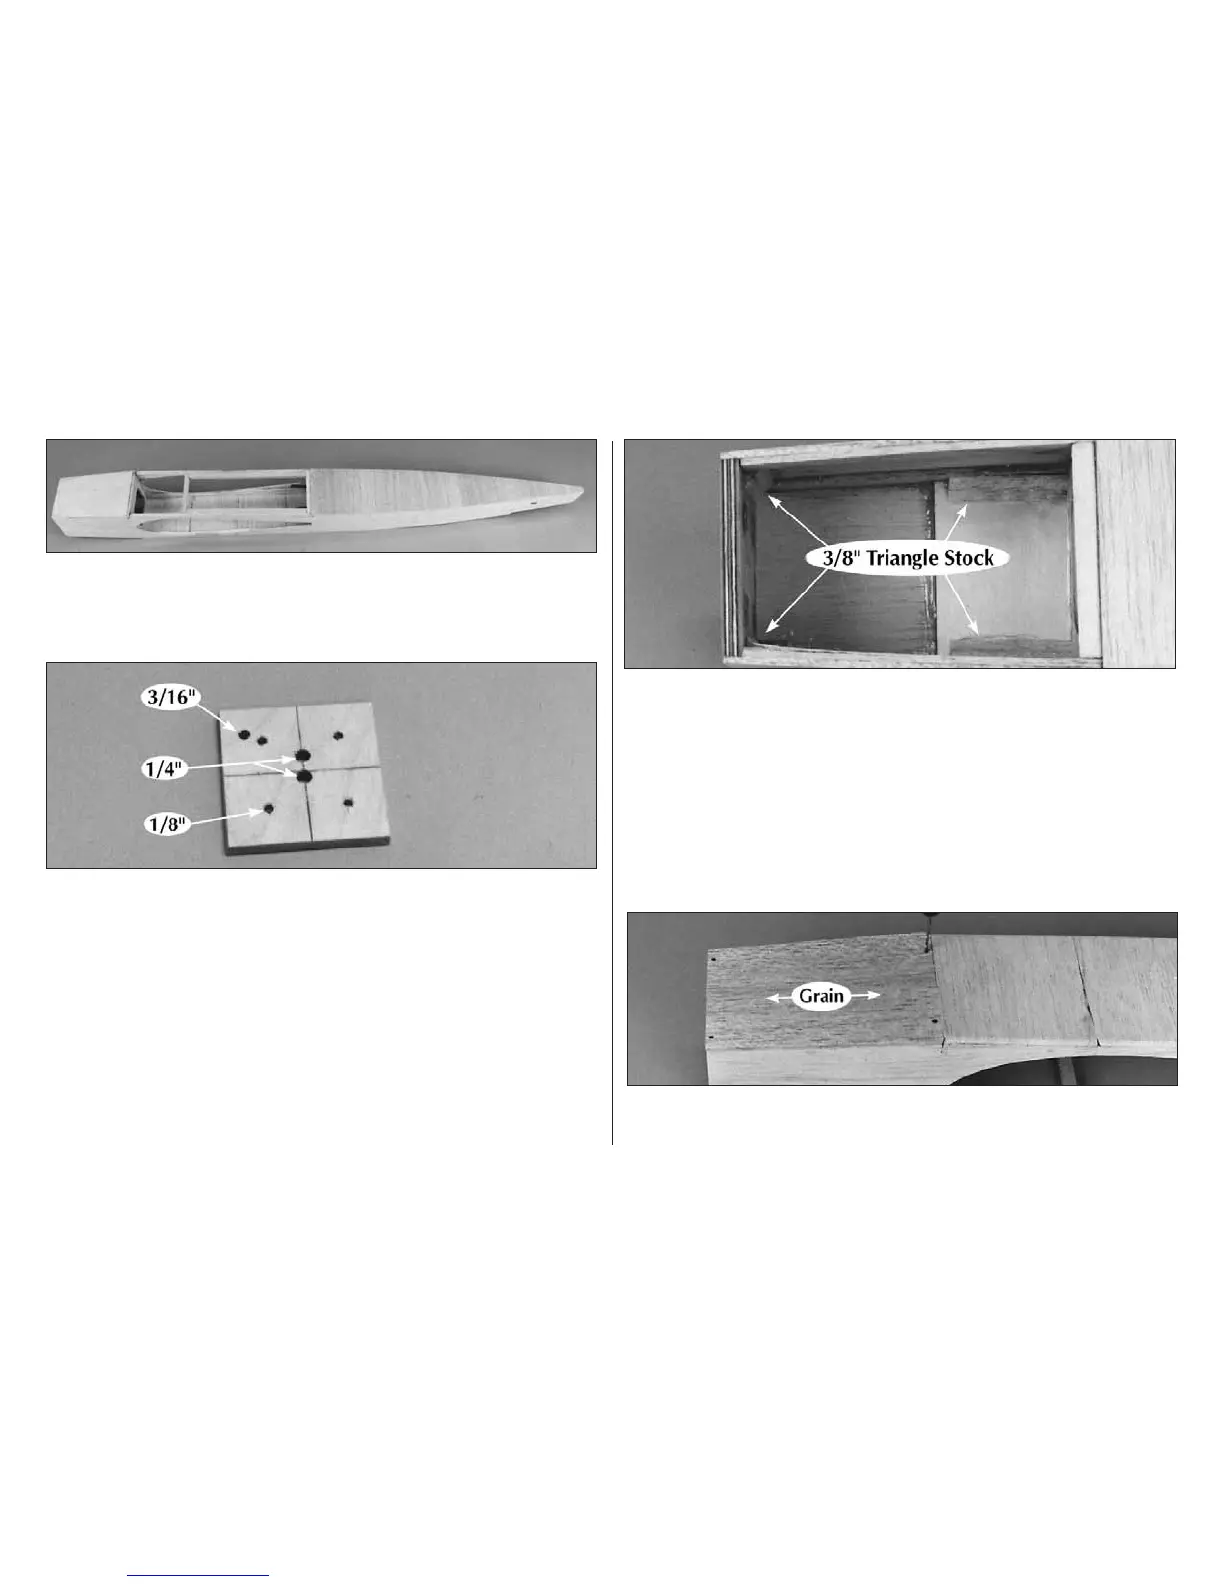
❍ 12. Sheet the fuse bottom from the front edge of F3 to the
tail post with 3/32" cross-grain sheeting. The sheeting from F2
to the hatch rail will be completed after the wing is installed.
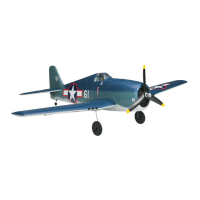
❍ 13. Use the firewall cross section on the plan to draw two
center lines on the 1/4" birch ply firewall. Center your engine
mount on these lines and mark the location of the mounting
holes. Drill 1/8" holes through these marks and install 4-40
blind nuts (not included) on the back side of the firewall.
Now would also be a good time to drill 1/4" holes for your
fuel and vent lines and a 3/16" hole for the pushrod.
❍ 14. Use 6-minute epoxy to glue the firewall between the
fuse sides and to the fuse bottom. Secure the firewall with
tape, clamps or rubber bands until the epoxy has fully cured.
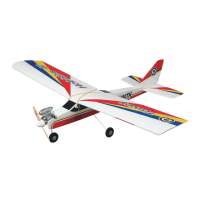
❍ 15. Use 6-minute epoxy for both of the following operations.
Cut and glue two pieces of 3/8" triangular balsa to the fuse
sides and the firewall between the fuse doublers. Cut and
glue two pieces of triangular balsa to the landing gear plate
and the fuse doublers.
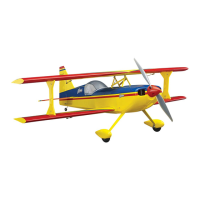
❍ 16. Cut and glue a 1/4" x 1/4" basswood hatch rail to fit
between the fuse sides in front of F2. Sand the top of the rail
to match the tapered angle of the fuse.
❍ 17. Position a sheet of 3/32" x 4" wide balsa over the fuel
tank compartment with an edge butted against the top