15
sheeting at F2. The grain must run from front to rear. Trace
the outline on the bottom surface, then cut and sand the
hatch to fit. Drill four 1/16" pilot holes through the top of the
hatch into the hatch rail and firewall at the locations shown
for #2 sheet metal screws.
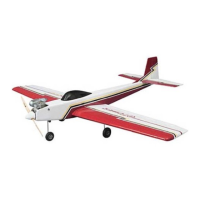
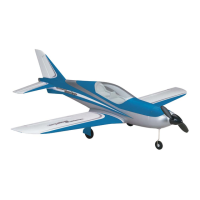
FINAL ASSEMBLY
IMPORTANT: The wing is designed to fit snugly into the fuse
to provide a good glue joint between it and the fuse sides.
Work slowly and carefully when sliding the wing into location
to avoid damaging the cap strips or ribs. If too much
resistance is felt, remove the wing, then sand the inside of
the opening in the fuse to enlarge it slightly.
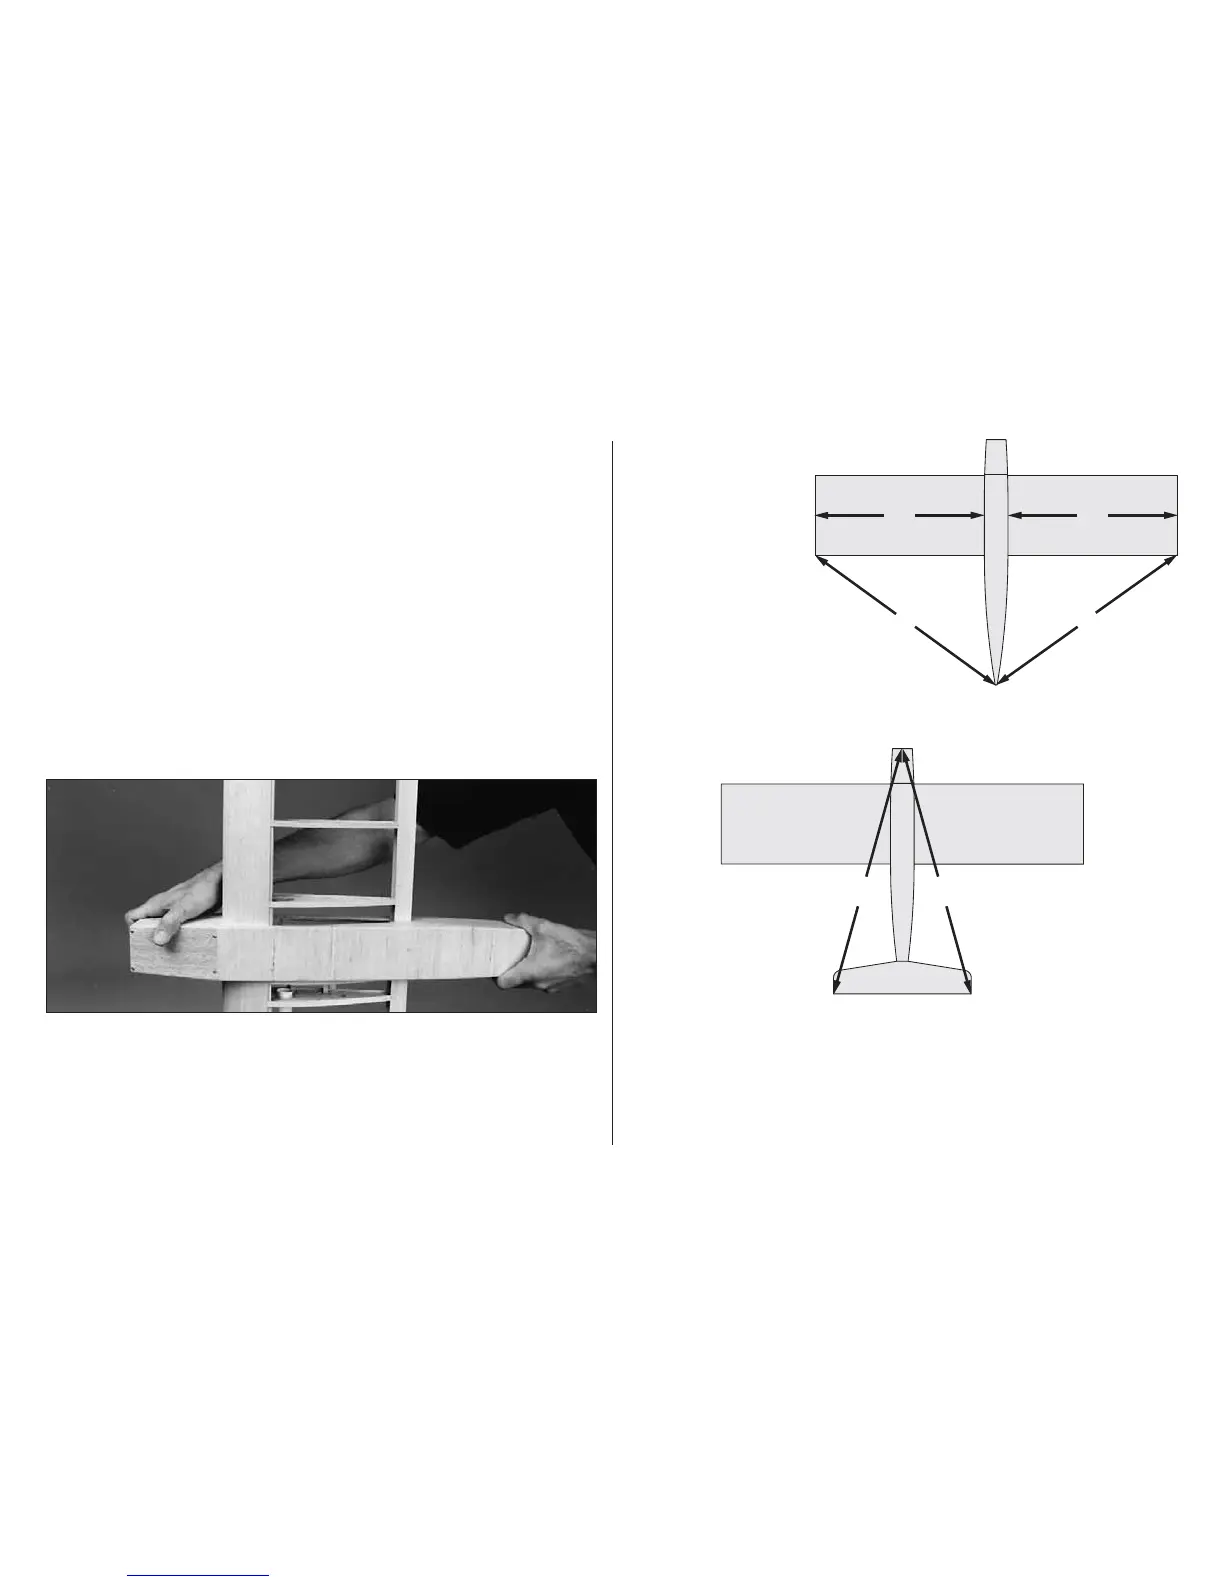
❍ 1. With one wing tip on the floor, work the fuse down the
wing from the opposite end. Due to the close fit, the fuse
must be kept perpendicular to the wing or it will bind. You
will probably need to help each cap strip through the fuse so
take your time and work carefully.
❍ 2. Once the
wing is centered in
the fuse, measure
the distance from
each wing tip to
the tail post. Shift
the wing until the
measurements
are equal. When
wing alignment is correct,
use medium CA to securely
glue the circumference of the R1 ribs to the fuse. Fill any gaps
with thick CA.
AA
A = A
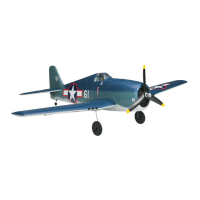
❍ 3. Center the stabilizer on the stab saddle and temporarily
pin it in position. Measure from each stab tip to the center of
the firewall to set the correct alignment. Draw a couple of
reference
marks on the stab and fuse sides once it is in
position. Look at the rear of the model from several feet away.
The stab must be parallel with the wing. See photo at next step.
B
A
A = A and B = B
B
A