English
1
Installation
■
Desktop Installation
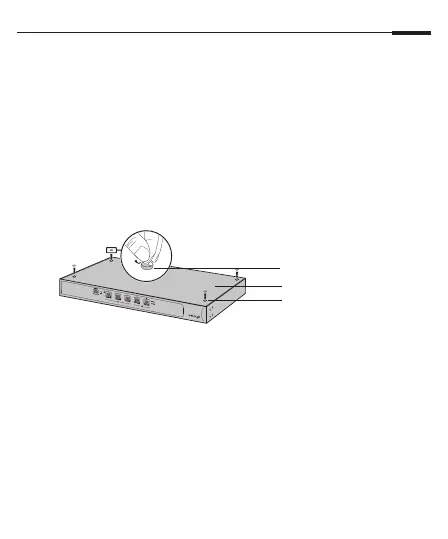
To install the device on the desktop, follow the steps below:
1. Set the device on a flat surface to support the entire weight
of the device with all fittings.
2. Remove the adhesive backing papers from the rubber feet.
3. Turnover the device and attach the supplied rubber feet
to the recessed areas on the bottom at each corner of the
device.
Feet
Bottom of the device
Notch
■
Rack Installation (Only for Router/AC)
If your device is provided with rack-mountable brackets,
you can install the device in a rack. Follow the instructions
described below:
1. Check the grounding and stability of the rack.
2. Secure the supplied rack-mounting brackets to each side
of the device with supplied screws.