Do you have a question about the TP-Link AC4000 and is the answer not in the manual?
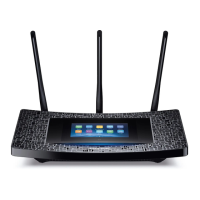
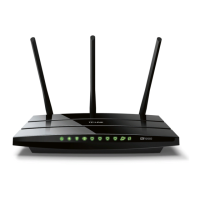
Place the router horizontally with antennas extended, and unplug your modem.
Connect the powered-off modem to the router's Internet port using an Ethernet cable.
Connect the power adapter, turn on the router, and check LEDs for connection confirmation.
Download and log in to the Tether app, then follow prompts to connect the router.
Connect to the router (wired/wireless), access http://tplinkwifi.net, and create a password.
Connect new router to existing router, access web interface, set operation mode to Access Point.
Access router settings via Tether app or web browser to change Wi-Fi name, password, etc.
Guidance on resolving issues like inability to access web page, no internet, or forgotten passwords.
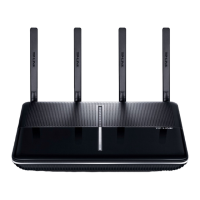
| Wi-Fi Standard | 802.11ac |
|---|---|
| Wi-Fi Speed | 4000 Mbps |
| Bands | Tri-Band |
| Frequency | 2.4GHz and 5GHz |
| MU-MIMO | Yes |
| Beamforming | Yes |
| RAM | 512 MB |
| Flash | 128 MB |
| Security | WPA/WPA2, WPA-PSK/WPA2-PSK |
| Wireless Standards | IEEE 802.11a/b/g/n/ac |
| Ports | 1 x Gigabit WAN, 4 x Gigabit LAN |
| Processor | 1.8 GHz |
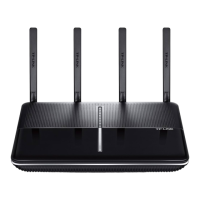
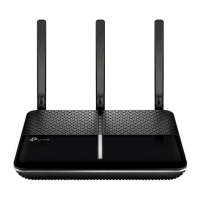
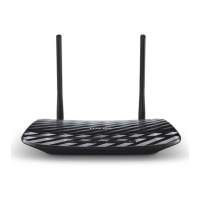
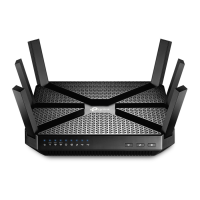
| Antennas | 6x High-Performance External Antennas |