41
Chapter 8
Guest Network
8. 2. Set Up Portal Authentication for the Guest
Network
Imagine that you run a small shop and provide a guest network for your customers.
You want to seize every opportunity to promote your shop, which makes portal
authentication an excellent choice. Customers will be directed to a web page for access
verification, on which your personalized promotion is displayed. Moreover, you can
specify a web link so that newly connected guests will be redirected to, for example,
the official website of your shop.
1. Visit http://tplinkwifi.net, and log in with your TP-Link ID or the password you set for
the router.
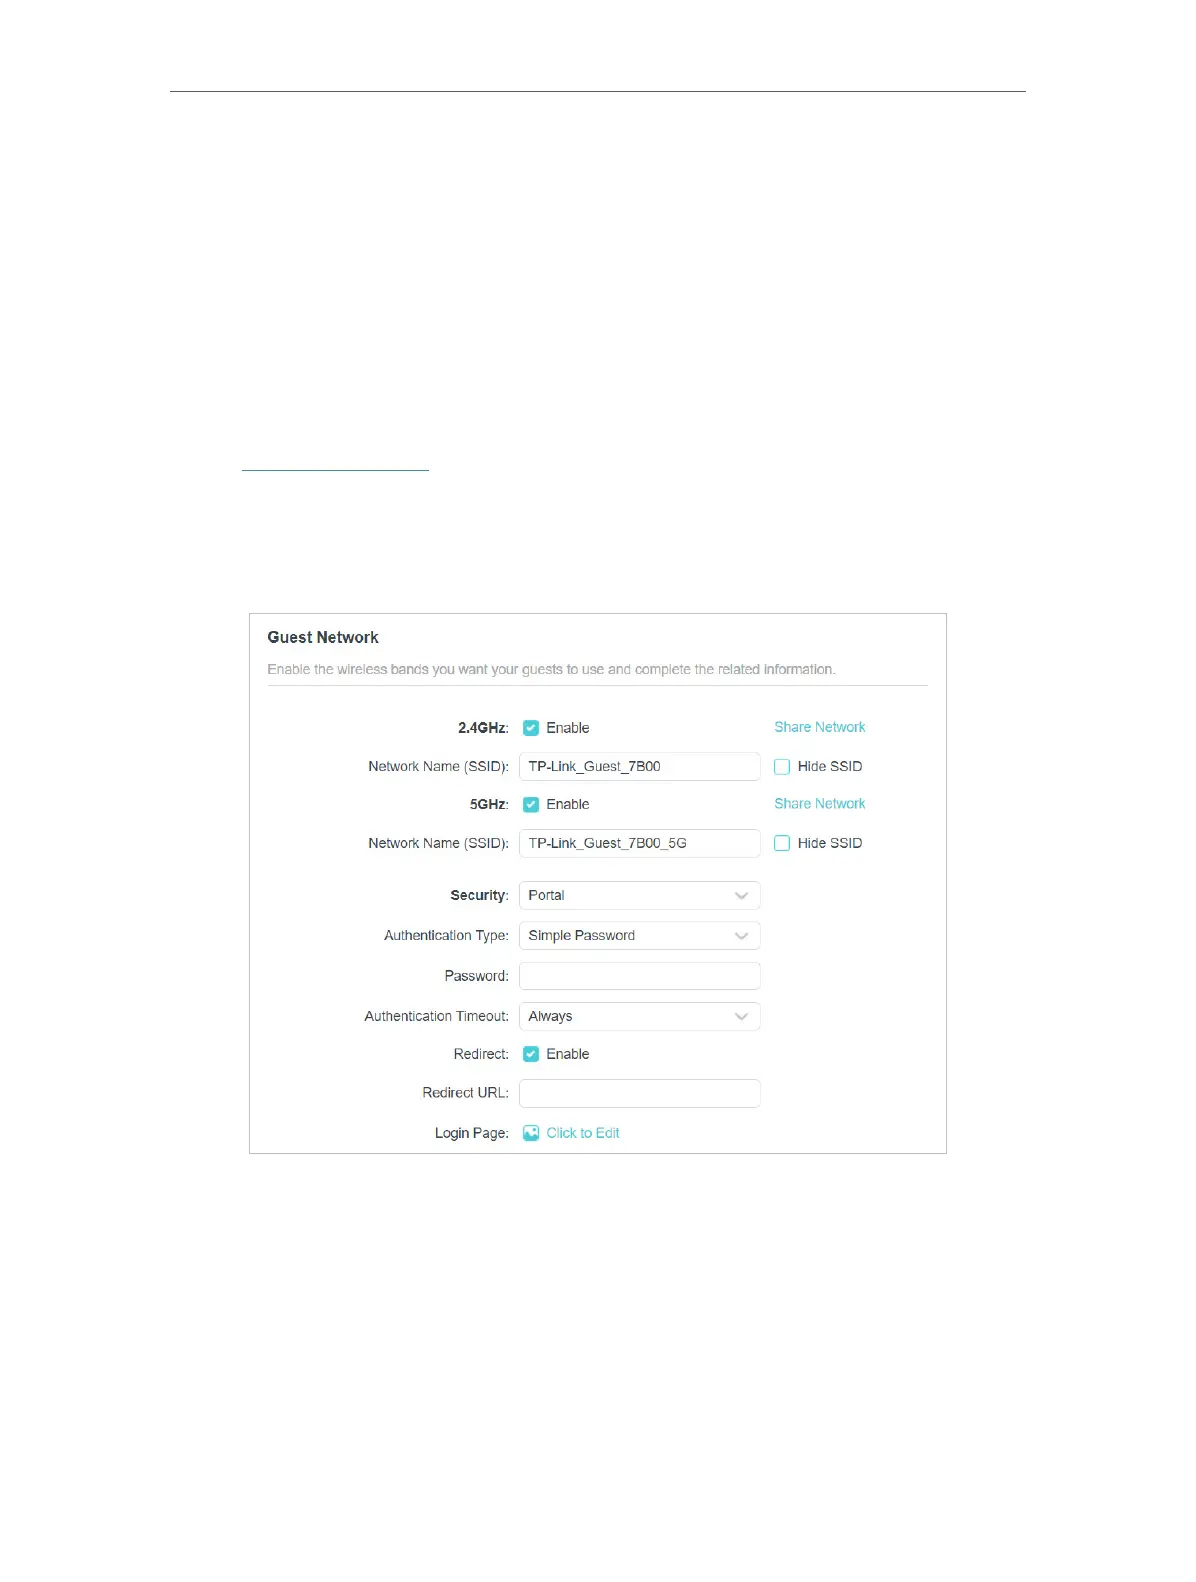
2. Go to Wireless and locate the Guest Network section.
3. Set Security to Portal.
4. Select the Authentication Type.
• If you select No Authentication, guests can access the network without any
authentication.
• If you select Simple Password, specify a password for authentication.
5. Specify the Authentication Timeout. When a guest’s authentication expires, they have
to reconnect to the network. The default value Always indicates that authentication
will never time out.