Do you have a question about the TP-Link Archer C50 AC1200 and is the answer not in the manual?
Turn off the modem and remove any backup battery before proceeding with the connection.
Connect the modem to the router's Internet port using an Ethernet cable.
Turn on the modem and wait for it to restart for about 2 minutes.
Turn on the router to complete the hardware connection setup.
Check the router's LEDs to ensure the hardware connection is correct.
Connect your computer to the router either via Ethernet cable or wirelessly.
Enter the router's IP address or URL in a web browser to access the configuration page.
Create a new username and password for accessing the router's management interface.
Choose your local time zone for accurate network timekeeping.
Select the appropriate internet connection type or use Auto Detect.
Set or change the wireless network name (SSID) and password.
Review and save the configured network settings.
Test the internet connection to ensure it is working correctly after setup.
Resolve problems where the router's login page fails to load.
Solve issues preventing internet connectivity after router setup.
Learn how to reset the router to its original factory configuration.
Recover or reset the router's web management password.
Retrieve or reset the wireless network password.
| Frequency Band | 2.4 GHz and 5 GHz |
|---|---|
| Ethernet Ports | 4 x 10/100 Mbps LAN Ports, 1 x 10/100 Mbps WAN Port |
| Security | 64/128-bit WEP, WPA/WPA2, WPA-PSK/WPA2-PSK |
| Operating Temperature | 0°C to 40°C (32°F to 104°F) |
| Operating Humidity | 10% to 90% non-condensing |
| Storage Temperature | -40°C to 70°C (-40°F to 158°F) |
| Storage Humidity | 5% to 90% non-condensing |
| Power Supply | 9V/0.85A |
| Certifications | CE, FCC, RoHS |
| Wireless Standard | IEEE 802.11ac/n/a 5GHz, IEEE 802.11b/g/n 2.4GHz |
| Wi-Fi Speed | 300 Mbps on 2.4 GHz, 867 Mbps on 5 GHz |
| Buttons | Reset, WPS |
| Dimensions | 230 x 144 x 35 mm |
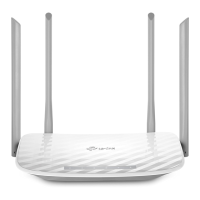
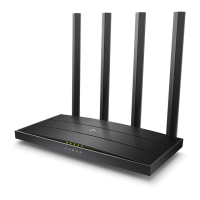
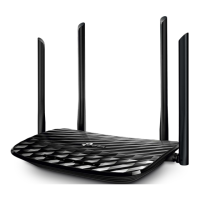
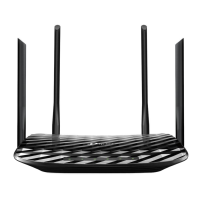
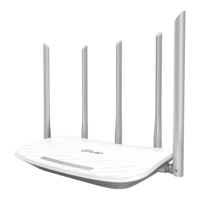
| Antenna | 4 x external fixed antennas |