Do you have a question about the TP-Link KL420L5 and is the answer not in the manual?
Explains text conventions like teal color and underlines.
Lists website links for product information and support.
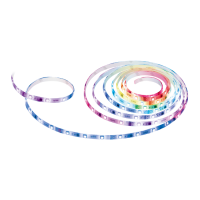
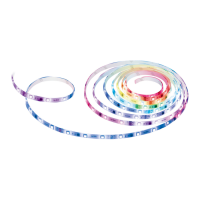
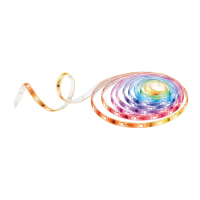
Highlights multicolor, voice control, scheduling, and flexibility.
Describes control via Kasa app and voice assistants.
Instructions for downloading the Kasa Smart app from app stores.
Guide to logging into the Kasa Smart app using a TP-Link ID.
Process for adding the light strip to the Kasa app.
Connecting power adapter, controller, and light strip.
Powering the light strip and observing initial animation.
Connecting the light strip to its temporary Wi-Fi network.
Connecting the light strip to your home wireless network.
Finalizing the setup process and confirming completion.
General advice for installing the light strip safely and effectively.
Instructions on where and how to cut the light strip.
Guidance on preventing damage from improper bending.
Selecting an optimal and safe spot for mounting.
Instructions for removing the adhesive backing.
Securing the light strip to the chosen surface.
Connecting power to the installed light strip.
Overview of the main device list and controls.
Grouping devices for simultaneous control.
Navigating to account and general settings.
Quick power control via a single button.
Dimming the light strip using a slider.
Choosing colors using the in-app color palette.
Saving custom color and brightness settings.
Removing saved presets for quick access.
Using built-in lighting effects.
Customizing colors for individual segments of the strip.
Personalizing lighting effects and animation speed.
Setting up timed automatic actions.
Monitoring power consumption data.
Personalizing the device's identifier in the app.
Configuring the strip's behavior when turned on.
Accessing technical details and guides.
Guide to defining scene presets for multiple devices.
Choosing a visual icon for the scene.
Assigning a descriptive name to the scene.
How to use the created scenes.
Setting up timed execution of scenes.
Giving a name to the scheduled automation.
Setting a timer for automatic device turn-off.
Assigning a name to the auto-off timer.
Resetting Wi-Fi settings via the controller.
Performing a full factory reset via controller or app.
Connecting with Amazon Alexa and Google Assistant.
Connecting with IFTTT and SmartThings.
General FCC compliance information for the device.
Details of product name, model, and FCC ID.
Contact information for TP-Link USA Corporation.
Instructions for managing radio interference.
Statement on compliance with RF radiation exposure limits.
FCC compliance for the I.T.E. power supply.
Interference management for the power supply.
RF exposure compliance for the power supply.
Device compliance with Canadian regulations.
IC radiation exposure limits statement.
General safety warnings for device usage.
Specific instructions for installing and operating the strip.
Recommendations for power supplies and cord management.
Explanation of AC, DC, and indoor use symbols.
Information on the WEEE symbol and recycling directive.
| Brand | TP-Link |
|---|---|
| Model | KL420L5 |
| Category | Lighting Equipment |
| Language | English |