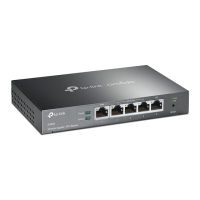
Omada VPN Router
11 Software Conguration
For more details, refer to the Installation Guide of your Omada Hardware Controller.
Figure 4-2 Manage the network via Hardware Controller
Switch
Router
Omada Hardware Controller
EAP EAP EAP
1. As Omada Hardware Controller gets its IP address from the DHCP server of the router, we
don’t know its IP address explicitly. However, we can find it out on the router’s DHCP client
list.
a. You need first find the IP address of the router. Open the command line on your PC and
enter ipconfig. In the result list, find the Default Gateway, which is also the IP address of
the router.
b. Launch a web browser and enter the IP address of the router. Create a username and
password, and log into the router’s web page. Then go to Network > LAN > DHCP Client
List to find the IP address of your controller according to its MAC address.
c. Enter the IP address of your controller in the address bar to open its web page.
2. On the Omada Controller’s web page, follow the wizard to complete the quick setup.
3. After the quick setup, the login page appears. Enter the username and password you have
created and click Log in. Then you can further configure the controller.
4. (For Remote Management) You can remotely access and manage your controller via Omada
Cloud Service.
a.
Make sure that Cloud Access is enabled on your controller and your controller has been
bound with your TP-Link ID.
b. Launch a web browser and enter https://omada.tplinkcloud.com in the address bar. Enter
your TP-Link ID and password to log in. Click + Add Controller and choose Hardware
Controller to add your controller. Then you can further configure the controller.
 Loading...
