11
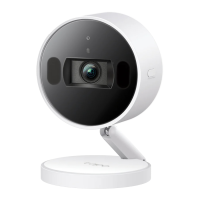
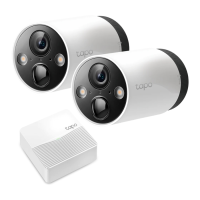
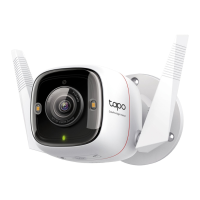
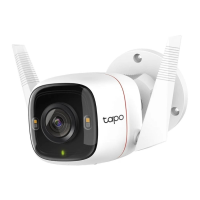
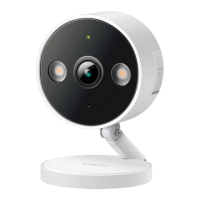
Install Your Camera
When you nish adding your camera in the Tapo app, you can set it on a table or shelf. You can also mount it using its versatile magnetic base. Follow
the steps below to install your new camera.
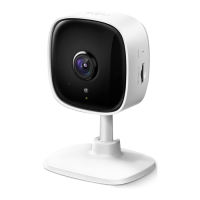
Option 1: Set on a table or shelf Option 2: Mount to metallic surfaces Option 3: Stick to a clean wall
1. Attach the included adhesive to the back of
the metal plate properly.
The camera has a magnet in its base, allowing
magnetic attachment to metallic surfaces.
2.
Wipe o the dust from the surface, stick the metal
plate with the adhesive to the clean wall, and press
it down for 15 seconds to ensure the plate is rmly
attached. Then attach the camera to the plate.
1. Place the camera on your desired table or
shelf.
2. Adjust the stand angle to the notch position
in the base for more stability.
Note: This is applicable with tile, glass, marble, metal,
stainless steel, and hard wall surfaces.
3M
3M
3M Adhesive
Metallic Surface
Note: The adhesive is for one-time use. Avoid re-using
the adhesive to ensure its adhesion.
 Loading...