Do you have a question about the TP-Link tapo C425 and is the answer not in the manual?
Describes the conventions used in the guide for clarity, such as color-coding and underlines.
Provides links to official website for specifications, technical support, and setup videos.
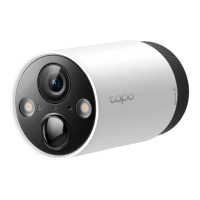
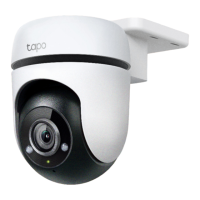
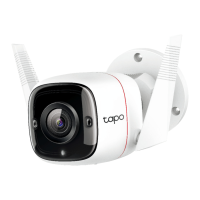
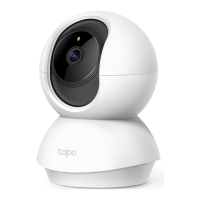
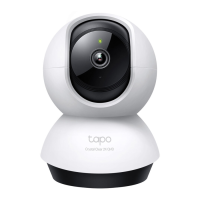
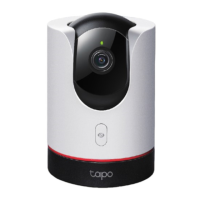
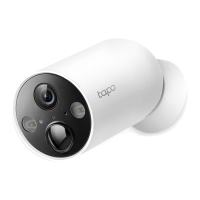
Description of the power button function for turning the camera on/off.
Instructions for inserting and initializing a microSD card for local storage.
Procedure to reset the camera to factory default settings using the reset button.
Information on the USB Micro B port for charging the device.
Guide to downloading the Tapo app from app stores or via QR code.
Steps for logging into the Tapo app with a TP-Link ID or creating a new account.
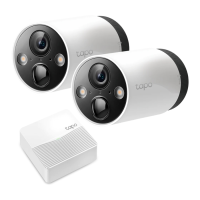
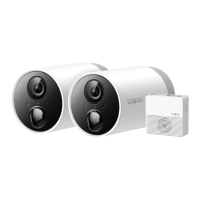
Instructions for adding the camera model within the Tapo app.
Explains Amazon Frustration-Free Setup which helps connect and set up Tapo smart devices in fewer steps.
Provides step-by-step instructions for connecting Tapo devices using Amazon Frustration-Free Setup.
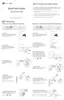
Instructions for drilling holes using the mounting template and appropriate drill bit size.
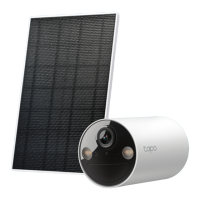
Steps to insert wall anchors and affix the solar panel bracket using mounting screws.
Procedure to slide and secure the solar panel onto the mounting bracket.
Guide to adjusting the solar panel's tilt angle for optimal sun exposure.
Steps for installing the camera onto the bracket and adjusting its viewing angle.
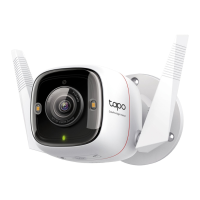
Procedure for connecting the solar panel to the camera using the charging port.
Instructions for drilling holes using the mounting template for individual camera mounting.
Steps to install the bracket using anchors and screws for camera mounting.
Procedure to mount and adjust the camera angle on the installed bracket.
Details the FCC compliance statement, product information, and responsible party contact.
Describes FCC RF radiation exposure limits and co-location guidelines for the device.
Information on CE marking, product classification, and EU Declaration of Conformity for the device.
Details on UKCA marking and UK Declaration of Conformity for the device.
Information on Canadian compliance, radiation exposure limits, and Industry Canada statement.
Covers precautions for charging, operating, cleaning, and placing the device safely.
Specifies the acceptable operating temperature range for the device.
Important cautions regarding battery replacement, disposal, and exposure to extreme conditions.
Explains various symbols found on the product label, such as Class II equipment, AC/DC voltage, and earth.
Details additional symbols like hot surface, caution, operator's manual, WEEE, and volume warnings.
Explains symbols related to different types of switch constructions (mini-gap, micro-gap).
| Type | IP security camera |
|---|---|
| Built-in light | Yes |
| Placement supported | Outdoor |
| Connectivity technology | Wireless |
| Built-in HDD | No |
| Compatible memory cards | MicroSD (TransFlash) |
| Maximum memory card size | 512 GB |
| Form factor | Bullet |
| Mounting type | Ceiling/wall |
| Product color | White |
| LED indicators | System |
| International Protection (IP) code | IP66 |
| Field of view (FOV) angle | 150 ° |
| Number of lenses | 1 |
| LED type | IR |
| Infra-red wavelength | 850 nm |
| Night vision distance | 15 m |
| Total megapixels | 4 MP |
| Maximum resolution | 2560 x 1440 pixels |
| Supported video modes | 1440p |
| Video formats supported | H.264 |
| Supported graphics resolutions | 2560 x 1440 |
| Wi-Fi standards | 802.11b, 802.11g, Wi-Fi 4 (802.11n) |
| Channel bandwidth | 2400 MHz |
| Wi-Fi data rate (max) | 72.2 Mbit/s |
| Audio system | 2-way |
| Security algorithms | WPA2-PSK |
| Sensor type | CMOS |
| Optical sensor size | 1/3 \ |
| AC input voltage | 100 - 240 V |
| Battery capacity | 10000 mAh |
| DC output current | 2 A |
| DC output voltage | 5 |
| Power source type | Battery, DC |
| AC input frequency | 50 - 60 Hz |
| Cables included | USB |
| Weight | 235 g |
|---|