Do you have a question about the TP-Link TL-WPA7517KIT and is the answer not in the manual?
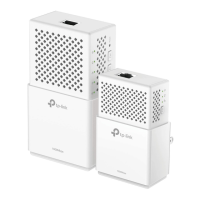
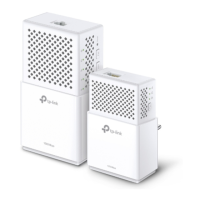
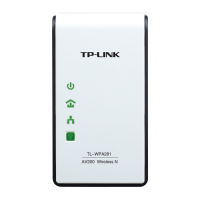
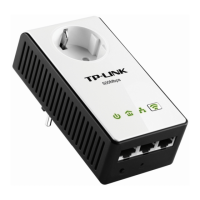
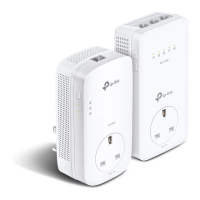
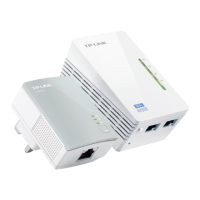
Plug the adapter into a power outlet and connect it to the router's LAN port via an Ethernet cable.
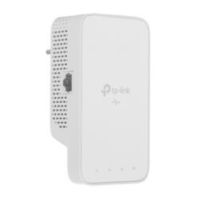
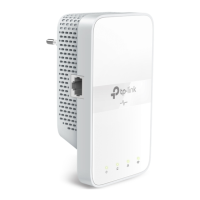
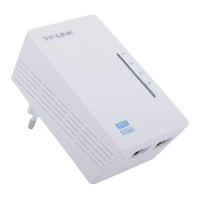
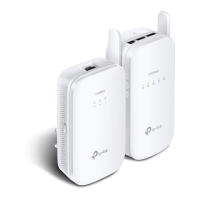
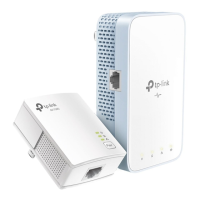
Plug the extender into a power outlet on the same electrical circuit. Wait for the Powerline LED to turn on.
Connect your devices to the internet using the default SSID and password on the extender label.
Use the product upright and plug powerline devices directly into wall outlets, not power strips.
Copy SSID and password from your router via WPS to create one unified Wi-Fi network.
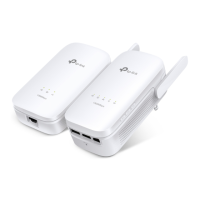
Pair two powerline devices at a time by pressing their respective Pair buttons within a time limit.
Plug in and pair additional extenders to automatically sync Wi-Fi settings from the existing network.
Manage your devices easily via the tpPLC app on your smartphone or tablet.
Manage your devices via the tpPLC Utility on your computer.
Access all settings by connecting wirelessly to an extender and visiting http://tplinkplc.net.
Press and hold the Pair button for at least 6 seconds to reset the adapter and extender.
Try different sockets, ensure same circuit, and re-pair if Powerline LED is off.
Check circuit, Powerline LEDs, connections, and test internet directly from router.
Ensure same circuit, re-pair if needed, and check for appliance interference.
Access support, guides, and community forums via the TP-Link website and community.
Keep device dry, avoid disassembly, use approved environments, and plug into wall outlets.
| Wi-Fi Speed | Up to 750 Mbps |
|---|---|
| Ethernet Ports | 1 x Gigabit Ethernet Port |
| Powerline Standard | HomePlug AV2 |
| Powerline Speed | 1000 Mbps |
| Modulation Technology | OFDM |
| Frequency Band | 2.4 GHz and 5 GHz |
| Product Type | Powerline Extender |
| Wi-Fi Standard | IEEE 802.11a/b/g/n/ac |
| Range | Up to 300 meters |
| Security | 128-bit AES encryption |
| Button | Pair button |
| LED Indicator | Wi-Fi |
| Plug Type | EU, UK, US |
| Standards and Protocols | IEEE 802.3, IEEE 802.3u, IEEE 802.11b/g/n/ac |