©2024 TP-Link 7106510883 REV1.1.0
Q1. How do I reset my extender to factory default settings?
A. Press and hold the Pair button for at least 6 seconds. Release the button and all LEDs turn o. When the
LEDs turn back on, the reset process is complete.
Q2. What should I do if the Powerline LED is o?
A1. Try another wall socket and make sure all powerline devices are on the same service panel.
A2. Try to set up a powerline network by pairing. Refer to the section above for instructions.
A3. If the problem persists, contact our Technical Support.
Q3. What should I do if there is no internet connection in my powerline network?
A1. Make sure all powerline devices are on the same service panel.
A2. Make sure the Powerline LEDs are lit on all of your powerline devices. If they are not, pair all devices
again.
A3. Make sure all devices are correctly and securely connected.
A4. Check if you have an internet connection by connecting the computer directly to the modem or router.
Q4. What should I do if a successfully-paired extender does not reconnect after it is
relocated?
A1. Make sure all powerline devices are on the same service panel.
A2. Try to pair the extender again, and make sure the Powerline LED is on.
A3. Check for possible interference due to a washing machine, air conditioner or other household appliances
that may be too close to one of the powerline devices. Plug the appliance into the integrated electrical
socket to remove the electrical noise if your powerline device has an integrated electrical socket.
Frequently Asked Questions
Safety Information
Keep the device away from water, re, humidity or hot environments.
Do not attempt to disassemble, repair, or modify the device. If you need service, please contact us.
Do not use the device where wireless devices are not allowed.
Plug the powerline devices directly into the wall outlets but not the power strips.
For technical support, replacement services, user guides, and other information, please visit
https://www.tp-link.com/support, or simply scan the QR code.
To communicate with TP-Link users or engineers, please join the TP-Link Community at
https://community.tp-link.com.
The powerline adapter/extender is on.
Pairing is in process.
The powerline adapter/extender is o.
Please read and follow the above safety information when operating the device. We cannot
guarantee that no accidents or damage will occur due to improper use of the device. Please use this
product with care and operate at your own risk.
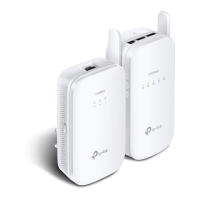
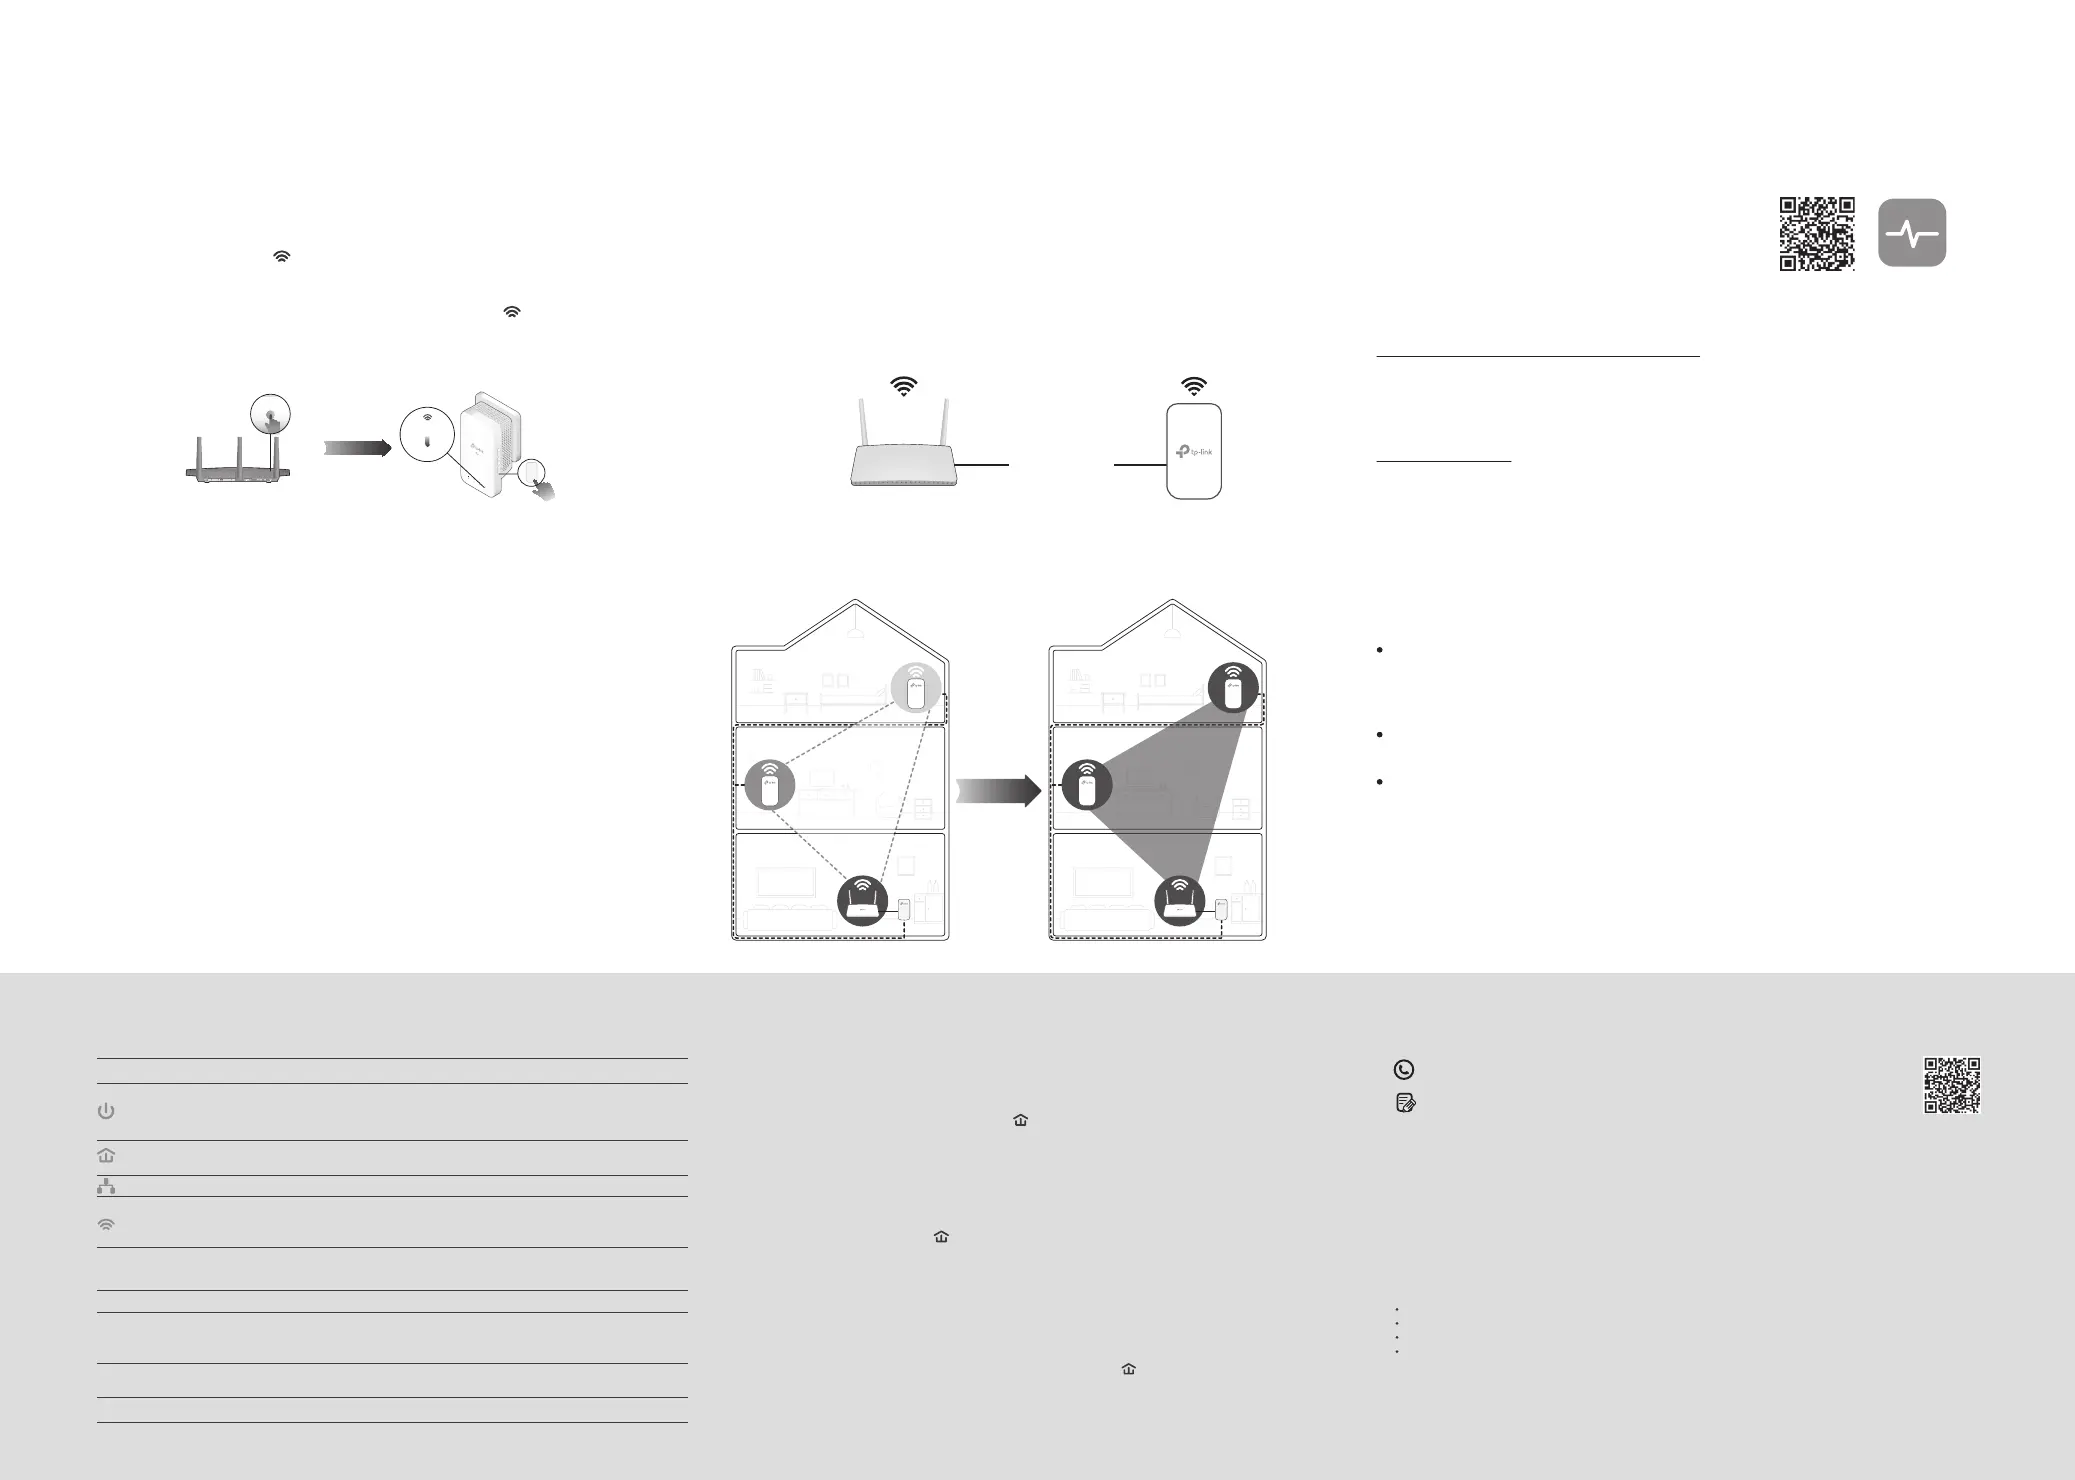
If you have paired your powerline devices, the Wi-Fi settings will
automatically sync from the existing extender to the new one.
Note: For more extender models that support Wi-Fi Auto-Sync,
visit http://www.tp-link.com.
If you personalize any extender with LED schedules or other
Wi-Fi settings (such as Wi-Fi schedules and guest network),
the settings will also automatically sync to other extenders in
the secured powerline network.
DIFFERENT
SSIDs & Passwords
Auto-Sync
Network B
Network C
Network A
Network A
Network A
Network A
SAME
SSID & Password
Unify Your Wi-Fi Networks
Note: If your router doesn’t support the two methods below, refer to Personalize Your Networks section to manually change the extender’s Wi-Fi settings.
Copy SSID and password from your router via any of the methods below to create one unied Wi-Fi network throughout your home.
SAME
SSID & Password
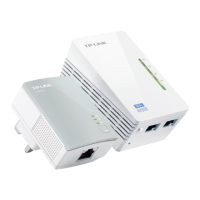
Method ONE: Via Wi-Fi Button
Note: If Wi-Fi settings are not copied within 2 minutes, manually change the extender’s Wi-Fi settings.
Plug in the extender in the same room as your router. Wait until the
extender’s Wi-Fi LED turns on.
Press your router’s WPS button. (Within 2 minutes) press the extender’s
Wi-Fi button for 1 second. The extender’s Wi-Fi LED starts blinking.
When it stays on, Wi-Fi settings are copied.
1
2
3
Relocate the extender and enjoy the internet using your router’s SSID
and password.
Note: You can use this method when your router has a WPS button.
Within 2 minutes
Wireless Router
Extender
Blinking
On
WPS/
Wi-Fi
Method TWO: Via EasyMesh
3
Enjoy the internet using your router’s SSID and password. Any changes to
the Wi-Fi settings of your router will be automatically copied to the
extender.
1
2
Connect your computer to the extender wirelessly. Visit http://tplinkplc.net.
Go to EasyMesh and enable it. Then the extender will automatically join an
EasyMesh network and copy the wireless settings from the main router.
Note: You can use this method when your router supports EasyMesh.
Sync Wi-Fi Settings to More Extenders
Personalize Your Networks
Manage your powerline devices using any of the methods below. You can
change the SSID and password, set Wi-Fi schedules, create a guest network
and more.
Scan to download tpPLC App
tpPLC Utility
For easy management via your computer, download the utility at
https://www.tp-link.com/support/download/.
Note: For detailed instructions, refer to the utility manual on the product’s Support page.
Web Interface
To access all settings, connect to an extender wirelessly and visit
http://tplinkplc.net.
Note: For detailed instructions, refer to the product manual on the product’s Support page.
tpPLC App
For easy management via your smartphone or
tablet, download the app from Apple App Store or
Google Play, or simply scan the QR code.
EasyMesh-Compatible
You can experience strong, stable, and seamless wireless connections
throughout your home with EasyMesh, a whole home mesh standard that
works across dierent access points for ultimate exibility.
Seamless Roaming
Connects mobile devices to your routers or extenders that provide the best coverage.
Devices compatible with EasyMesh also share a single Wi-Fi name so you stay
connected in every room.
Easy Setup and Management
Easily set up and manage a unied Mesh network.
Flexible Scalability
Flexibly scale your home networking with dierent vendors,* dierent topologies,
dierent Protocols and dierent product categories.
For more information, visit https://www.tp-link.com/easymesh/.
The EasyMesh-Compatible function is still being developed on some models and will be supported in
subsequent software updates. This product is compatible with standardized EasyMesh technology but
has not obtained the Wi-Fi EasyMesh certication.
*TP-Link EasyMesh-compatible products can network with other devices that use EasyMesh. Failed
connections may be due to rmware conicts of dierent vendors.
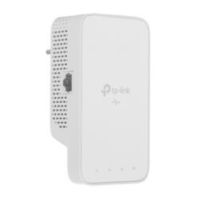
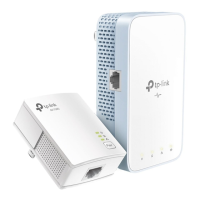
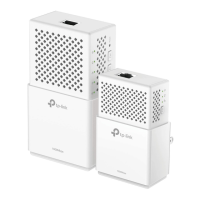
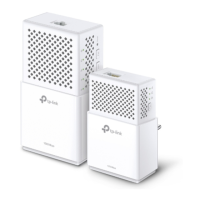
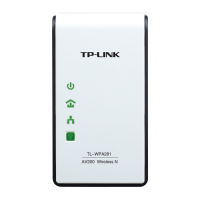
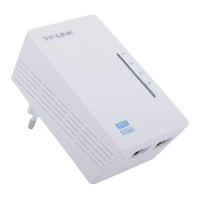
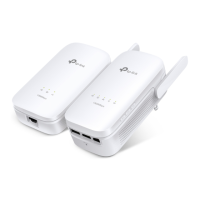
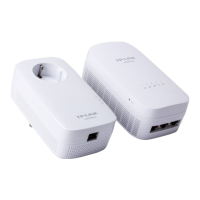
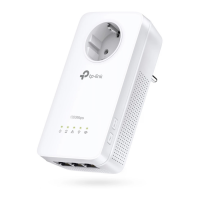
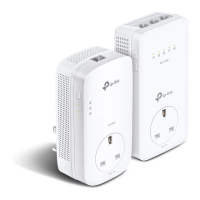
LEDs & Buttons
DESCRIPTIONITEM
Press and hold for 1 second to set up or join a secure powerline network.
Pair/Reset Button
Wi-Fi Button
LED Button
Press for 1 second to start copying Wi-Fi settings from the router.
Press and hold for about 5 seconds to turn Wi-Fi on or o.
Press to turn on or o the LEDs.
Press and hold the Pair button for at least 6 seconds, then release the button to reset the
adapter/extender to default settings.
DESCRIPTION
LED
STATUS
Power
Powerline
Ethernet
On
O
Wi-Fi
The wireless function is enabled.
The powerline extender is syncing wireless network settings.
The wireless function is disabled.
On
Blinking
O
On
Blinking
O
The Ethernet port is connected or not connected.
The powerline adapter/extender is connected to a powerline network.
The powerline adapter/extender is not connected to any powerline network.
On/O
TP-Link hereby declares that the device is in compliance with the essential requirements and other
relevant provisions of directives 2014/53/EU, 2009/125/EC, 2011/65/EU and (EU)2015/863.
The original EU Declaration of Conformity may be found at https://www.tp-link.com/en/support/ce/
TP-Link hereby declares that the device is in compliance with the essential requirements and other
relevant provisions of the Radio Equipment Regulations 2017.
The original UK Declaration of Conformity may be found at https://www.tp-link.com/support/ukca/
 Loading...