10
Chapter 2
Initial Use
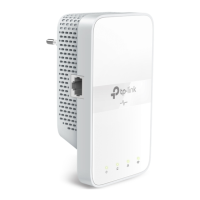
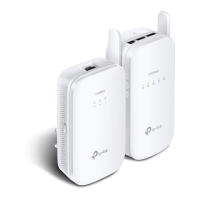
New Powerline Extender
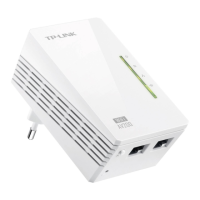
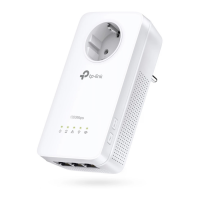
TL-WPA7617
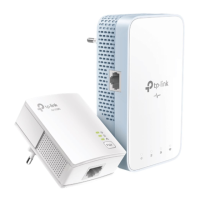
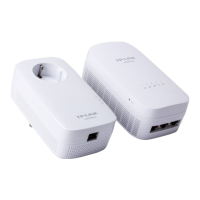
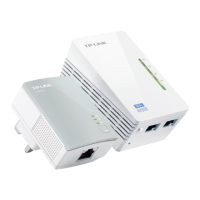
Existing Powerline Device
(For demonstration only)
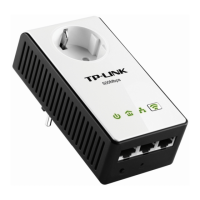
Powerline
2. Check the new extender’s Powerline LED . Is it on?
• If it is on, follow Step 4 > A.
• If it is off, follow Step 3 and Step 4 > B.
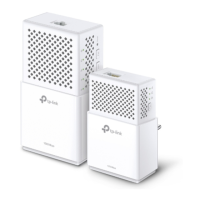
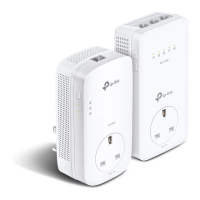
3. Add the new powerline extender to the existing powerline network by pairing two
powerline devices.
a . Press the Pair button on the existing powerline device for 1 second. The Power
LED starts blinking.
Note: If the Power LED does not blink, press the button again.
b . Within two minutes, press the Pair button on the new powerline extender for 1
second. The Power LED starts blinking. When the Powerline LED turns solid on,
the pairing process is complete.
Existing
Powerline Device
Blinking
New Powerline Extender
TL-WPA7617
Blinking
On
Within 2 minutes
4. Relocate the new extender to the Wi-Fi “dead” zone.
Note: A blinking Powerline LED indicates poor signal strength. Move the extender to another location.
A . Use the SSID (network name) and password on the on the label at the top of the
extender to connect to the internet.
C . If you cannot find the default SSID in your Wi-Fi network list, this may mean the
Wi-Fi Move feature has automatically copied over the existing wireless settings.

 Loading...