Do you have a question about the TP TP305 and is the answer not in the manual?
Key safety warnings including age limits, choking hazards, assembly by adults, and adult supervision.
Essential guidance on product assembly, regular maintenance, and ensuring safe play conditions.
Defines the mandatory clear zone around the play equipment for safety.
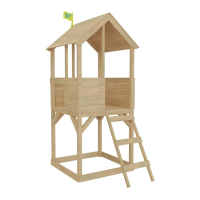
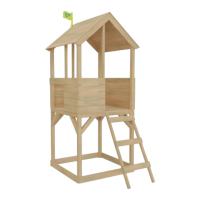
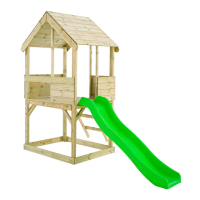
Provides the physical dimensions of the playhouse for placement and planning.
Explains the natural characteristics of wood, its treatment, and how to maintain it.
Lists the necessary tools for assembling the playhouse, including power tools and hand tools.
Details the parts included in Pack 1 for initial assembly stages.
Details the parts included in Pack 2, typically for structural elements.
Details the parts included in Pack 3, often for finishing or secondary structures.
Details the specific hardware and smaller components found in the subpack.
Assembling the initial base structure of the playhouse.
Building the lower section and connecting it to the base.
Adding components to form the mid-level platform.
Installing vertical supports for the upper section.
Adding diagonal braces for structural stability.
Installing joists for the floor structure.
Attaching the floorboards to the joists.
Installing supports for the upper floor area.
Assembling and attaching the playhouse ladder.
Adding joists and bracing for the upper floor.
Installing the structural supports for the roof.
Attaching the roof panels to the supports.
Final securing of the roof structure.
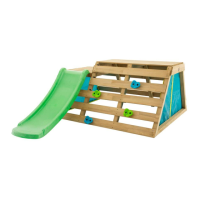
Instructions for assembling the playhouse without the optional slide.
Instructions for assembling the playhouse with the optional slide.
Procedure for safely anchoring the playhouse to the ground.
Guidance on installing the sandpit liner.
Information on registering your product and obtaining customer support.
| Brand | TP |
|---|---|
| Model | TP305 |
| Category | Play Sets & Playground Equipment |
| Language | English |