INTRODUCTION
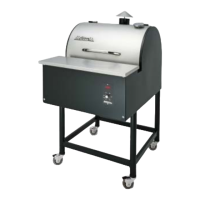
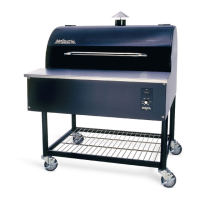
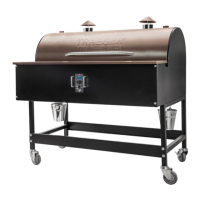
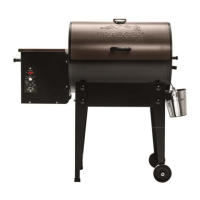
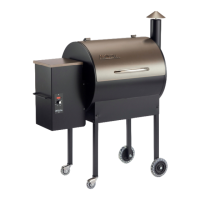
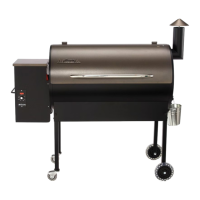
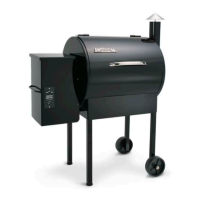
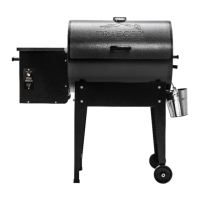
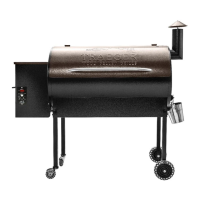
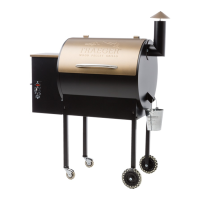
Congratulations on your purchase of this Traeger Wood Pellet Grill, Model BBQ124.
With proper set-up, operation and maintenance, the Grill will provide you with delicious food
and years of cooking enjoyment.
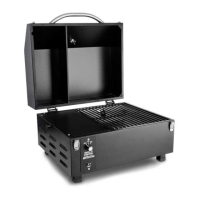
The BBQ124 can also be used as a built-in Grill. Instructions for that application are
included.
NOTE: NUMBERS FOLLOWING PART NAMES THROUGHOUT THIS MANUAL REFER
TO THE COMPONENT DIAGRAM.
When you un-box the Grill, remove all parts from the box and inside the Grill. Remove
any remaining packaging material as well. Make sure you have, and can identify all of the
following parts:
(2) Leg Frame (180) kits
(1) Leg Frame (180) with Front Leg Brace (187)
(1) Leg Frame (180) with Rear Leg Brace (199)
(1) Flue Trim (169)
(1) Chimney Cap Assembly (172)
(1) Grease Bucket (208)
(4) Casters
(2) Non-Locking (211)
(2) Locking (212)
(1) Hardware Kit (203) with 4 Bolts, 6 Screws and 10 Washers
(1) Porcelain Grill (221)
(1) Grease Drain Pan (217)
(1) Heat Baffle (214)
You will need to complete the assembly which includes:
1) Mounting the Leg Frames (180) to the Grill.
2) Attaching the Front (187) and Rear (199) Leg Braces.
3) Installing the Casters (211, 212).
4) Positioning the Heat Baffle (214) over the Firepot (69).
5) Setting the Grease Drain Pan (217) over the Heat Baffle (214).
6) Placing the Porcelain Grill (221) on the Grill Supports.
7) Hanging the Grease Bucket (208).
8) Mounting the Chimney Cap Assembly (172).
TOOLS SUPPLIED FOR ASSEMBLY
(1) 7/16” wrench
(1) Phillips screwdriver
Follow these step-by-step instructions and you’ll be cookin’ in no time!