11
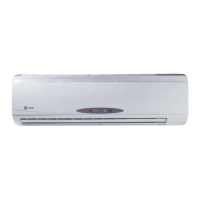
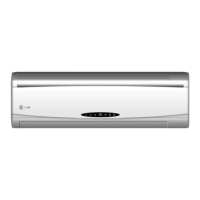
Installation
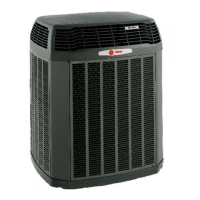
2. Take out the piping from body case, wrap the piping electric wire, water pipe with tape and
put them through the piping hole.
3. Hang the mounting slots of the indoor unit on the upper tabs of the rear panel and check if it
is firm enough.
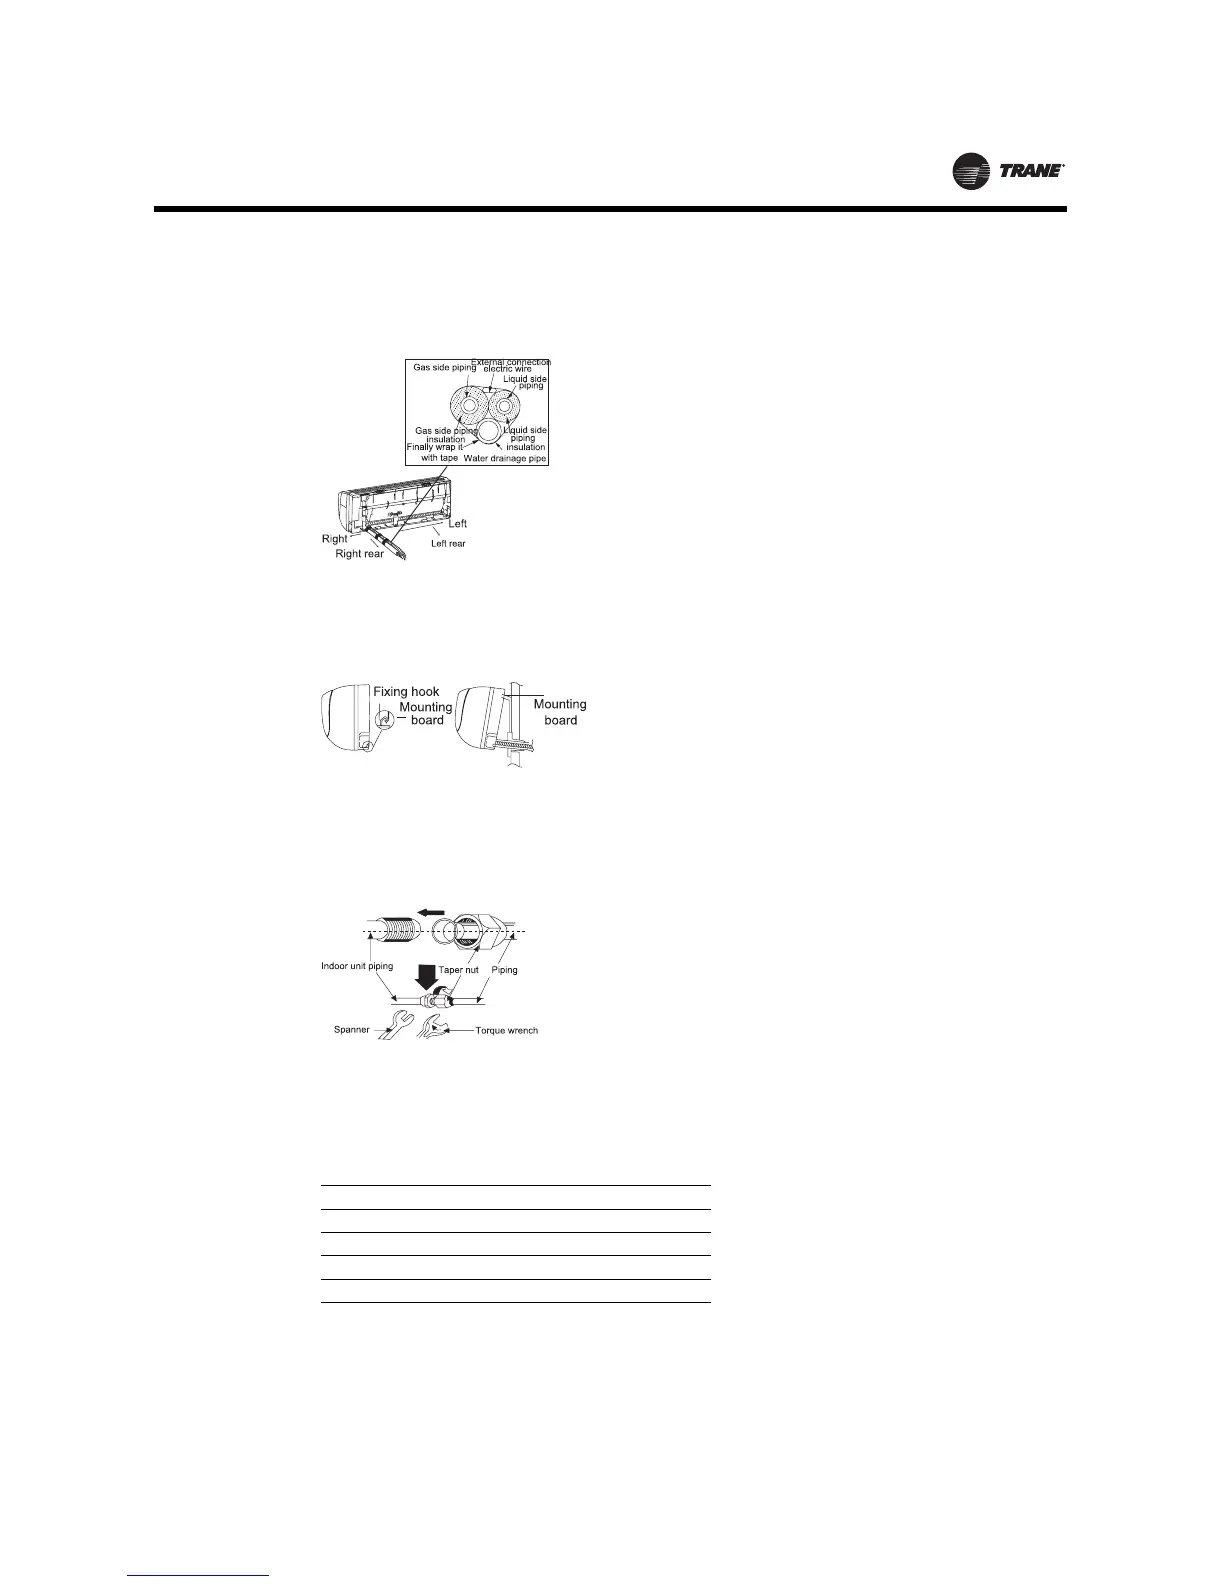
Installing the connection pipe
1. Align the center of the piping flare with the relevant valve.
2. Screw in the flare nut by hand and then tighten the nut with spanner and torque wrench refer
to the following.
Note: First, connect the connection pipe to indoor unit, then to outdoor unit; pay attention to the
piping bending, do not damage the connection pipe; the joint nut couldn't tighten too
much, otherwise it may cause leakage.
Table 2. Tightening Torque Table
Hex nut Diameter Tightening torque (N-m)
6mm - 1/4" 15-20
9.5mm - 3/8" 31-35
12mm - 1/2" 50-55
16mm - 5/8" 60-65
MS-SVN22A-EN
 Loading...