6
ACC-SVN150F-EN
Installation
Removing Heater from
Packaging
1. Remove all cardboard supports from the box.
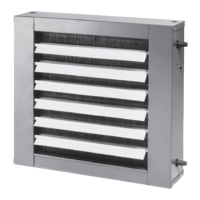
2. Unfasten and discard the 4 L-brackets (A) along
with the 8 screws holding the heater assembly to
the wooden base.
Figure 1. Remove L brackets
3. Remove and discard 5 screws in order to separate
the control panel (B) and the hinged access door (C)
from the electric heater, as shown in figure below.
Figure 2. Remove screws and cardboard pad
4. Remove the cardboard pad (D) from the top of the
front heater element before installing the heater.
Heater Installation
WWAARRNNIINNGG
HHaazzaarrddoouuss VVoollttaaggee!!
FFaaiilluurree ttoo ddiissccoonnnneecctt ppoowweerr bbeeffoorree sseerrvviicciinngg ccoouulldd
rreessuulltt iinn ddeeaatthh oorr sseerriioouuss iinnjjuurryy..
DDiissccoonnnneecctt aallll eelleeccttrriicc ppoowweerr,, iinncclluuddiinngg rreemmoottee
ddiissccoonnnneeccttss bbeeffoorree sseerrvviicciinngg.. FFoollllooww pprrooppeerr
lloocckkoouutt//ttaaggoouutt pprroocceedduurreess ttoo eennssuurree tthhee ppoowweerr
ccaann nnoott bbee iinnaaddvveerrtteennttllyy eenneerrggiizzeedd.. VVeerriiffyy tthhaatt nnoo
ppoowweerr iiss pprreesseenntt wwiitthh aa vvoollttmmeetteerr..
1. Open and lock unit disconnect.
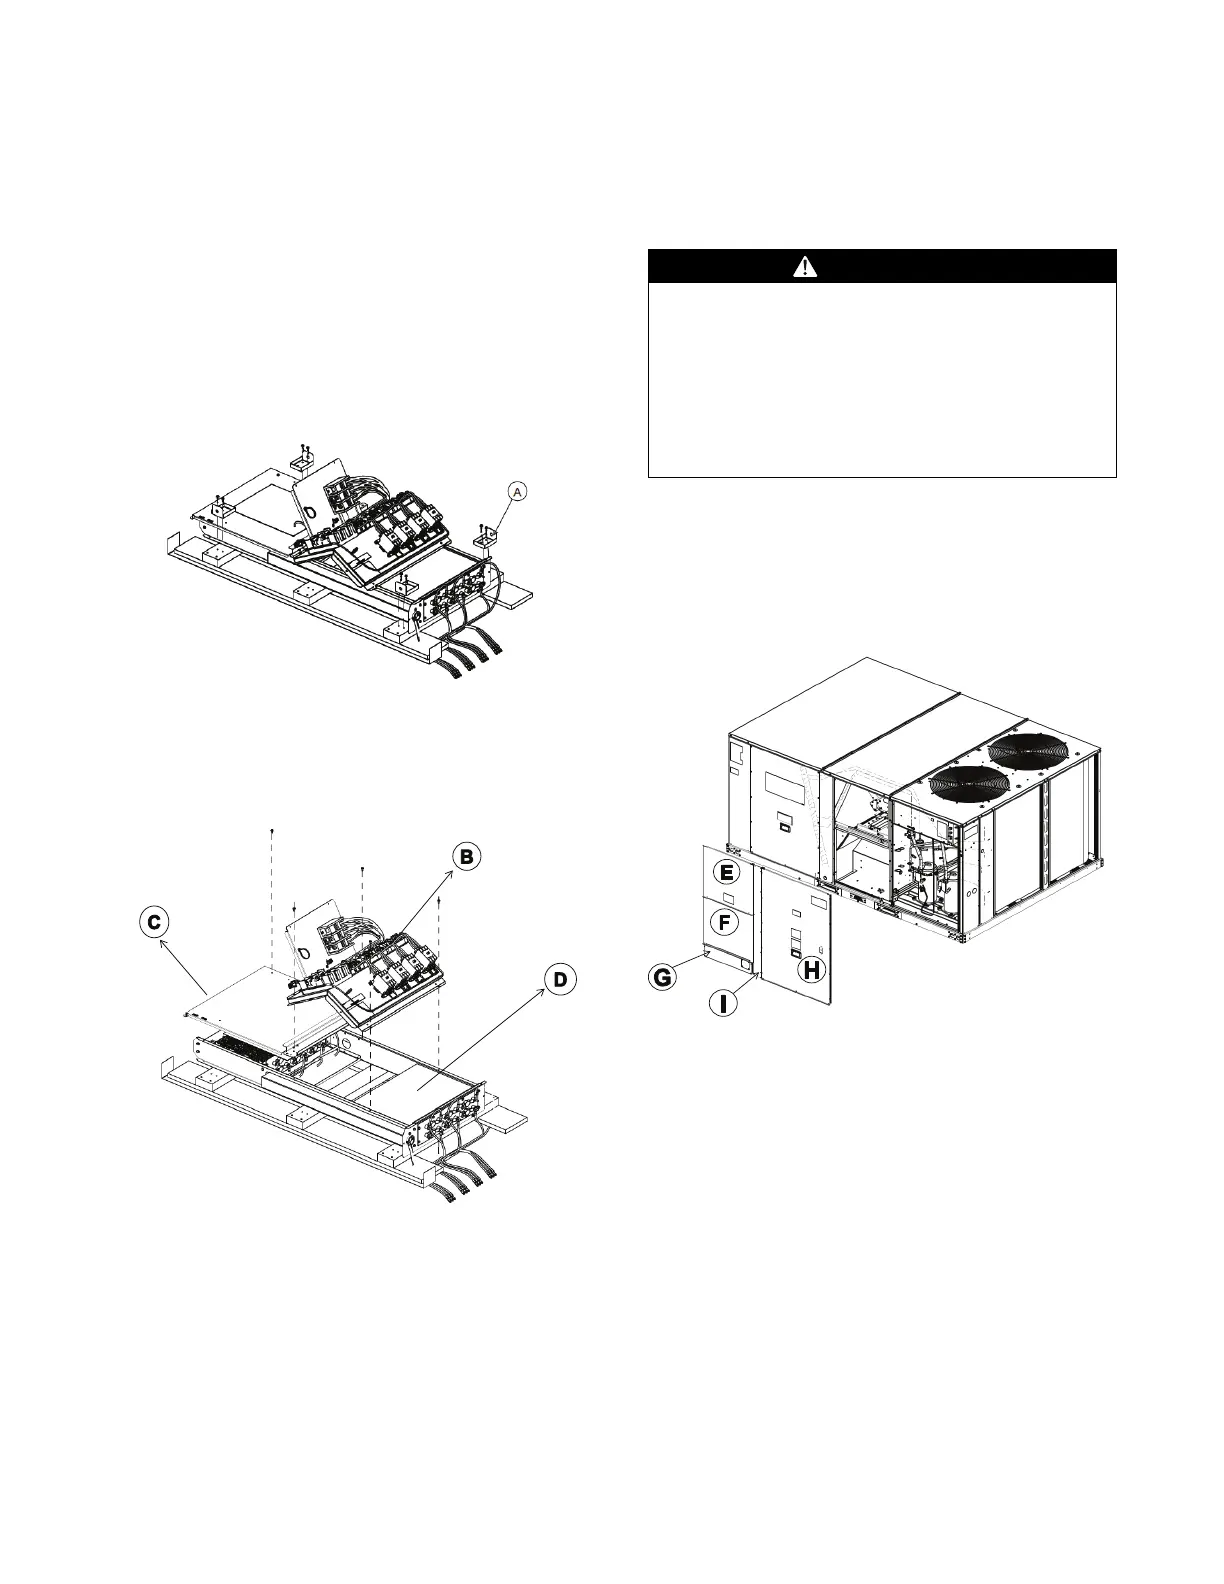
2. Remove indoor fan panel (E), electric heater panel
(F), power conduit entry panel (G), compressor
access panel (H), and vertical post (I). See figure
below.
Figure 3. Remove panels and post
3. Remove the pre-cut piece of insulation (J) located
over the removable heater access panel. See figure
below.
 Loading...