4
18-HD82D1-1B-EN
User Settings allow the user to customize various settings on the XR724 control. To access User Settings simply press
the Menu button once and “User Settings” will be displayed. To enter the User Settings menu, press the Select button,
then use the Next button to navigate through the options below. The default setting will be shown in brackets. After
each selection press the Done button to save changes. Certain menu selections, which are marked by an asterisk ( * ),
may or may not be present depending on other menu settings.
The following is a guide of the menu options available by pressing the Menu button. Certain menu selections, which
are marked by an asterisk ( * ), may or may not be present depending on other menu settings.
* Only appears as a menu item if Dehumidify is set to Yes, Aux Relay is set to Dehumidier, or Aux Relay is set to
Humidity.
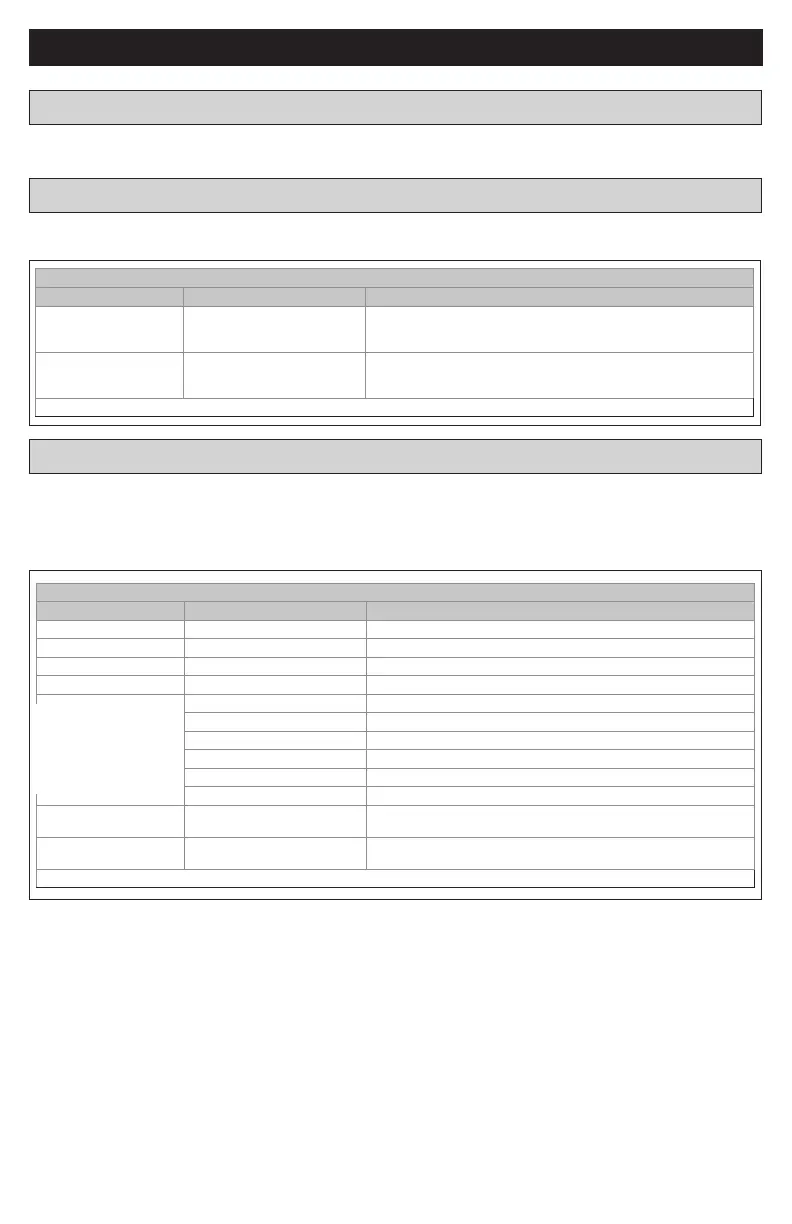
USER SETTINGS
HUMIDITY *
MENU OPTIONS
HUMIDITY
Setting Range Description
Cooling RH Target* 30% to 60% [50%] Select the desired indoor relative humidity during cooling mode. Dehu
-
midication must be enabled in the Installer Settings for this option to be
available.
Heating RH Target* 10% to 45% [40%] Select the desired indoor relative humidity during heating mode.
Humidication must be enabled in the Installer Settings for this option to
be available.
Once all selections have been made, press the Done button to exit and return to menu. Press Next to navigate to the next setting.
THERMOSTAT
Setting Range / Sub Setting Description / Range of Sub Settings
Temperature Scale [Fahrenheit], Celsius Select the temperature display scale
Max Heat Setpoint 55 - [90] Degrees Select the highest heating setpoint allowed
Min Cooling Setpoint [60] - 99 Degrees Select the lowest cooling setpoint allowed
Time/Date* Set Hour 1 - 12 AM, 1 - 12 PM [12PM]
Set Minutes 0 - 59 [0]
Day of Week [Sun], Mon, Tue, Wed, Thr, Fri, Sat
Year [2013] - 2113
Month [Jan], Feb, Mar, Apr, May, Jun, Jul, Aug, Sep, Oct, Nov, Dec
Date [1] - 31
DST Enable [Yes], No
Continuous Fan Airow* 35% - 100% [50%] Select the desired fan speed when the Fan Mode selected is Continuous
(variable speed blower required). Only available if ID Fan Type = Variable.
Fan Circulate On Time [10] - 55 minutes Select the desired amount of time the fan will cycle per hour when the Fan
Mode selected is Circ
Once all selections have been made, press the Done button to exit and return to menu. Press Next to navigate to the next setting.
XR724 USER GUIDE
If connected with Nexia,
then time and date are
provided by the network
 Loading...