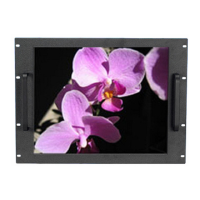
Quick Start
To attach the TR-LCD1900 monitor to your system, follow these instructions:
1. Turn off the power to your computer.
2. Connect the power cord for your monitor to the power port on the back of the monitor. Plug the power
cord for the monitor into a nearby outlet.
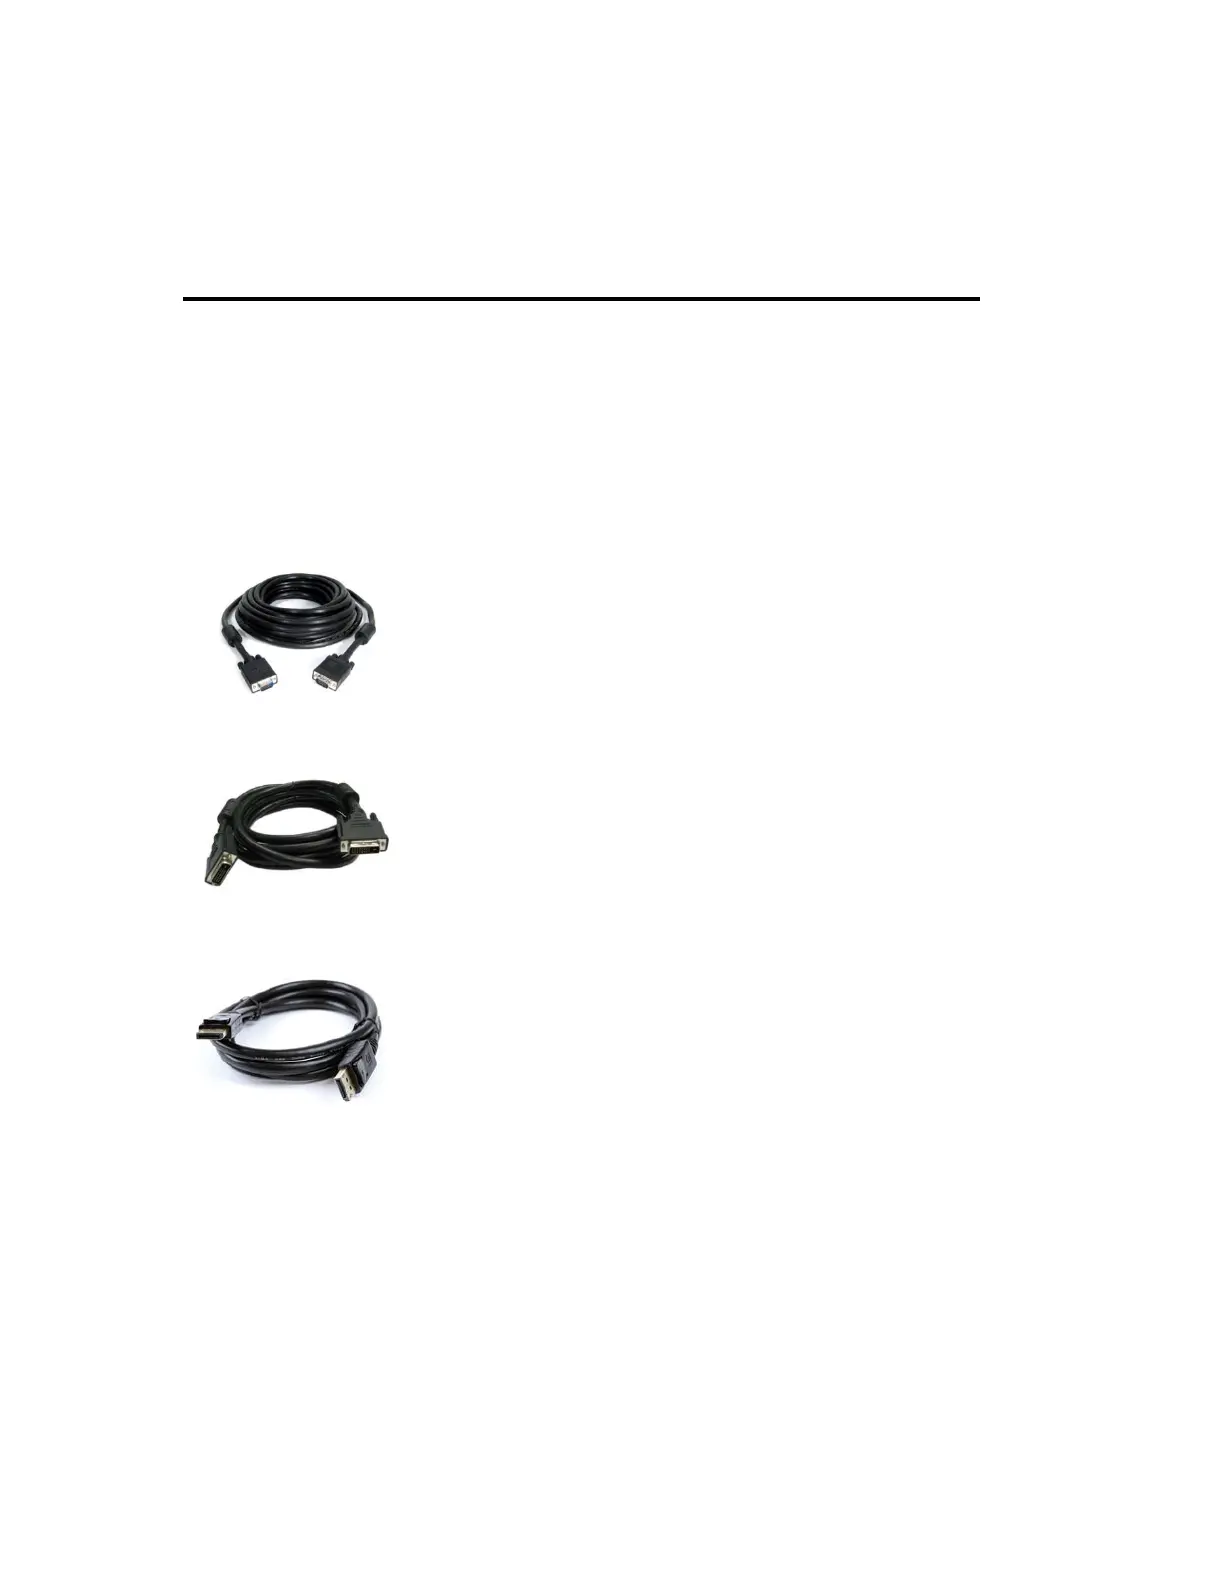
3-1. Using the SVGA (analog) connector on the video card:
Connect the signal cable to the 15-pin, D-sub SVGA connector on the back of your monitor.
3-2. Using the DVI (digital) connector on the video card:
Connect the DVI cable to the DVI port on the back of your monitor.
3-3. Using the DisplayPort (digital) connector on the video card:
Connect the DisplayPort cable to the DisplayPort on the back of your monitor.
4. Connect to a Mac:
Use the D-sub connection cable.
(An older model Macintosh may require a special Mac adapter).
5. Turn on your computer and monitor. If your monitor displays an image, installation is complete.
NOTES:
• You may get a blank screen depending on the type of video card you are using, if you connect
simultaneously both SVGA, DVI and/or DisplayPort cables to one computer.
• If the monitor is connected properly using the DVI connector but you get a blank or fuzzy
screen, check to see if monitor status is set to analog. Press Source button to have the monitor
double-check the input signal source.
TR-LCD1900-V2 User Manual