Do you have a question about the TriangleTube Prestige Solo 110 and is the answer not in the manual?
Verify kit, power off, gas off, drain boiler, and remove front panel before starting.
Remove stainless steel adapter, loosen clamp, disconnect piping, and mark wire connections.
Remove top panel, both vent adapter types, and disconnect MCBA electrical components.
Disconnect TriMax components, gas piping, and remove the blower/gas valve/venturi assembly.
Remove water components, bracket, and lift out the heat exchanger.
Unpack, inspect the new heat exchanger, and install sensors and igniter.
Position new heat exchanger, mount blower assembly, connect water piping, and install drain.
Install condensate drain assembly, gas piping, and stainless steel vent adapter.
Install both adapter types, ensuring proper seating and gasket installation.
Connect LWCO, sensors, gas valve, blower, igniter, and route wiring.
Connect TriMax components, install air intake pipe, and vent connection.
Fill boiler, purge air, set pressure, check gas, and turn on power.
Perform combustion test, set boiler to high/low fire modes.
Adjust plastic OFFSET SCREW for low fire CO2 levels.
Adjust OFFSET SCREW and firing rates for proper combustion.
Enter installer code, set firing rates, and adjust throttle/offset screws.
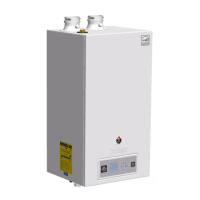
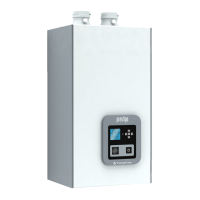
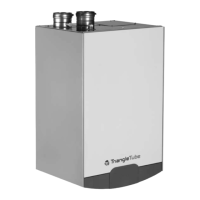
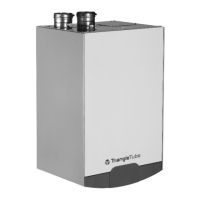
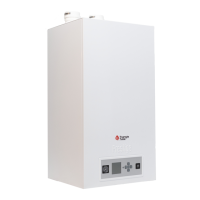
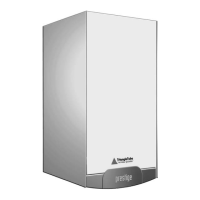
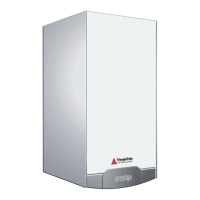
The PRESTIGE Solo 60, 110, 175, and 250 HX Field Replacement Kit is designed for the maintenance and repair of Prestige boilers, specifically focusing on the heat exchanger (HX) component. This kit provides the necessary parts and instructions for replacing the heat exchanger, ensuring the continued efficient operation of the boiler system. The kit is tailored for various Prestige boiler models, including those running on natural gas or LP, and featuring stainless steel or polypropylene condensate pans.
The primary function of this kit is to facilitate the replacement of a faulty or worn-out heat exchanger in Prestige Solo boilers. The heat exchanger is a critical component responsible for transferring heat from the combustion process to the boiler's water, which then circulates through the heating system. A properly functioning heat exchanger is essential for the boiler's efficiency, safety, and overall performance.
Each HX Replacement Kit comes with several pre-installed items on the heat exchanger itself, including combustion chamber insulation, a burner head and gasket, a sight glass assembly, and a burner mounting plate gasket. These pre-installed components streamline the replacement process and ensure that critical parts are correctly positioned and sealed from the outset.
In addition to the pre-installed items, the kit includes a separate "PARTS BOX" containing components that must be installed during the HX replacement. These include a vent outlet gasket, blower gasket, boiler piping gaskets, a long handle Phillips head screwdriver, a long handle T-20 Torx screwdriver, an igniter with its gasket and screws, and temperature sensors with harness adapters. These additional parts are crucial for completing the installation and ensuring all connections are properly sealed and functional.
The replacement process involves several key steps:
The kit is designed for use by qualified installers and service technicians, emphasizing safety and precision throughout the replacement process. The detailed instructions, accompanied by diagrams, aim to guide technicians through each step, minimizing errors and ensuring a correct installation.
Key usage features include:
While primarily a replacement kit, certain aspects contribute to the maintainability of the boiler system:
In summary, the PRESTIGE Solo HX Field Replacement Kit is a comprehensive solution designed to facilitate the safe and effective replacement of heat exchangers in Prestige boilers, ensuring their continued reliable and efficient operation through detailed instructions, necessary components, and emphasis on critical safety and performance checks.
| Model | Prestige Solo 110 |
|---|---|
| Category | Boiler |
| Brand | TriangleTube |
| Fuel Type | Natural Gas or Propane |
| Max Input | 110, 000 BTU/hr |
| Efficiency | 95% AFUE |
| Vent Type | Direct Vent |
| Heat Exchanger Material | Stainless Steel |
| Modulating Burner | Yes |
| Warranty | 10-year limited warranty |