

J
Joseph PowellJul 28, 2025
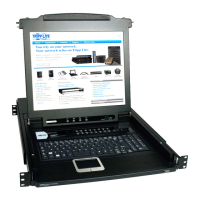
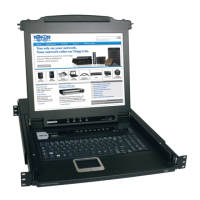
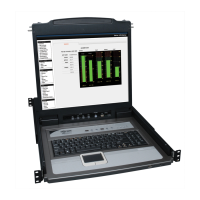
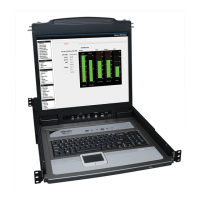
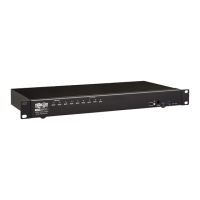
What to do if Tripp Lite B020-008 Switch B022-016 keyboard and/or mouse not responding and all station IDs display as 01?
- KkmartinJul 28, 2025
If your Tripp Lite Switch B022-016 exhibits erratic behavior such as the keyboard and/or mouse not responding, and all station IDs display as 01, here are a few things to try: * First, check that the power adapter supplied with the unit is plugged in and functioning properly. * Second, try unplugging the cable(s) from the console port(s), and then plug them back in. * Third, wait a few seconds to allow the system to reinitialize the station sequence and display the proper IDs. This issue may also occur if station 1 has lost power, the unit is not receiving enough power, or the mouse and/or keyboard reset improperly.