7
Installation
2
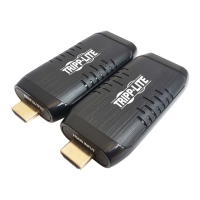
Connect the IR-OUT (Tx) cable to the IR-OUT port on the Mini
Transmitter Unit.
Note: IR-OUT (Tx) cable has “IR-OUT” marked on the bottom of the IR bulb.
Place the bulb of the IR-OUT (Tx) cable in an area with a direct line of sight to
the HDMI source device.
3
To power the unit, connect the included USB Micro-B cable between
the transmitter and a USB wall charger or a USB port on the source.
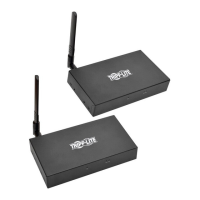
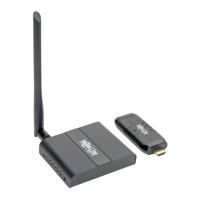
Receiver Unit
4
Optional: Attach the included mounting hardware to the receiver unit
and mount it to a desired location.
5
Attach the included antenna blade to the antenna port on the
receiver unit.
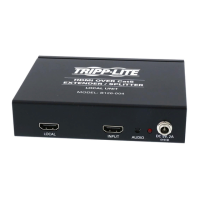
6
Connect the HDMI display to the HDMI Output port on the receiver
unit using a P568-Series High-Speed HDMI Cable (sold separately).
7
Connect the IR-IN (Rx) cable to the IR-IN port on the receiver unit.
Note: IR receiver cable has IR-IN marked on the bottom of the IR bulb. Place
the bulb of the IR receiver cable in the general area you will be using the
source device’s remote control.
8
Connect the external power supply to the receiver unit, and plug it
into a Tripp Lite Surge Protector, Uninterruptible Power Supply (UPS)
or Power Distribution Unit (PDU).
9
Turn on power to the connected equipment.
 Loading...