6
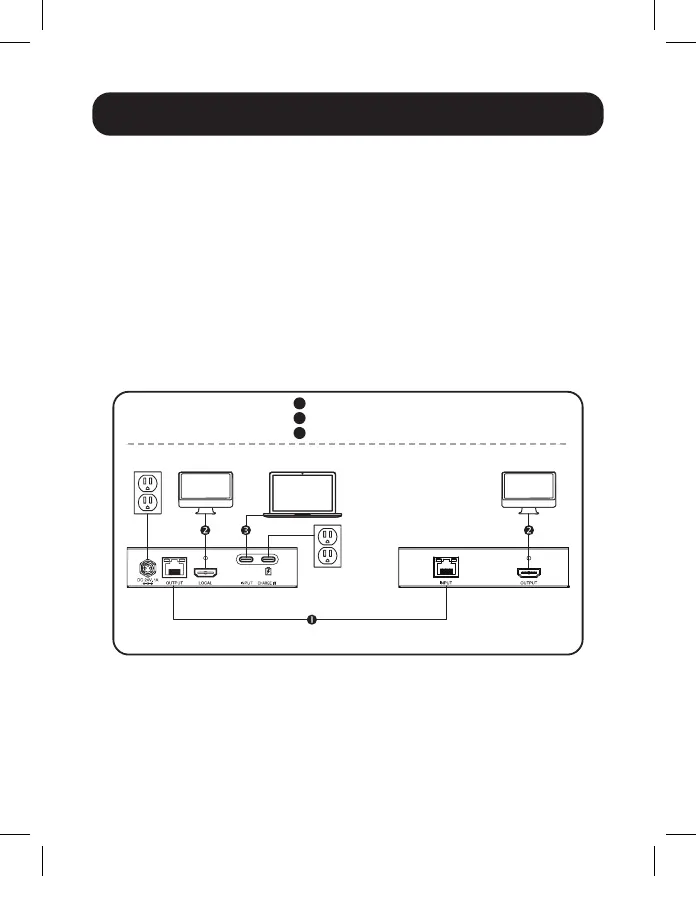
Installation
Notes:
1) Test to ensure the entire installation works properly before pulling
cables through ceilings/walls.
2) To achieve maximum distance and performance, use 24 AWG solid-
wire Cat6 cable. Using stranded-wire Cat6 cable, or cable with a gauge
(AWG) size higher than 24 AWG, will result in a shorter extension distance.
Higher gauge cabling, such as 26 AWG, has a more limited transmission
capability than lower gauge cabling. All Tripp Lite N202-Series Cat6 cables
are made with 24 AWG solid-wire cabling.
3) External power is not required for remote receiver units due to Power
over Cable (PoC) technology incorporated in the transmitter units.
1. Ensure all equipment in the installation – such as TVs/
monitors, laptops and the transmitter – is powered OFF.
2. Using a USB Type-C cable (such as Tripp Lite U420-Series
cables), connect the USB-C source to the INPUT port on the
local transmitter unit.
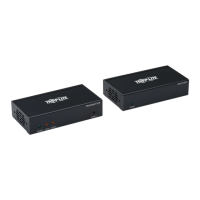
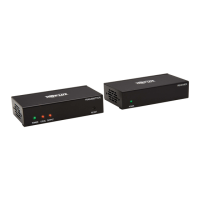
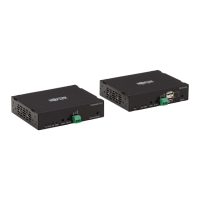
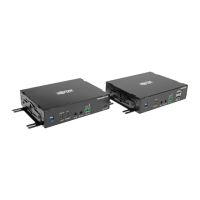
B127-1A1-CH
Extender Kit
MONITOR NOTEBOOK
LOCAL
TRANSMITTER
REMOTE
RECEIVER
Up to 125 ft. (38 m) at 4K/60 Hz
Up to 125 ft. (38 m) Cat6 cable at 4K/60 Hz
Up to 15 ft. (4.5 m) HDMI 2.0 cable at 4K/60 Hz
Up to 9 ft. (2.7 m) Type-C cable at 4K/60 Hz
1
2
3
20-02-173-933C55.indb 620-02-173-933C55.indb 6 3/18/2020 9:28:36 AM3/18/2020 9:28:36 AM
 Loading...