17
Splitter Daisy-Chain Installation
(B127-004-H and B127-008H only)
1. Make sure all equipment in the installation—such as TVs, Blu-ray
players and the transmitter—is powered OFF.
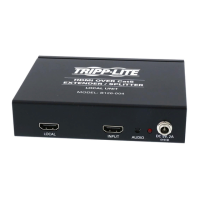
2. Using an HDMI 2.0 cable (such as Tripp Lite P569-XXX-CERT or
P568-XXX-2A Series cables), connect the HDMI source to the INPUT
port on the B127-004-H or B127-008H unit.
3. Using a 6 ft./1.83 m HDMI 2.0 cable (such as Tripp Lite
P569-006-CERT or P568-006-2A cables), connect the LOCAL port
on the B127-004-H or B127-008H to the INPUT port on a second
B127-004-H or B127-008H unit.
4. Repeat step 3 if connecting a third B127-004-H or B127-008H unit.
Note: Only three levels of splitters can be cascaded.
5. Optional: Using an HDMI 2.0 cable (such as Tripp Lite
P569-XXX-CERT or P568-XXX-2A Series cables), connect a local
monitor to the LOCAL HDMI port of the last B127-004-H unit in the
installation.
Note: Monitors with varying resolutions like 1080p or 4K 30 Hz can be
connected to the local HDMI port without affecting the 4K @ 60 Hz signal.
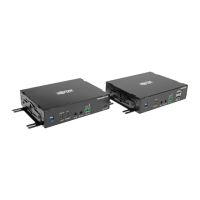
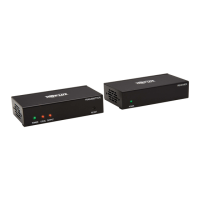
6. Using Cat6 cable, connect one of the RJ45 output ports on the local
transmitter units to the RJ45 input port on a B127-100-H,
B127-200-H or B127-100-H-SR remote receiver unit.
7. Repeat step 6 for each additional remote unit being connected.
8. Using an HDMI 2.0 cable (such as Tripp Lite P569-XXX-CERT or
P568-XXX-2A Series cables), connect the B127-100-H, B127-200-H
or B127-100-H-SR to a display.
9. Repeat step 8 for each additional monitor you are connecting to a
remote receiver unit.
10. Turn on the power to all your connected displays.
20-02-371-933918_Rev C.indd 1720-02-371-933918_Rev C.indd 17 3/6/2020 1:46:30 PM3/6/2020 1:46:30 PM
 Loading...