Do you have a question about the Trojan VELOCITY 400 and is the answer not in the manual?
Read all precautions before using the stationary cycle to prevent injury.
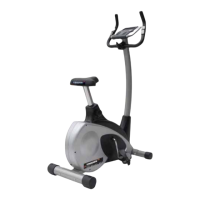
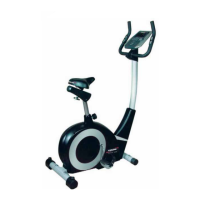
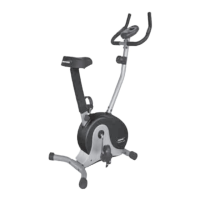
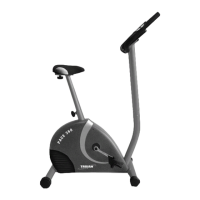
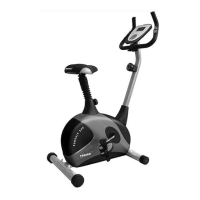
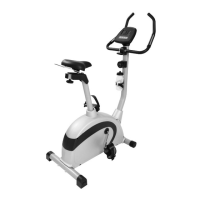
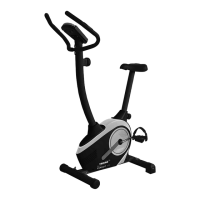
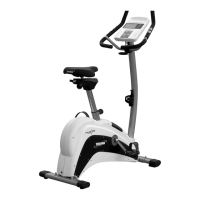
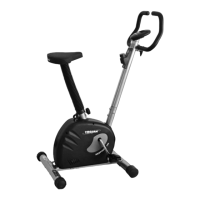
Familiarize yourself with labeled parts before assembly.
List of all hardware components required for assembly.
Assemble front and rear stabilizers to the base construction using bolts and nuts.
Screw the left and right pedals onto the crank arms.
Attach the seat post and seat to the main frame, securing with a knob.
Insert the handlebar post through its cover and attach to the main frame.
Mount the handlebar onto the fixture using clamps, washers, and bolts.
Connect computer cables and mount the console, then connect the power adapter.
Power-on display, calendar setting, standby mode, and selecting training modes.
Details on using PROGRAM mode and adjusting load levels.
Operation of MANUAL, USER, HRC, and WATT training modes.
Setting user data and performing body fat measurement.
Explanation of each button on the computer console.
Visual guide to muscles worked during cycling.
Guidelines for setting exercise intensity using heart rate.
Step-by-step instructions for basic stretches.
Solutions for common console errors like E2, E4, El.
Detailed list of all parts with their respective quantities.
Illustrated diagram showing how parts fit together.
Details on what the warranty covers, exclusions, and waivers.
Procedures for making a warranty claim within specified timeframes.
Steps to follow when experiencing faults or breakdowns for professional repair.
Information on costs for under-warranty and out-of-warranty repairs.
| Type | Mountain Bike |
|---|---|
| Fork | Suspension Fork |
| Shifters | Shimano |
| Derailleurs | Shimano |
| Frame Material | Aluminum |
| Brake Type | Disc Brakes |
| Frame | Aluminium |
| Wheels | Aluminium Alloy |
| Brakes | Disc Brakes |
| Handlebar | Alloy Handlebar |
| Stem | Alloy Stem |