07
a). Place the sensor outdoors in a shaded area. Do not place in direct sunlight. Keep away from people,
animals and other CO2 emitting units.
Note: lf calibration will be in a high-traffic area or highly populated area, a slightly higher calibration value
of 400-475 ppm is recommended.
b). Plug in the Controller and allow it to warm up for a minimum of 30 minutes but 1 hour is recommended.
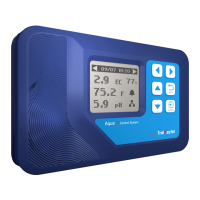
c). Press button 6 times to activate the automatic calibration, the [Calibrate] LED indicator
will be blinking. Press or , the CO2 level (400 ppm) will be displayed on the LED and
blinking. Press or to adjut the calibration level if you have an accurate reference. Otherwise,
the recommended level will be 400 ppm. Press and hold button 3 seconds to activate the
calibration.
Note: DO NOT exhale or breathe near the sensor while activating the calibration function.
d). The LED will display the countdown timing.
e). When it is complete, the screen will display functions normally. Calibration will not affect any other
settings.
Note: lt may take up to 90 seconds to complete the calibration process.
7.Calibrating the CO2 Sensor