6 EN
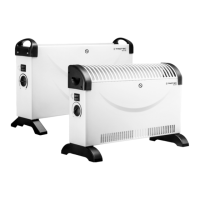
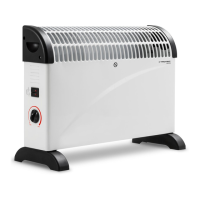
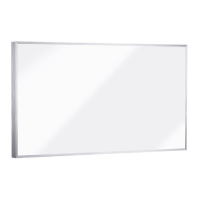
infrared heating panel TIH 300 S / TIH 400 S / TIH 500 S / TIH700 S / TIH 900 S / TIH 1100 S
Transport and storage
Note
If you store or transport the device improperly, the
device may be damaged.
Note the information regarding transport and storage of
the device.
Transport
Before transporting the device, observe the following:
• Hold onto the mains plug while pulling the power cable out
of the mains socket.
• Do not use the power cable to drag the device.
• Allow the device to cool down sufficiently.
Storage
Before storing the device, proceed as follows:
• Hold onto the mains plug while pulling the power cable out
of the mains socket.
• Allow the device to cool down sufficiently.
When the device is not being used, observe the following
storage conditions:
• dry and protected from frost and heat
• in an upright position where it is protected from dust and
direct sunlight
• with a cover to protect it from invasive dust, if necessary
• Place no further devices or objects on top of the device to
prevent it from being damaged.
Assembly and installation
Scope of delivery
• 1 x IR heating panel
• 4 x Screw
• 4 x Dowel
• 1 x Manual
Unpacking the device
1. Open the cardboard box and take the device out.
2. Completely remove the packaging.
3. Fully unwind the power cable. Make sure that the power
cable is not damaged and that you do not damage it during
unwinding.
Assembly
Upon delivery the device is already preassembled. The optional
feet still need to be mounted.
Wall mounting
When mounting the device to a wall, observe the minimum
distances from walls and other objects as specified in the
Technical data chapter.
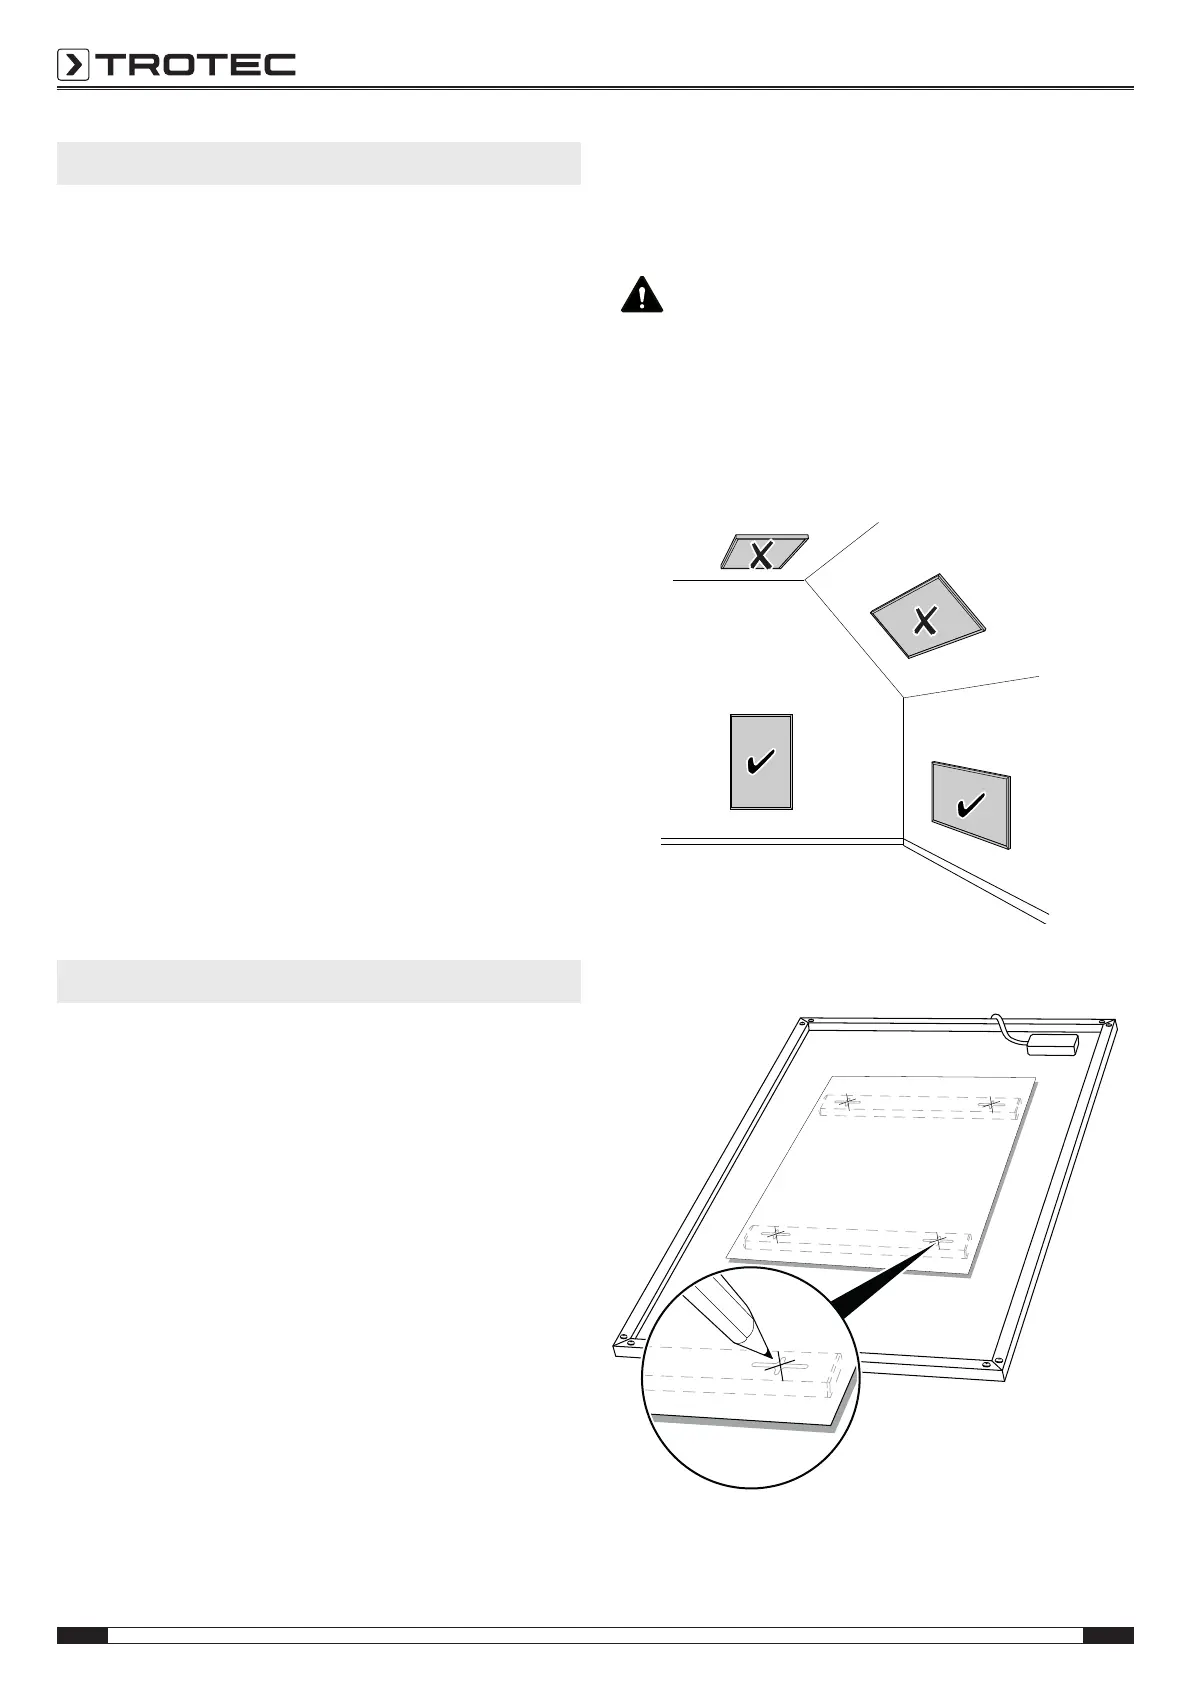
Warning
Fire hazard!
- Do not install the device directly behind a door.
- Never install the device on a wooden wall.
- Never install the device in a way that it radiates
directly onto walls or other objects.
• Only install the device as shown below:
1. Spread out a suitable template over the back of the device
and mark the positions for the bore holes.
 Loading...