Note- Be sure no other nuclear sources (gauges)
are within 10 m (30 ft.) of EGauge while in use.
PR
pcf
New
Disable
Safety glasses must be worn during this
procedure.
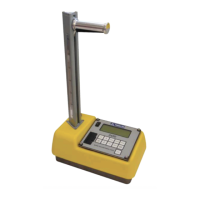
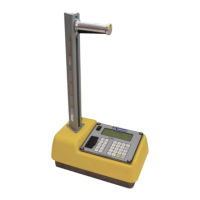
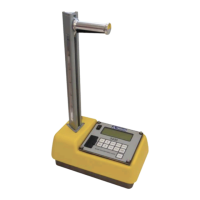
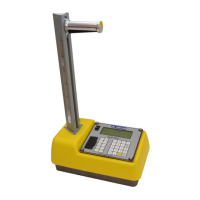
STEP 1 – START THE GAUGE
To turn on the gauge, press the power switch. After
briefly displaying the model number, software version,
and serial number, the gauge performs a self-test,
followed by a display test. The gauge then enters a
300-sec. warm-up then displays the Ready screen.
STEP 2 – SET UP THE GAUGE
SET UNITS
The gauge can display measurement results in either
U.S. units (pcf) or metric (SI) units (kg/m
3
or g/cm
3
). To
select the units, press
〈SETUP〉 to display the Setup
menu. Press
〈5〉 to display Options. Then press 〈3〉 to
display the Units menu. Select the new units using the
corresponding number key. Then press
〈ESC〉 to return
to the Ready screen.
TARGET VALUES
To select or change a Proctor value, press 〈TARGET〉.
The gauge displays the Target Value menu.
To enter a new target value, press 〈5〉. At the prompt,
use the number keys to enter the desired target value.
To select a stored target value, press the number key
that matches the displayed target value.
After entering a new value press 〈ENTER/START〉. The
gauge displays the value entered and asks if you want
to store the value. To store the value, press
〈YES〉 and
select one of the four locations. Storing a new value in
an occupied location will erase the old value. Press
〈NO〉 if storing the value is not desired. This will enable
the value and return to the Ready screen. This value
will remain enabled until changed or disabled.
STEP 3 – PREPARE THE TEST SITE
To ensure measurement accuracy, properly prepare
the test site before taking gauge measurements or
standard counts.
1
1
.
.
Locate a smooth site on the compacted soil
free from any large holes, cracks, or debris.
Place the scraper plate on the surface and
press down slightly or scrape lightly if needed
to smooth the surface.
2
2
.
.
As shown in Chapter 4 of the user manual, put
the drill rod through the extraction tool and
then through the guide tube on the scraper
plate.
3
3
.
.
Step on the scraper plate and hammer the
drill rod to at least 50 mm (2 in.) deeper than
the desired test depth. The drill rod
increments include the additional depth. If
only a standard count is to be performed,
make a 50 mm (2 in.) deep hole (minimum).
4
4
.
.
Remove the drill rod by pulling straight up
on the extraction tool. Do not loosen the drill
rod by moving it from side to side. Trace the
plate to mark the test area.
STEP 4 – TAKE A STANDARD COUNT
To compensate for the source decay, adjust for
background influences and to check proper operation
of the gauge, take a standard count each day that the
gauge is used. It is recommended that the standard
count be performed at the first test site at a particular
job site.
Keep any other nuclear gauge or radioactive source at
least 10 m (30 ft.) from test site.
1
1
.
.
Prepare the test site as described in Step 3 of
this guide and place the gauge on the marked
area. The prepared hole is required to perform
the second step of the standard count (DSB
count)
2
2
.
.
Press 〈STD〉. The gauge displays the last standard
count. To take a new standard count, press
〈YES〉.
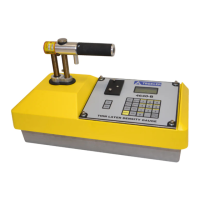
With the gauge in the standard count (safe)
position, press
〈ENTER/START〉 to begin the
standard count.
3
3
.
.
When prompted, lower the gauge handle to
the background position (slightly below the
safe position) to begin the second phase of the
standard count. Press
〈ENTER/START〉 as
prompted.
Troxler recommends keeping a daily log of the
standard count results. An example log is provided in
the appendix of the user manual.
Note- This gauge does not require a reference
block to take the standard count. Ensure that the
source rod is in the SAFE position by firmly
tapping down on the handle of the source rod.
 Loading...