Troy-Bilt Small Frame Tillers
31
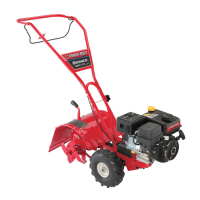
8.96. Drive the tine shaft seal into the transmission
housing using a seal installation tool. See Figure
8.96.
NOTE: A 1” I.D. PVC pipe by 7” long works well
as a wheel seal installation tool.
8.97. Repeat the tine shaft oil seal installation proce-
dures for the opposite side.
8.98. Install the front snap ring using medium retaining
ring pliers.
8.99. Lubricate and install the front tapered roller bear-
ing race into the front of the transmission hous-
ing and up against the front retaining ring.
NOTE: The front race is installed from inside the
transmission housing.
8.100.Carefully begin sliding the drive shaft assembly
into the transmission housing until it reaches the
drive shaft area.
8.101. Slide the support washer and front tapered roller
bearing onto the drive shaft assembly.
8.102.Slide the drive shaft assembly into the front roller
bearing race.
8.103.Set the rear tapered roller bearing race over the
rear tapered roller bearing.
8.104.Install the rear bearing cap shims, that were set
aside previously in this section, into position.
NOTE: To ease rear bearing cap shim installa-
tion, a light dab of grease can be used to keep
them together.
8.105.Apply a light coat of sealant to the inside mating
face of the rear bearing cap.
Figure 8.96
Tine Shaft Seal
Transmission Housing
8.106.Set the rear bearing cap gasket, that was cho-
sen earlier in this section, onto the rear bearing
cap.
8.107.Apply a light coat of sealant to the inside mating
face of the rear bearing cap gasket.
8.108.Secure the rear bearing cap and gasket to the
transmission housing using the hardware
removed earlier.
NOTE: The miscellaneous flat washers will be
removed when the hood brackets are installed.
However, the washers are needed for proper
torquing.
8.109.Torque the hex flange screws to 100 In. Lbs.
8.110. Lubricate the inside of the front drive shaft oil
seal with grease.
8.111. Apply sealant to the outer perimeter of the front
drive shaft oil seal.
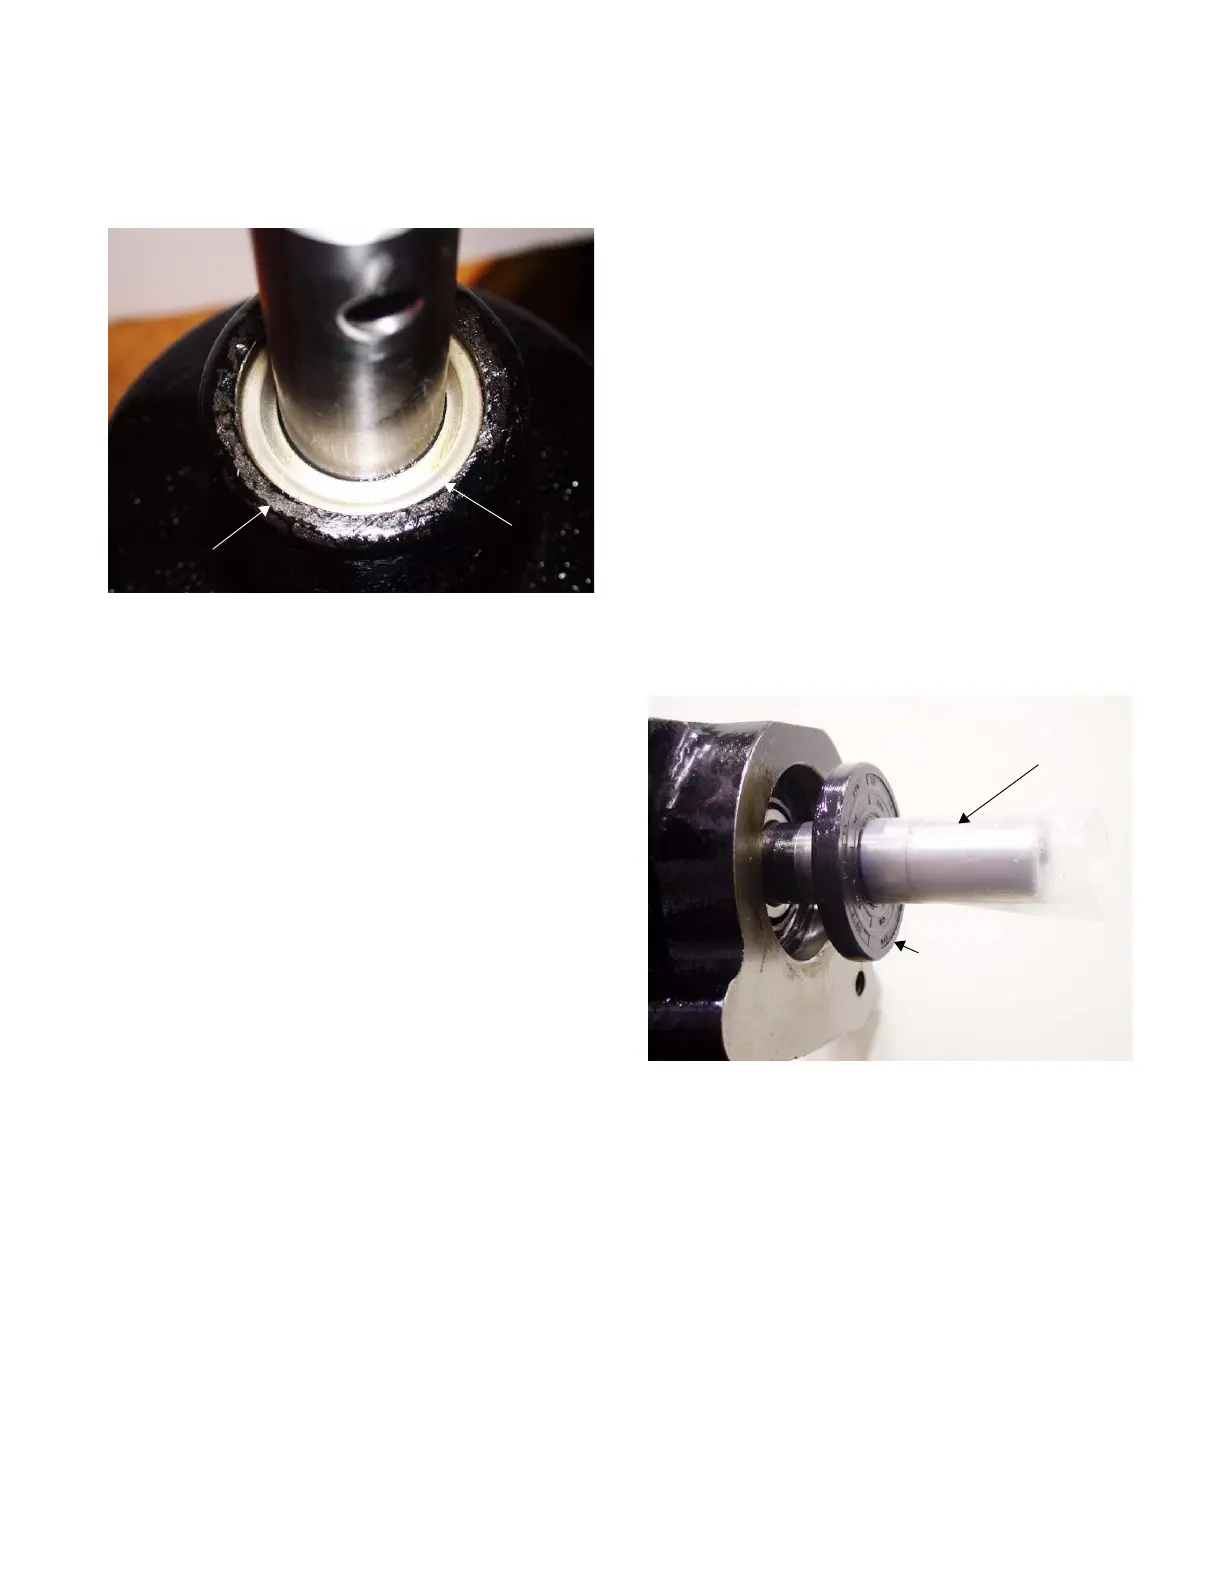
8.112. Place a seal protector over the front portion of
the drive shaft and lubricate it. See Figure 8.112.
NOTE: A thick plastic bag works well if a seal
protector is not available.
8.113. Slowly push the front drive shaft seal up to the
transmission housing as far as it will go.
8.114. Drive the front drive shaft seal into the transmis-
sion housing using a seal installation tool.
8.115. Remove the seal protector.
8.116. Make certain the transmission assembly is level
in the vice.
Figure 8.112
Seal Protector
Front Drive Shaft Seal
 Loading...