35
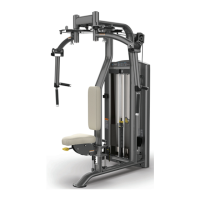
STEP 4—ATTACH ACRYLIC SHROUDS TO UPRIGHT ASSEMBLY
ITEM PART DESCRIPTION QTY
1 SPL-10-UPR200X UPRIGHT ASSEMBLY 1
2* SPLSRDPS* SHROUD SET SHORT ACRYLIC, SPL 1*
3* SPLSRDMS* SHROUD SET, SPL, SHORT METAL 1*
4 C 603A SHCS, 10-32, 1/2” BLK 4
5 C 900E LOCK NUT, 10-32, NYL INS BLK 4
6 D2157 SCREW, TWIST LOCK 2
7 D2158 LOCK WASHER 2
*Acrylic or metal shrouds are dependent on the confi guration that was ordered.
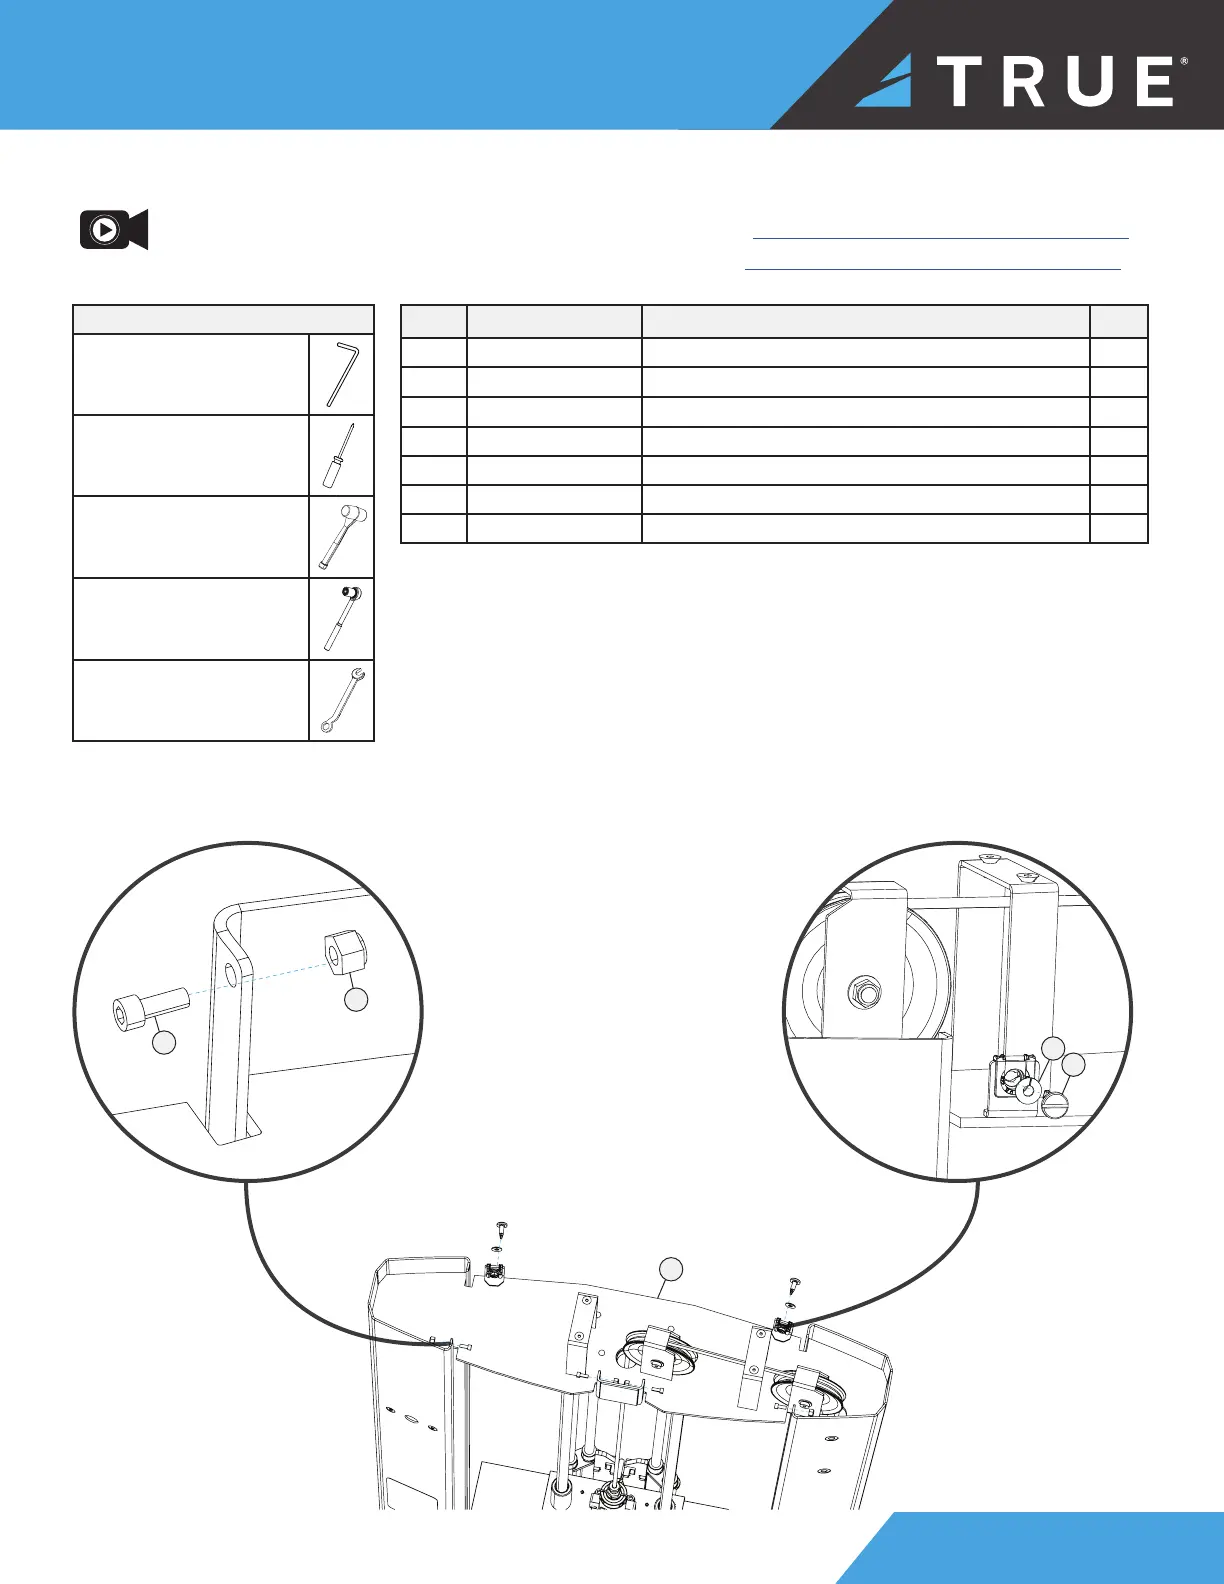
a. Using an allen wrench, socket wrench or open end wrench, and a fl at head screwdriver, remove and set aside the
shroud fasteners from the upright assembly using 4 hex screws, 4 lock nuts, 2 twist lock screws, and 2 lock washers.
TOOLS NEEDED
Allen Wrench
Flat Head Screwdriver
Rubber Mallet
Socket Wrench
Wrench
NOTE: Supplemental acrylic shroud video available on vimeo.com: https://vimeo.com/723539522?share=copy.
NOTE: Supplemental metal shroud video available on vimeo.com: https://vimeo.com/774417897?share=copy.
1
5
4
6
7