38
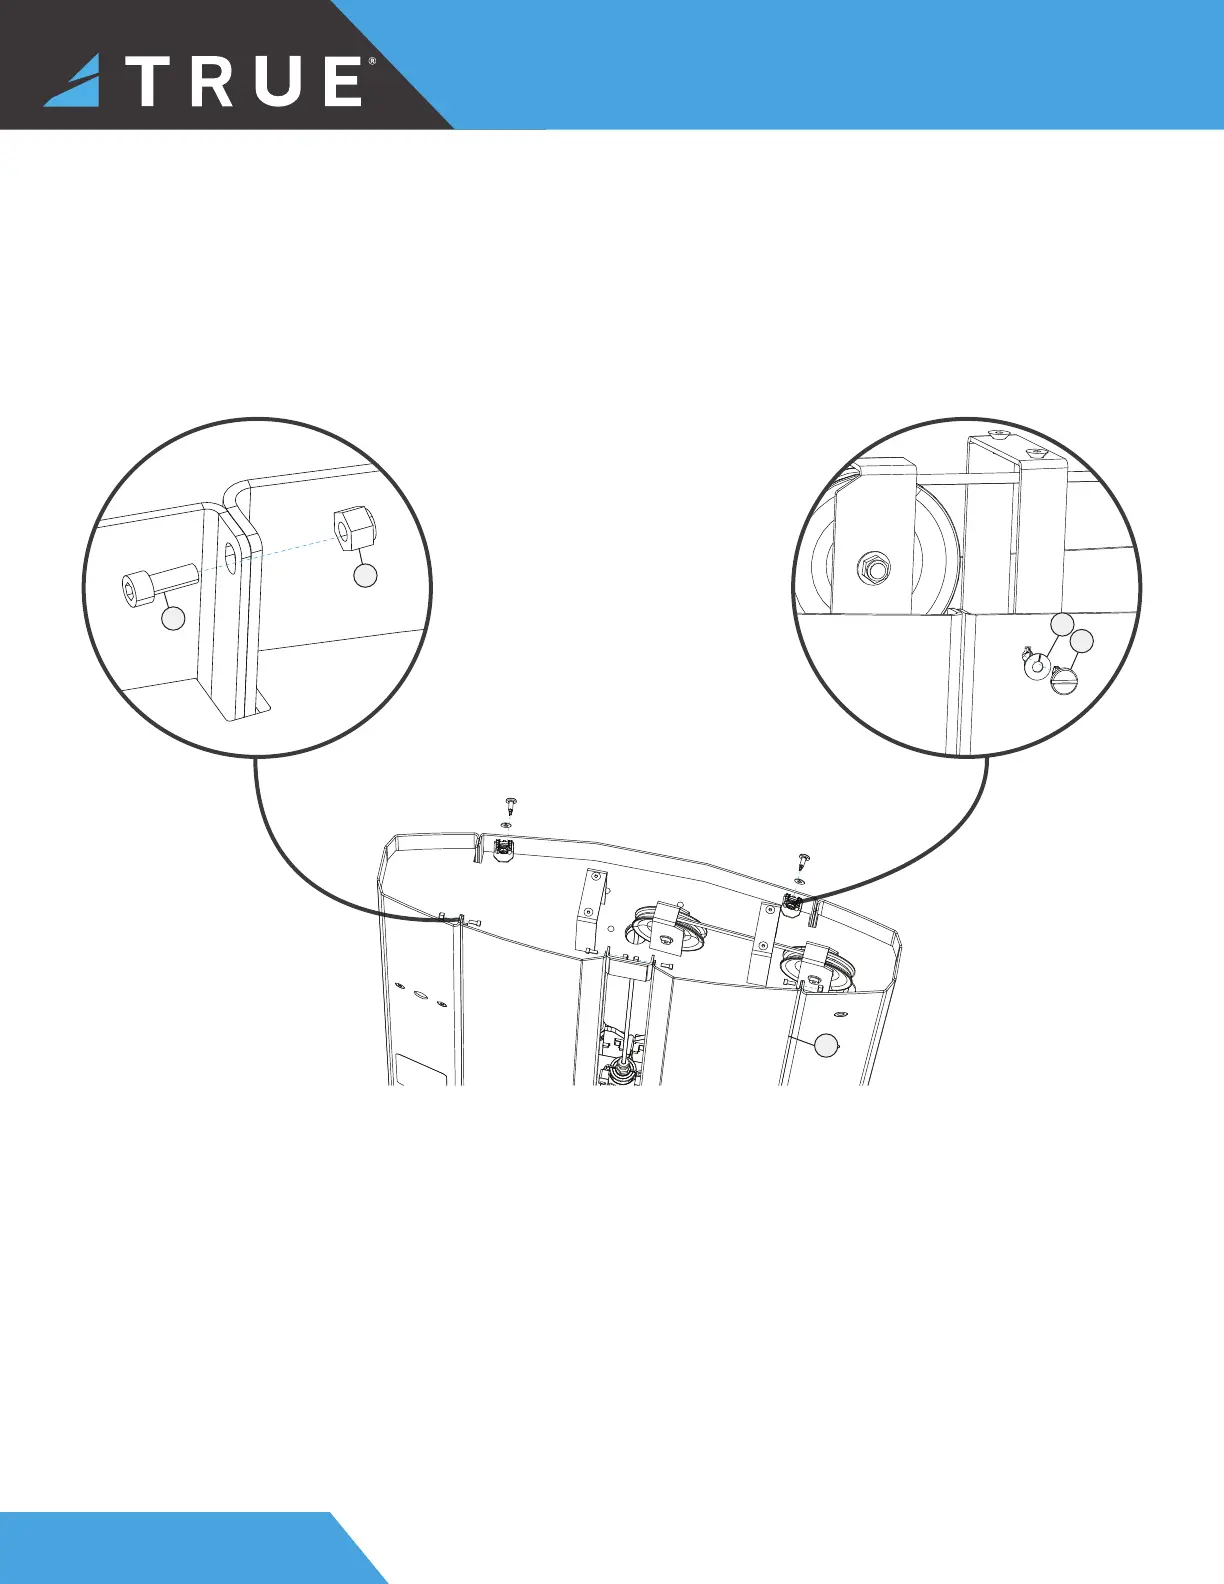
STEP 4—ATTACH METAL SHROUDS TO UPRIGHT ASSEMBLY CONTINUED
b. Slide the front metal shrouds onto the upright assembly.
c. Using an allen wrench and a socket wrench or open end wrench, secure the front shrouds to the upright assembly
using the 4 hex screws and 4 lock nuts.
d. Slide the rear shroud onto the upright assembly.
e. Using a fl at head screwdriver, secure the rear shroud to the upright assembly using the 2 twist lock screws and 2 lock
washers.
5
4
6
7
3