34020-01190 - 01 - 03/2022
Combi D Installation
29EN
CAUTION
Hazard from heater becoming loose
In the event of an accident, a heater that is not
fastened adequately can become loose. This
can be a hazard for persons.
Observe the following installation conditions.
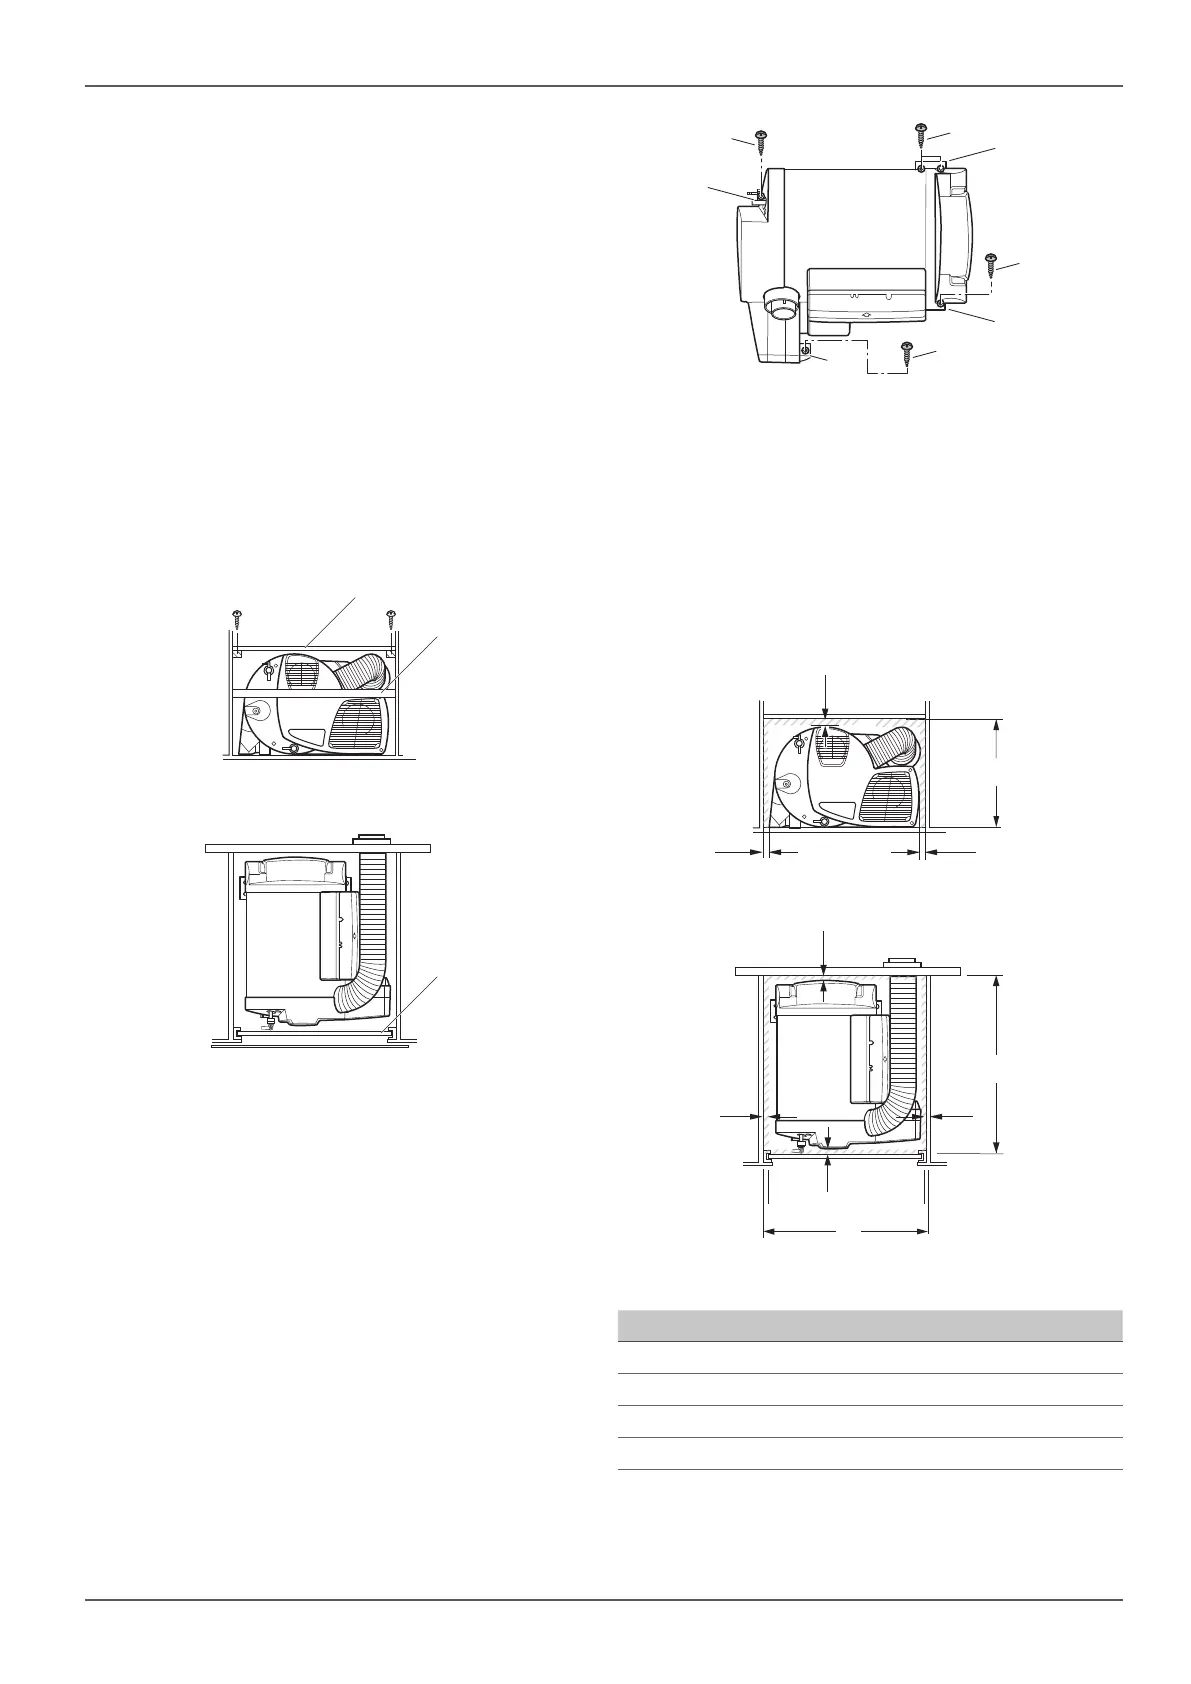
Screw the top covering plate (Fig. 6-1) of the instal-
lation cabinet – at least 10mm above the heater – to
the other furniture parts.
Depending on the installation situation – especial-
ly with rear installations – install a stable support
(Fig. 6-2) in front of (next to) the heater at right an-
gles to the driving direction. For this purpose, a solid
batten (minimum cross section 30 x 50 mm) can be
fitted about 180 mm above the floor or a panel can
be installed (Fig. 6-3) to slide in on a solid furniture
console.
1
2
3
Fig. 6
Check whether the vehicle has a load-bearing floor,
a double floor or a false floor to fasten the heater to.
If this is unsuitable, create a load-bearing surface
(e.g. a sheet of plywood glued to the floor).
Screw the heater to the vehicle floor, double floor or
false floor, using four B 5.5 x 25 screws (included in
scope of delivery) (Fig. 7-1).
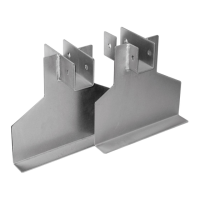
Depending on the installation situation, it may also be
possible to secure the heater with three screws. In this
case, always screw the aluminium feet (Fig. 7-2) and
optionally one of the plastic feet (Fig. 7-3) to the vehicle
floor.
3
2
1
1
1
1
3
2
Fig. 7
•
The appliance and its exhaust gas system must al-
ways be installed so that they are easy to access at
all times for servicing (e.g. fuel and water connection
via a service flap, furniture door etc.) and are easy to
remove and install.
•
The distance between the appliance and surround-
ing furniture items or vehicle components must be
at least 10 mm on all sides (5 mm at the water con-
nection side) (Fig. 8).
d
d
d
d
d
d d
c
a
b
Fig. 8
Value Dimensions
a 540mm*
b 500mm*
c 350mm*
d 10mm*
*Minimum dimensions – additional space must be pro-
vided for fuel and water connections depending on the
installation situation.


 To Next Page