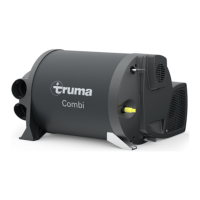
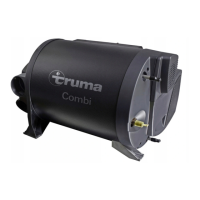
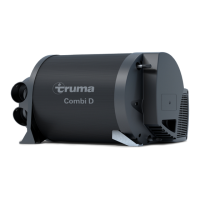
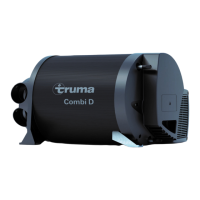
Combi Test Procedure
Purpose:
The purpose of this procedure is ensure that the Truma Combi, after being installed in accordance with the applicable
manuals and standards, is functionally tested prior to delivery. This test procedure is not meant to test all functions of the
system, and does not absolve the manufacturer or service technician from their responsibilities relative to the manuals
delivered by Truma Gerätetechnik GmbH & Co. KG.
Synchronized
Not
Synchronized
❑ Ensure that the Gas Shut Off Switch on the top of the Combi is set to
the “ON” position.
❑ Ensure that the gas supply and 110VAC (if available) are both
connected and turned on.
❑ If there is a switch for the 12VDC supply to the Truma Combi, make
sure it is turned on.
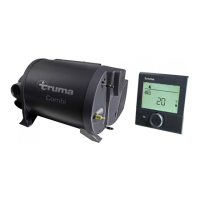
❑ Select the “Heating Mode” on the CP Plus control panel and turn the knob to
the desired heating setting to 86⁰F (30⁰C) to ensure that there is a demand
for heat.
❑ Note that if the internal temperatures in the vehicle are above 86⁰F (30⁰C) the
Combi will not see a demand for heating and the heating test cannot be
carried out.
❑ Select the Power Source as “GAS”.
❑ Run the Combi in this setting for a minimum of 5 minutes and check to see if
the flame icon is flashing, indicating that the system is running.
❑ Change the Power Source from “GAS” to “EL1” (Electric 1) setting “d” and
check that the flame icon is still flashing.
❑ Change the Power Source from “EL 1” to “EL 2” (Electric 2) setting “e” and
check that the flame icon is still flashing.
❑ At this point, check that warm air is coming out of all Warm Air Outlets.
❑ Select Water Heating Mode “BOOST” (d) on the CP Plus and wait to see that the
symbol starts to flashing, indicating that there is a demand for water heating.
❑ The function test is now complete. Turn off the water supply, LPG, and 110VAC.
❑ Ensure that the Gas Shut Off Switch remains in the “ON” position.
❑ Open the Drain Valve (to the “c” position) to drain water from the system.
❑ A failure to drain the system could result in frost damage, which is not covered
under the scope of Truma’s Manufacturer Limited Warranty.
❑ Ensure that the Drain Valve is closed (in either the “a” or
“b” position).
❑ Fill the system with water.
❑ Check that the CP Plus control panel is synchronized
with the system.
❑ If the CP Plus is not synchronized, enter the
“Settings” option denoted by the wrench symbol and
select the “RESET” option and then select “PR
RESET”.