Eewave Wireless Headset - USER’S MANUAL
2
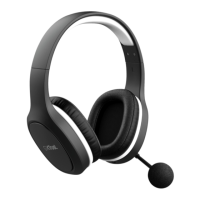
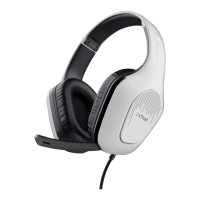
Installation
A. Headset
B. LED light (B1/B2)
C. USB connection
D. USB charge cable
E. USB receiver
F. Media Buttons
Play/ Pauze
Previous
Next
Volume -
Volume +
- Before using the headset needs to be fully charged.
- Connect the USB charge cable to the headset and your computer to charge the headset.
- When connected the (B2) LED light will turn red when charging.
- The (B2) LED light will go off when the headset is completely charged.
- Connect the USB receiver to your computer
- Turn on the headset
- The (B1) LED light will turn blue when it’s connected.
Configuration
Windows 7/ Vista
Go to ‘Playback Devices’ to configure the headset.
Set the ‘Wireless Audio’ as your default device
- Select the ‘Recording’ tab
- Set the ‘Wireless Audio’ as your default device
- Double click the ‘Microphone’
Set the level to 100%
Windows XP
Go to ‘Adjust Audio Properties’ to configure the microphone
- Set the default device to ‘Wireless Audio’ (voice and recording)
- Go to the ‘Voice’ tab.
Click the ‘Volume’ of the Voice recording.
Set the level to 100%
3
6
11
10
9
8
7
5
4
2
1