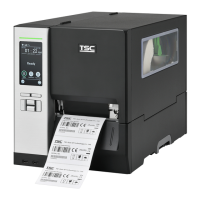
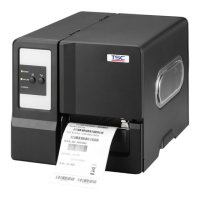
(1) Open the printer right side cover.
Move the label roll guard horizontally
to the end of label spindle then flip
down the label roll guard. (If your
paper core is 1 inch, remove the 3
inch core adapters from the label
supply.)
(2) Place the roll of media on the label
supply spindle. Flip up the label
roll guard. (When insert the 3 inch
core adapter to the spindle, please
making sure the arrow direction is
as following fig.)
(3) Push the print head release lever to
open the print head mechanism.
(4) Pull the leading edge of the label
forward through the media guide bar
pass media sensor, and place the
leading edge onto the platen roller.
(Please refer to “Loading path for
media” as following fig.)
(5) Adjust the label guide to fit the
label width and adjust the media
sensor to make sure the gap or
black mark is at the location where
media gap/black mark will pass
through for sensing.
(6) Close print head mechanism by
pushing the both sides of print head
mechanism, make sure the latches
are engaged properly.
(7) Set media sensor type and calibrate the selected sensor. (Please refer to the “Diagnostic Tool” on facing page to
calibrate the sensor.)
Note: Re-calibrate the gap/black-mark sensors when changing media. The sensor location is marked by a
triangle mark ▽ at the sensor housing.
* For more information and features about this printer, please refer to the user’s manual on the CD disk.
* Specifications, accessories, parts and programs are subject to change without notice.
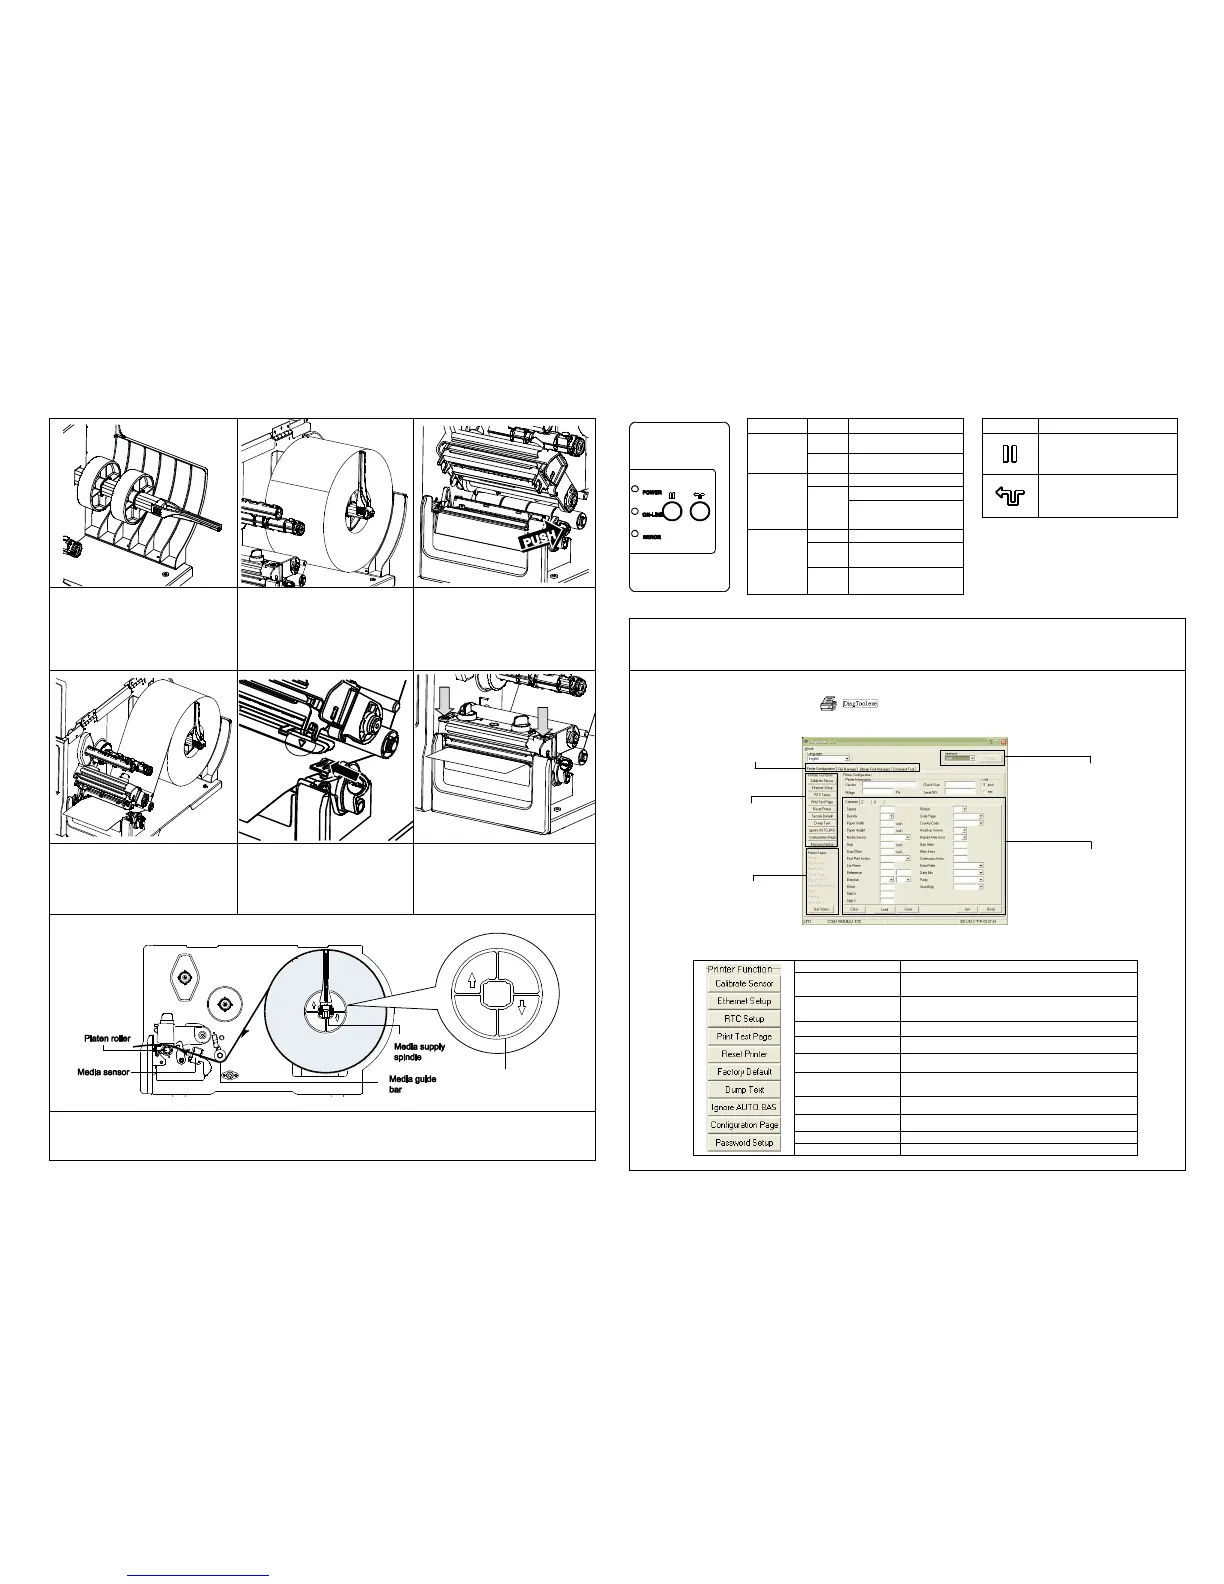
Control Panel
Printer is downloading
data
Carriage open or cutter
error
No paper, paper jam or
no ribbon
PAUSE key:
Pauses or resumes printing
FEED key:
Advances one label
TSC’s Diagnostic Utility is an integrated tool incorporating features that enable you to explore a printer’s settings/status;
change a printer’s settings; download graphics, fonts and firmware; create a printer bitmap font; and send additional
commands to a printer. With the aid of this powerful tool, you can review printer status and settings in an instant, which
makes it much easier to troubleshoot problems and other issues.
Start the Diagnostic Tool:
(1) Double click the Diagnostic tool icon ( ) to start the software.
(2) Four features (Printer Configuration, File Manager, Bitmap Font Manager, Command Tool) are included in the
Diagnostic utility.
(3) The Printer Functions group provides the following options:
Calibrate the sensor specified in the Printer
Setup group media sensor field
Setup the IP address, subnet mask, gateway for
the on board Ethernet
Synchronize printer Real Time Clock with PC
Initialize the printer and restore the settings to
factory default.
To activate the printer dump mode.
Ignore the downloaded AUTO.BAS program
Print printer configuration
Set the password to protect the settings
 Loading...