Do you have a question about the Tunturi F250 and is the answer not in the manual?
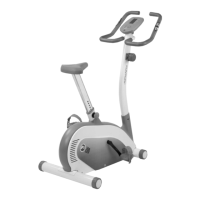
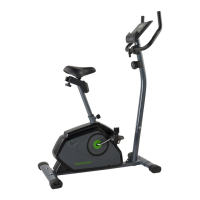
Secure the front and rear support tubes using lock screws, washers, and dome nuts.
Connect the wire from the frame to the handlebar tube and secure the handlebar.
Turn the resistance knob anticlockwise and adjust the brake belt tightness on the flywheel.
Fit the handlebar, connect wiring, install batteries, and secure the meter.
Attach pedals to cranks and adjust seat height and position with the adjustment knob.
Set seat height so the middle foot rests on the pedal with a nearly straight leg.
Loosen the knob, turn the handlebar for comfort, and retighten.
Turn the knob clockwise to increase resistance, counterclockwise to decrease.
Perform aerobic exercise for endurance, aiming for perspiration without breathlessness.
The meter displays time, pulse, distance, and calorie consumption.
Shows pedalling speed in km/h, mph, or rpm; units set via switch.
Workout readings reset automatically when the meter is switched off or by pressing RESET.
Use switches in battery casing to select units for distance and speed.
Connect sensor, attach to earlobe, and press PULSE key to monitor heart rate.
Check screws, clean with damp cloth, avoid solvents, store in a dry place.
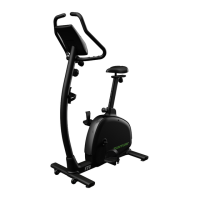
| Bluetooth | Yes |
|---|---|
| Resistance System | Magnetic |
| Display | LCD |
| Display size | 5.5 inch |
| Drive System | Belt |