Installation Guide
The operating panel must be installed in a frost-free environment.
The control panel can be installed inside or outside the sauna/steam room. If installing inside the sauna
cabin, the upper edge must not be more than 80 cm above the fl oor, and must be at least 30 cm from the
heater. The ambient temperature around the Pure control panel should never exceed 80 °C.
The unit can be mounted on the wall using the bracket or double-sided adhesive supplied. If using the
bracket, mount the control panel on the bracket using adhesive.
A 30 mm hole through the wall is required if mounting the control panel directly on the wall.
When installing the panel inside the steam room/sauna, installation must be directly to the wall, using the
accompanying adhesive or a Tylö embedding frame (item no. 90001056). The wall must be smooth and
perfectly clean after hole drilling (30 mm) before installation. The bracket must not be used.
If you have purchased an Elite check the coverage of your wireless network before you fi nally install the
control panel (see also Confi guring: System settings in this guide).
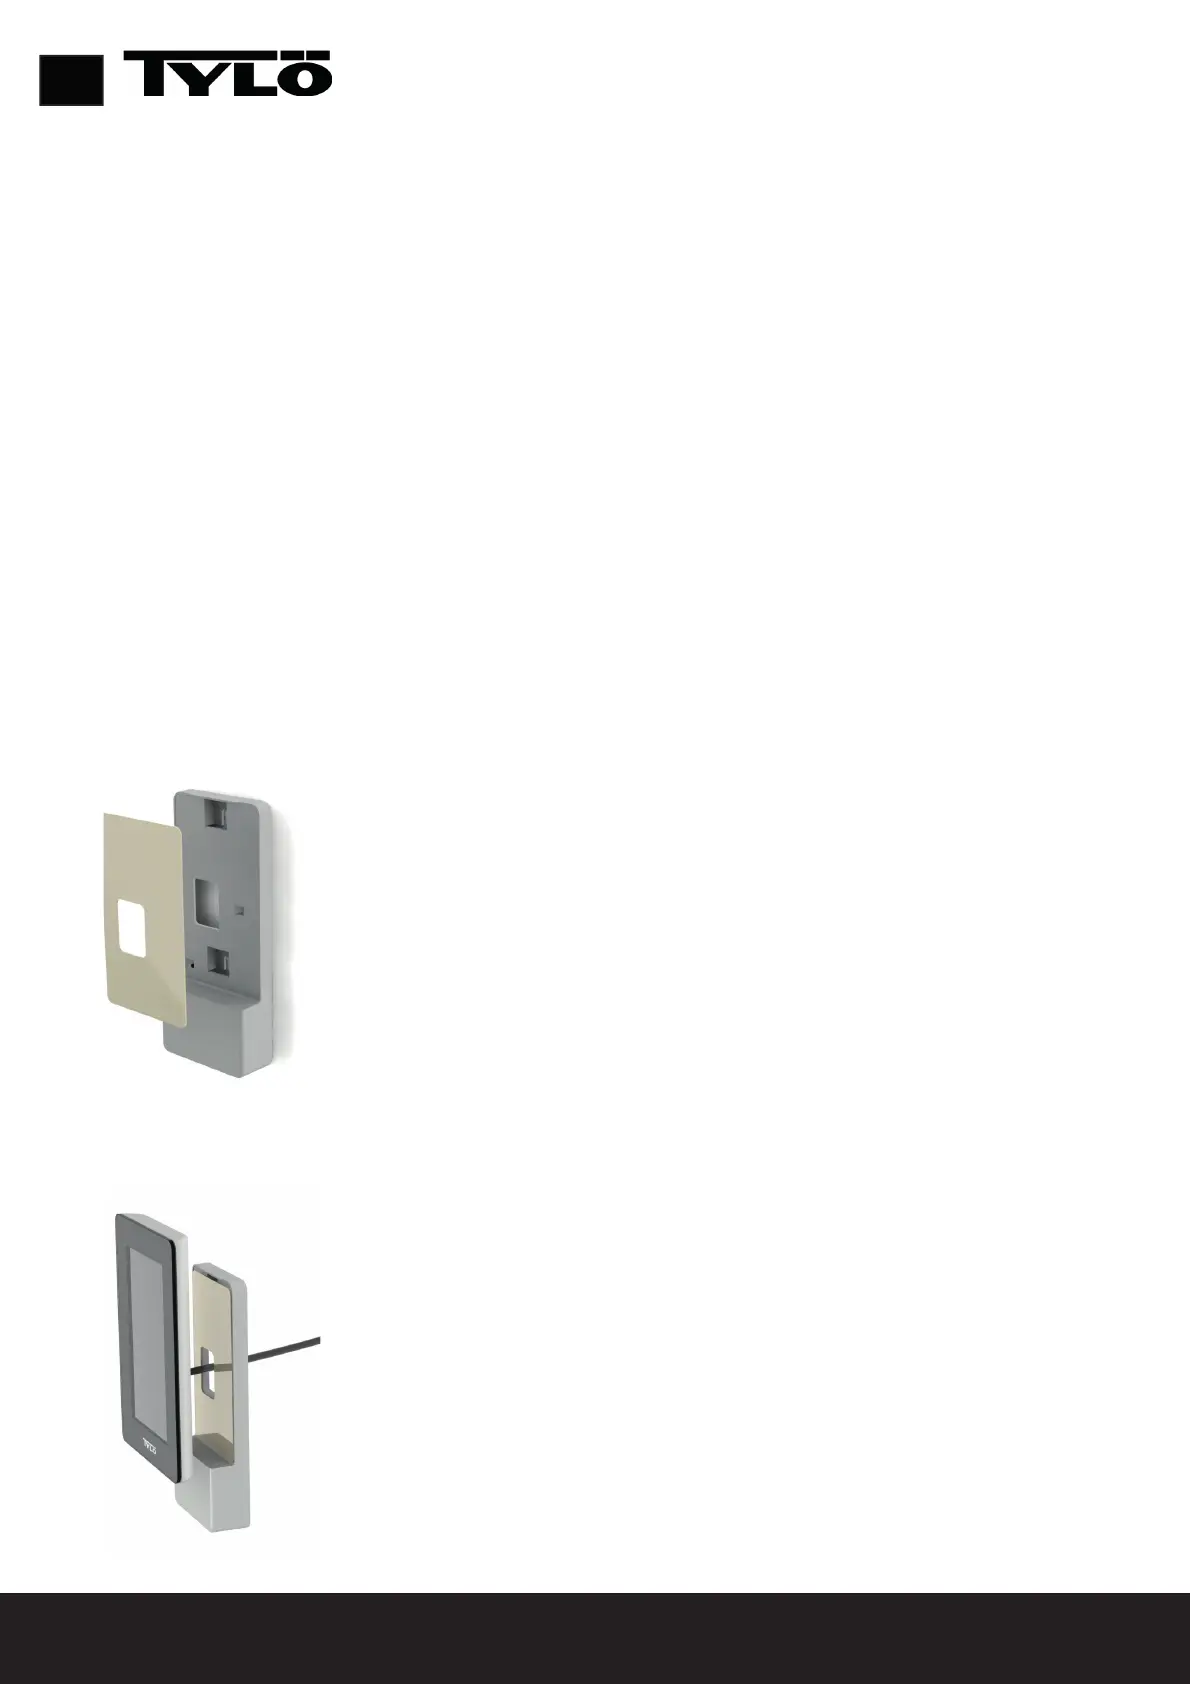
Installation with bracket
Use the bracket as a template to mark up screw holes on the wall. Tighten the screws a little until the
bracket is loosely secured.
Secure the adhesive to the bracket (see Figure 1).
Fig. 1
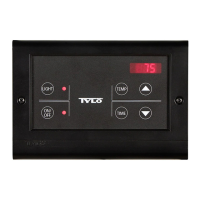
Remove the protection from the adhesive and secure the panel to the bracket (see Figure 2).
Fig. 2
10
EN