5. Remove existing bottom hinge (3 screws) and remount on oppo-
site side TOP. Remove top hinge screw pin.
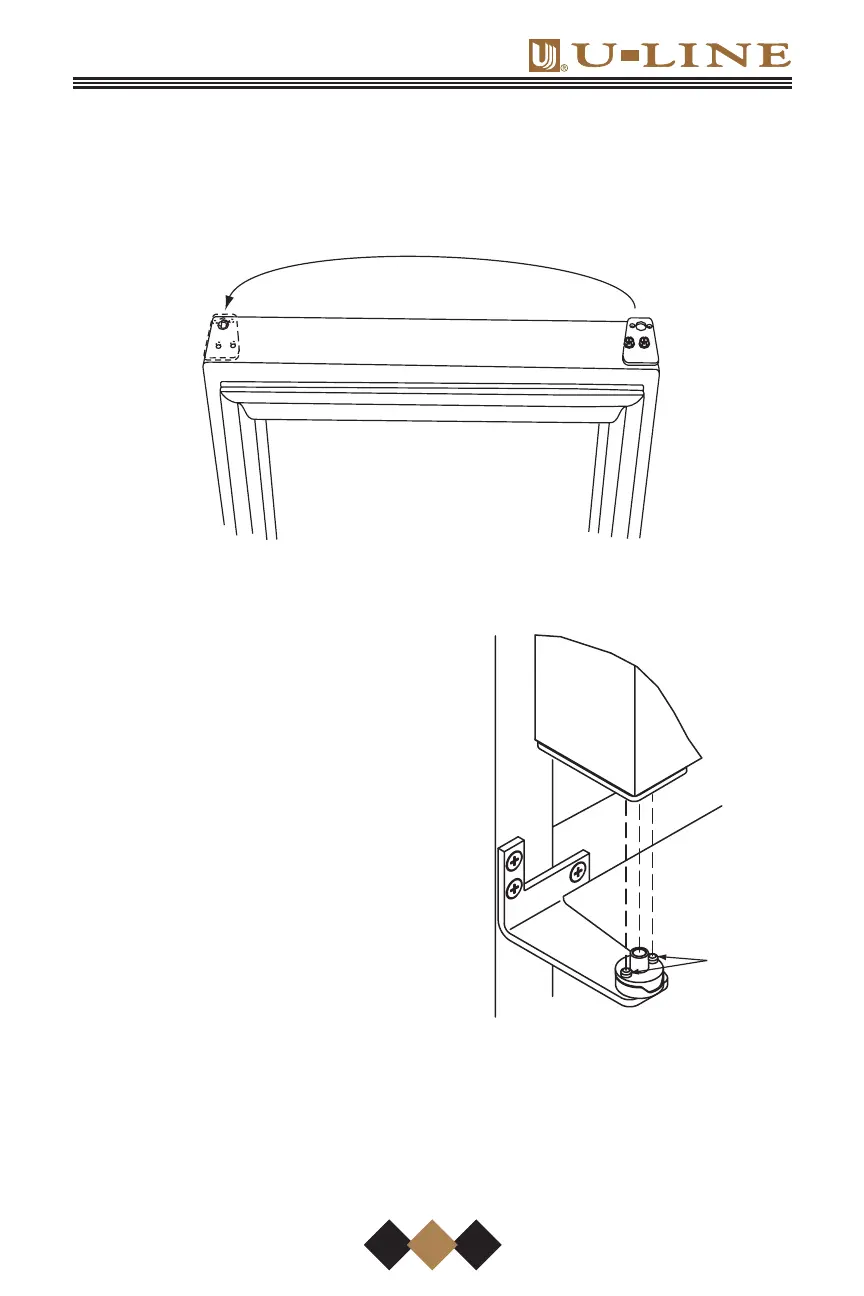
6. With bottom of door facing up, remove pivot plate and bushings
(2 screws), flip over, and remount on opposite side of door (see
Figure 10).
Figure 10
7. Holding door upright with top of
door tilted forward, place hole of
door pivot plate on bottom hinge
screw pin (see Figure 11). Be
sure that the bosses on the
closers align with holes in hinge
and hinge plate.
8. Tilt top of door into position in top
hinge and install top hinge screw
pin.
9. Install plastic screw plugs
removed in Step 2 in existing hinge
holes (3 each, top and bottom).
Figure 11
BOSS
CLRCO008
UL319a
15
30_10008_E_WC_UM.qxd 3/2/05 2:23 PM Page 15
 Loading...