12 GB / IE / NI
USING THE DEVICE
• Check the charge level of the
power bank with compressor
Switch on the power bank with compressor
6
by using the on/off switch for the power
bank with compressor
8
�
When charging, the indicator lights flash
5
�
The number of permanently lit indicator
lights
5
shows the charge level of the power
bank with compressor
6
�
When the device is fully charged, all four
indicator lights
5
will be permanently lit�
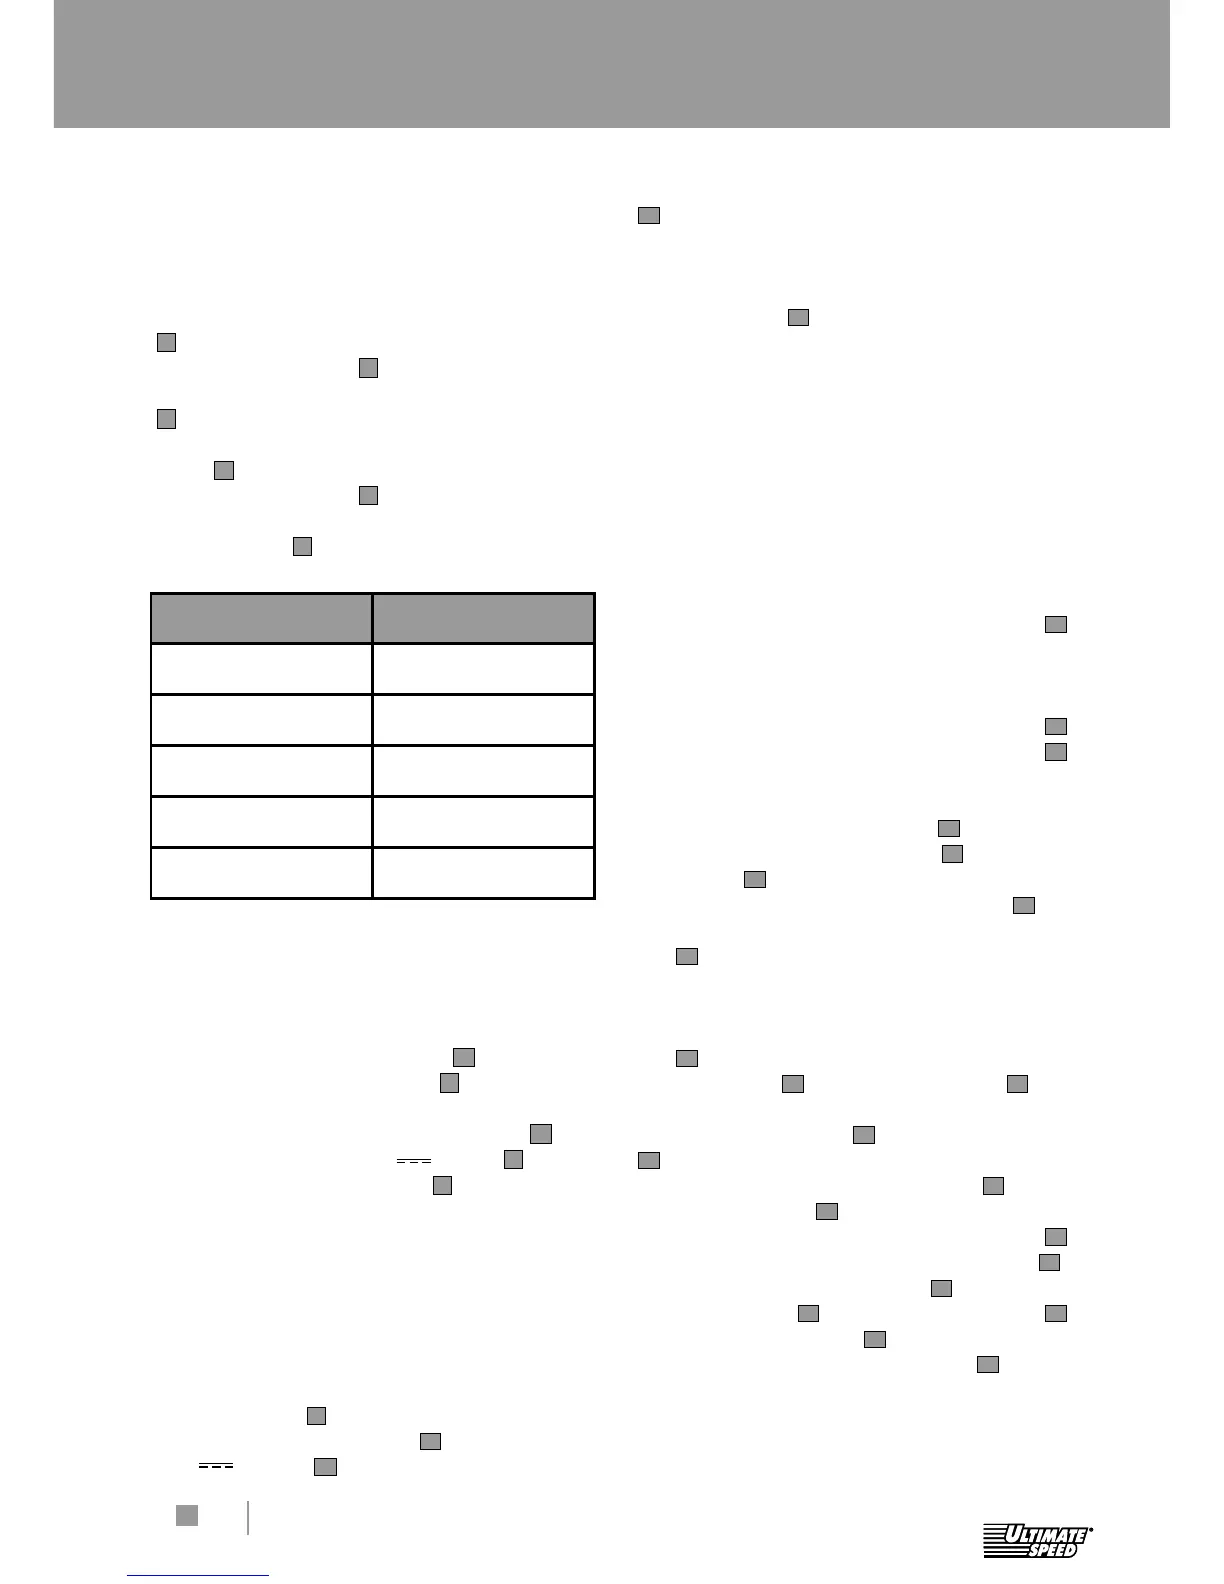
Indicator lights Charge level
Device 0%
1 permanently lit 25%
2 permanently lit 50%
3 permanently lit 75%
4 permanently lit 100%
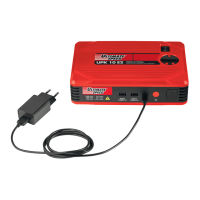
• Charging the power bank
with compressor
Use the power supply adapter
16
to plug the
power bank with compressor
6
into a mains
socket�
Plug the cable from the power adapter
16
into
the charging port (15 V /1 A)
9
on the
power bank with compressor
6
and then plug
into a mains power socket�
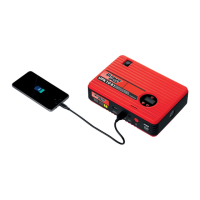
• Charging mobile phones and
tablets
Switch the on/off switch for the power bank
with compressor
8
to the ‘On’ position�
Connect the USB cable
17
to the USB port
(5 V
/2 A)
10
and then plug it into your
mobile phone or tablet�
Press the on/off switch on the power bank
4
�
Please note: You cannot charge USB devices
(e�g� mobile phone, tablet) while the power bank
with compressor
6
is being charged�
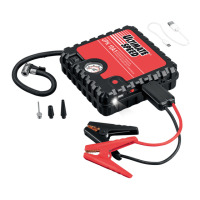
• Using the integrated
compressor
Place the device on a level and non-flamma-
ble surface� Do not operate the device in a dusty
environment� This is a fire risk and could also
cause damage to the device�
For inflatable items with back pressure
(e�g� semi-inflated car tyres): switch the device
on before connecting the connecting valve
15
on the tyre�
Please note: Depending on the inflatable item,
you can either use the connecting valve
15
directly or together with the valve adapters
13
supplied�
Connecting the connecting valve
15
:
Open the connecting valve
15
: move the
clamp lever
12
to an upright position�
Connecting without a valve adapter
13
:
Connect the opened connecting valve
15
into the valve on the inflatable item
(remove valve cap on inflatable item first if
necessary)�
Press and hold the connecting valve
15
and then lock it in position: press the
clamp lever
12
towards the air hose
14
�
Connecting valve
15
with valve adapter
13
:
Open the connecting valve
15
: move
the clamp lever
12
to an upright position�
Press the matching valve adapter
13
into the opening on the connecting valve
15
�
Fix the valve adapter
13
into the con-
necting valve
15
: press the clamp lever
12
towards the air hose
14
�
Connect the valve adapter
13
into the
connecting valve on the inflatable item
(remove valve cap on inflatable item first if
necessary)�
Using the device
 Loading...