www.ultraoptics.com page 7
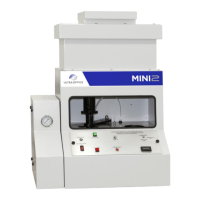
7. Remove the lens by carefully holding onto edges and flipping the switch down to the
UNCHUCK position.
a. It is recommended to keep the coated surface facing down to reduce the risk of
airborne contaminants from getting on the freshly coated surface.
8. With the lens removed from the machine, this is a good time to do a quick visual
inspection of the quality of the coating film. If there are any issues found, it is possible to
clean the wet coating off with soap and water, then re-coat the lens.
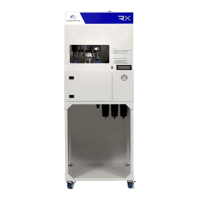
9. Take the coated lens to the UV Cure unit. Flip the VACUUM switch up.
10. Open the door and center the lens, front side up, on the vacuum cup.
11. Close the door and press the START button.
12. When the lens returns to the front of the cure unit, open the door, grab the lens and flip
the VACUUM switch down to release the lens.
a. If there is a small amount of uncured coating on the front side of the lens, wipe it
off with a non-abrasive cloth.
NOTE: The Mini2 and Cure Unit are designed with suction cups that work for nearly all lens
types. If a particular lens type is not working well, contact Ultra Optics for other suction cup
designs.
The lamp in the UV Cure Unit is designed to last approximately 1,000 hours. If the lamp is
used past 1,000 hours, the coating will likely not be properly cured. Be sure to note that
the hour meter display has a blinking decimal point. When the meter reads 1,000.0 hours
(as detected on the hour meter), call Ultra Optics to order a replacement light module.
When you receive the replacement module, return the original unit for a core credit.