Operation
1. Plug the unit to the power source by means of the power cord.
Put the power switch on the body of a unit in “on”.
WARRNING !
After switching the unit on you can for 4 seconds fill the vibration and noise of the stepper motors getting
in the starting position, it’s a normal procedure which will harm you in the beginning only and is normal at
every start of each session.
2. Using “up” and “down” buttons you can shift the operation mode of the “main menu”
- Test
- DMX controller mode
- Internal program
- Sound activated mode
- Slave mode
- Service mode
3. Press “Enter” button to confirm the chosen mode.
3.
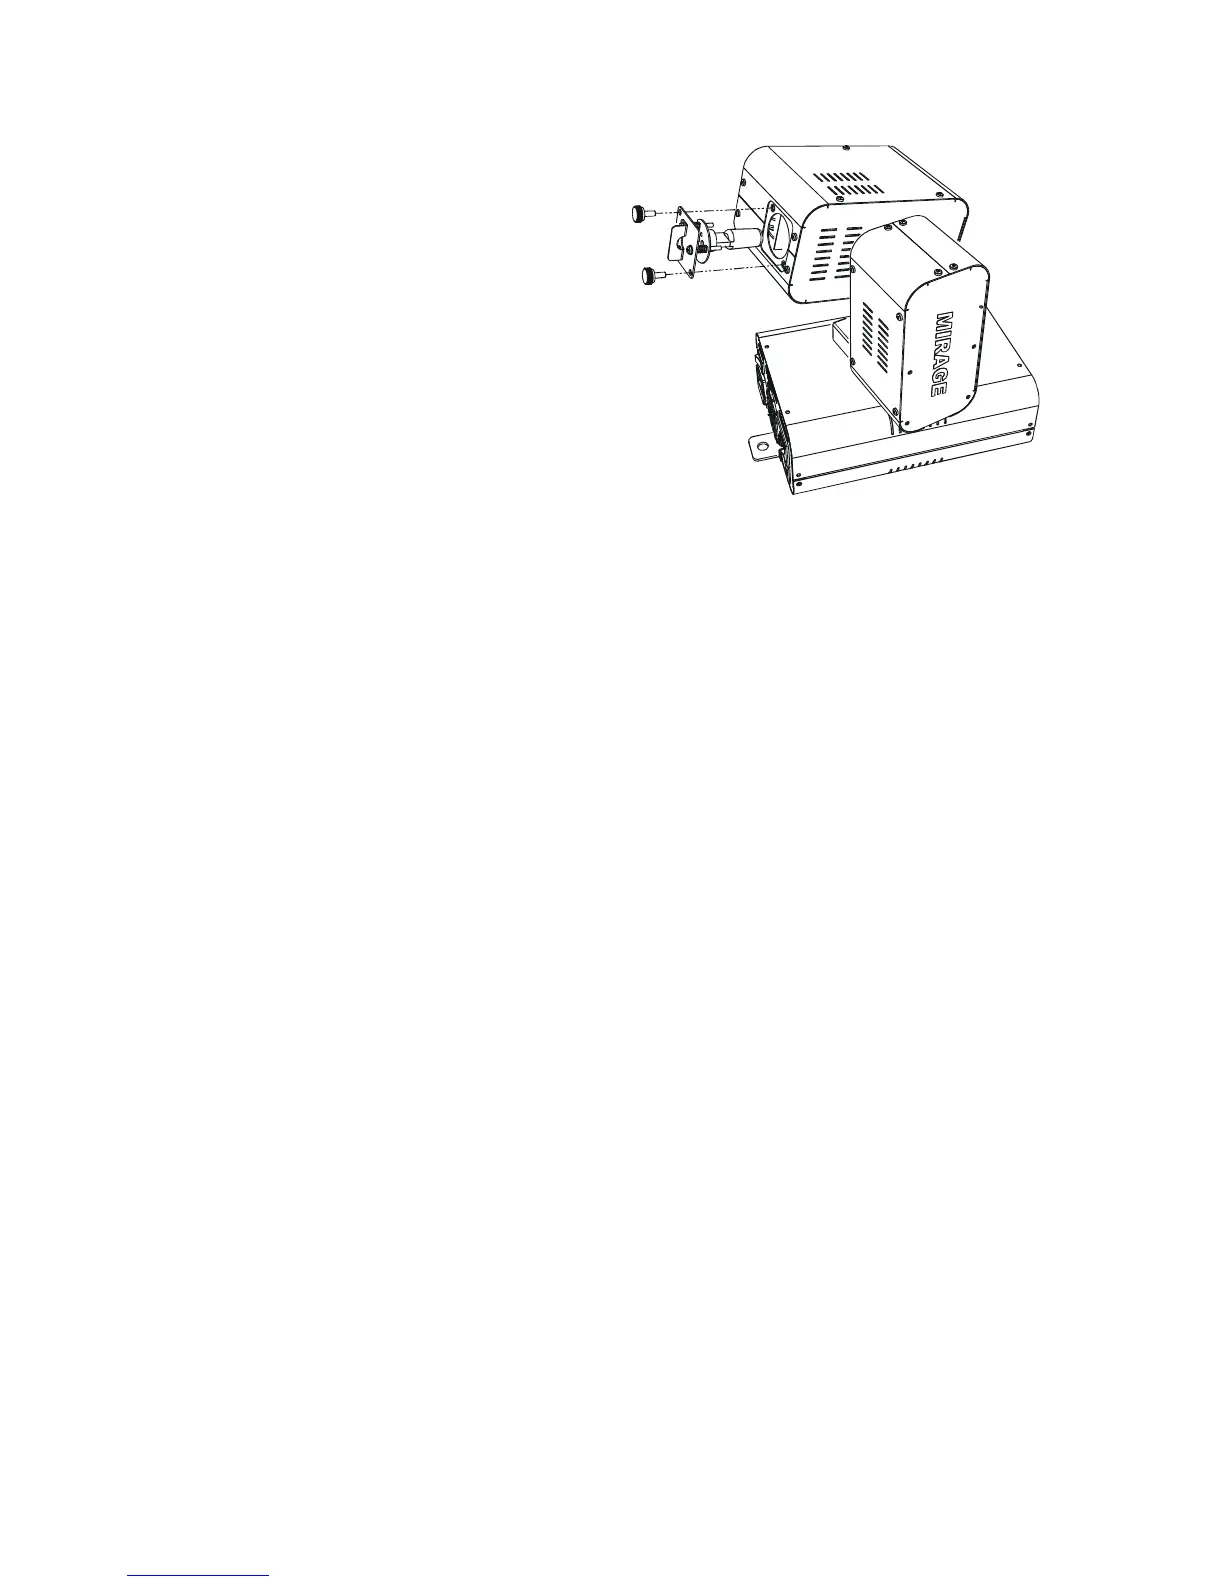
Bulb Installation/Replacement
1. Before opening the unit, make sure that the unit
is cool and it is not connected to any power
source.
2. Remove the 2 screws from the rear part of the
unit.
3. Pull back the cover with lamp holder and the
bulb.
4. Install / Replace the bulb.
5. Close the cover and replace the screws.
Note: Sometimes after changing the bulb, you will need to adjust it in the reflector using the three screws
surrounding the lamp holder. To make this process more convenient please keep to the following procedure:
Set the unit in the “Service” option ( see p # 7 for details).
After this chose “Manual operation” ( see p # 11 for details).
Put the channel “Dimmer” to full capacity, set “Color” and “Gobo” to a white circle produced on the light-colored wall or
plane surface 3-4 m distant.
Rotating three regulating screws make the white spot evenly bright .