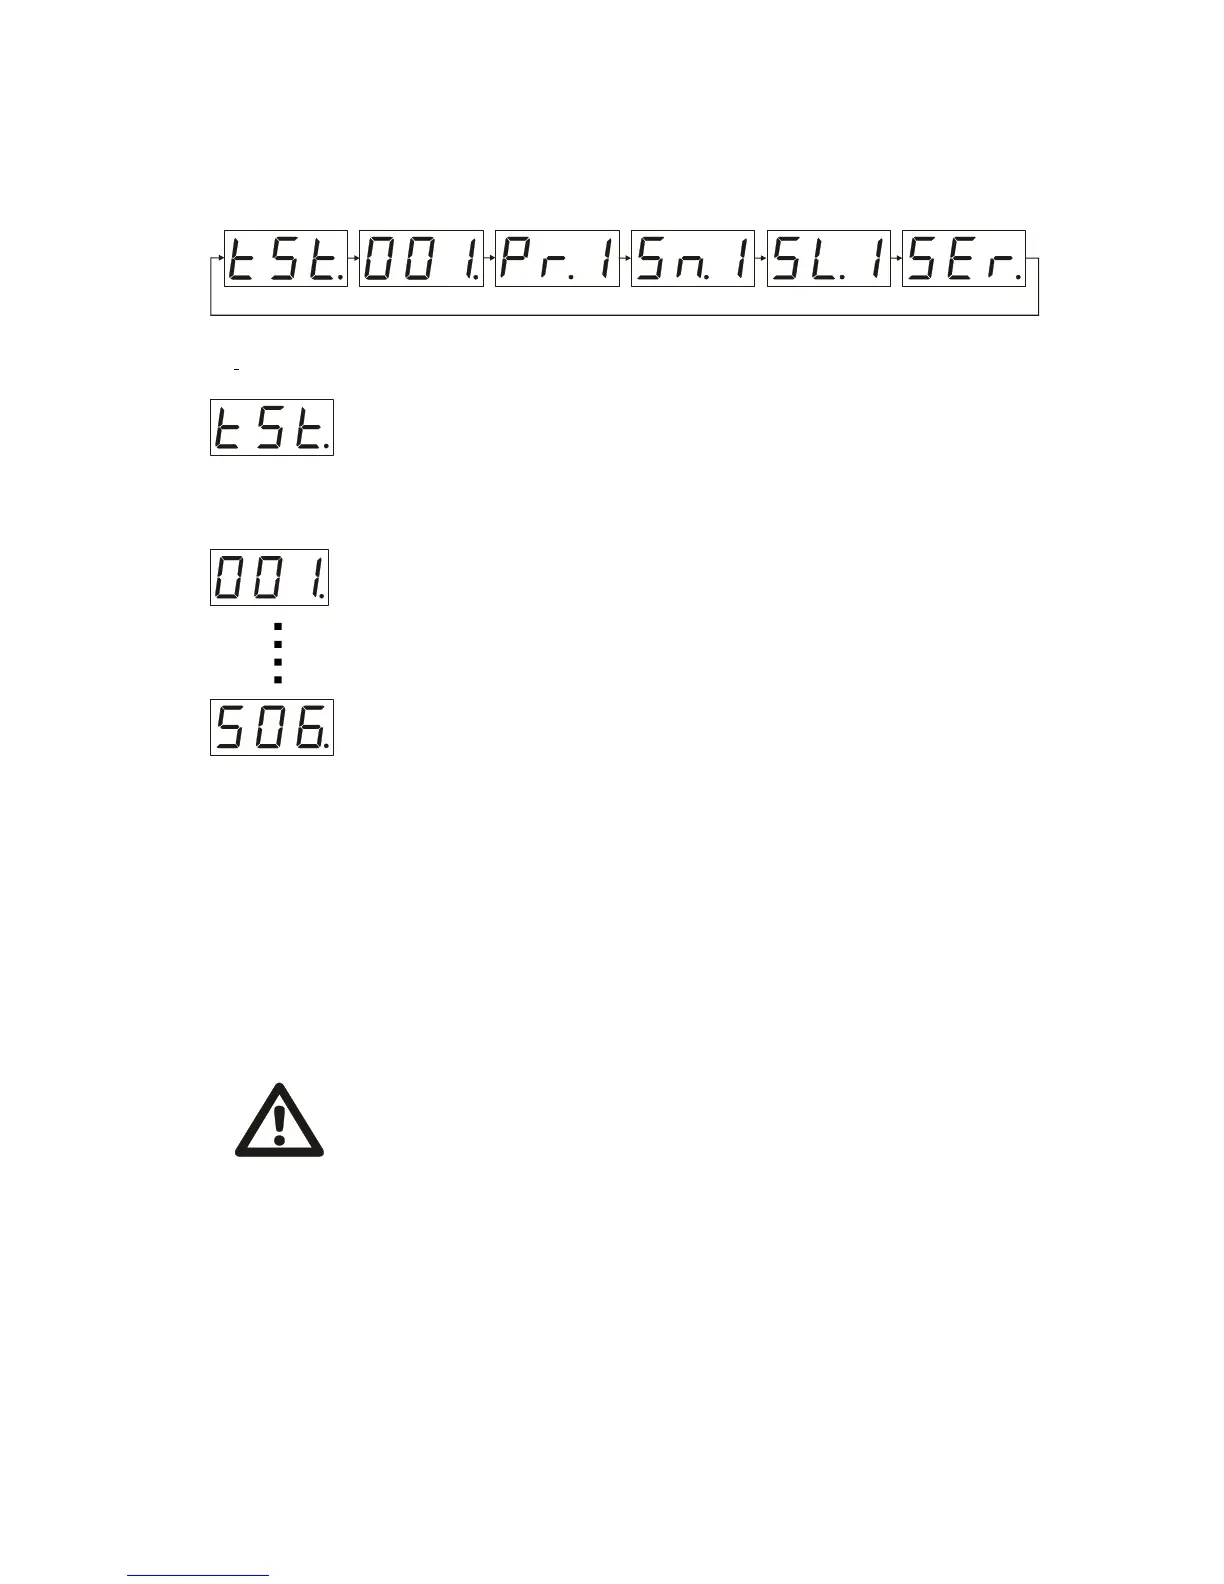
Main menu
You can shift the different operation modes being in the “main menu” Each time you begin the
operation you could see on the LCD display one of the items of a whole “main menu”:
DMX controller mode
Chain the DMX controller using an XLR cable ( is not included) to a DMX connector of
a unit .
(1st contact – ground, 2nd contact «-», 3rd contact«+»)
After getting in a starting position the unit would be ready to start in the operation mode
it has been put before you plugged it to the power source. Using “up” and “down”
buttons set on LCD display the three digit number from 001 to 506 which would be the
channel number of the unit. To change the number press ”mode” button the number
would blink operating with “up” and “down” buttons shift to the desirable number of a
channel and press “enter” button. The unit will get in starting position and would operate
in accordance with the chosen number of a channel.
Mirage obtains 7 DMX channels
1. COLOR
2. GOBO
3. DIMMER (brightness of the bulb)
4. PAN
5. TILT
6. PAN/ TILT SPEED
7. SERVICE CHANNEL
Test mode
To check the unit’s functioning ability is a prior task of the “test mode”. With the help of
“up” and “down” buttons get the LCD display show “tst” (“test menu”), then press
“enter” button, after getting in a starting position (as described before) the unit will operate
in a test program finishing which it will shift to a “Sound activated mode “ the “tst”
indication would blink.
Use “up” and “down” buttons to choose the operation mode you need Let’s have a look at the points of
the “main menu” more thoroughly.
4.
WARRNING !
If the DMX chain lacks a unit or something is wrong with the controller the LCD
display would blink every 2 seconds. When operation is normal the LCD display is
stable.
The signal level of a DMX channel and the functioning of a unit
CHANNEL1 (COLOR)
0-9 white 100-119 crimson
20-39 blue 120-139 red
40-59 yellow 140-159 dark green
60-79 dark blue 160-179 orange
80-89 green 180-199 magenta
200-219 rose
 Loading...