6.
Internal program mode
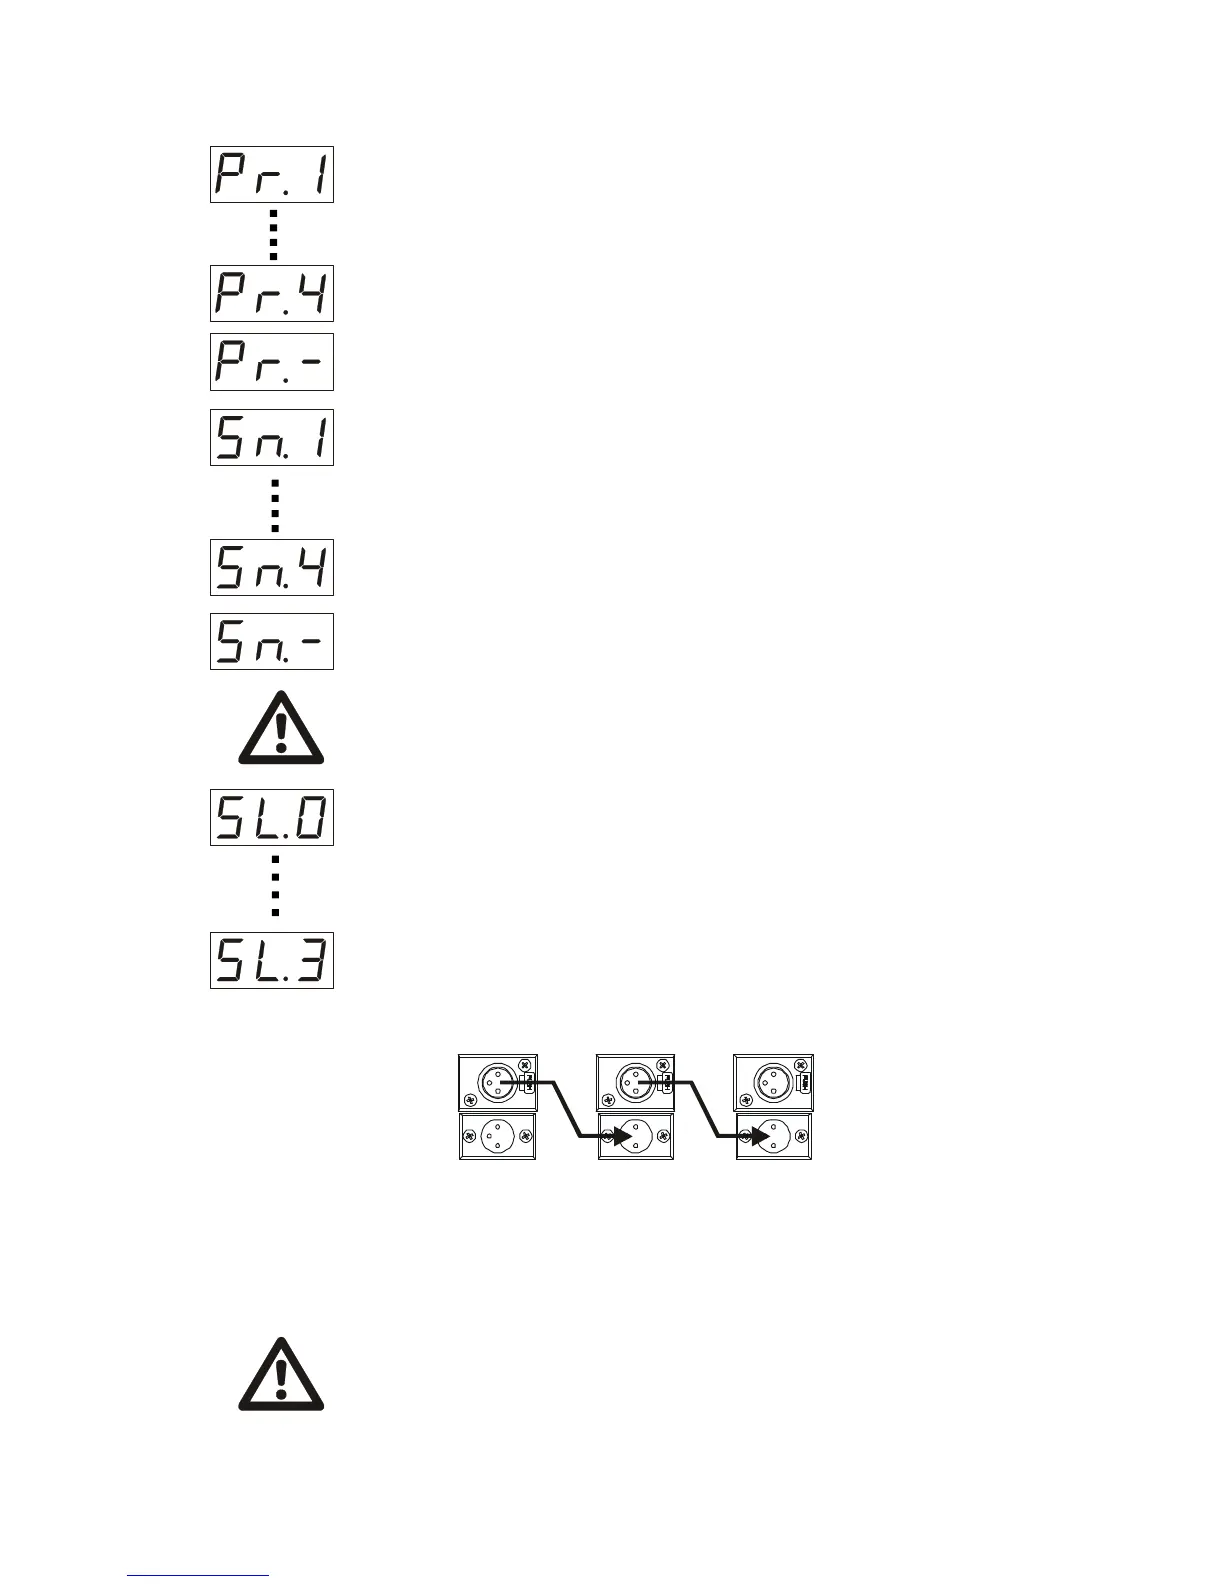
To shift from one program to another press the ”mode” button (the channel number on
the LCD display would blink Using “up” and “down” buttons you can chose the program
number. Press “enter” button, after getting in a starting position (as described before)
the unit will operate in a test program you have chosen . When you shift to “Pr.-“ of a
“program menu”. The unit would randomly choose the program from the four optional.
Sound activated mode
This mode means that the operation is taking place automatically in accordance with
the music pressure not lower than 40 Db reaching the built in microphone of the unit.
After 3 seconds of functioning in this kind of the mode the built in processor finds out the
rhythm and chooses a proper tilt and pan rotation speed .
You obtain 5 sound activated programs .
To chose a needed one press the ”mode” button (the number on the LCD display would
blink) Using “up” and “down” buttons you can chose the program number. Press “enter”
button, after getting in a starting position it operates in a chosen program of “Sn menu”.
When you get the “Sn.-“ on the LCD display the unit randomly would choose the sound
activated program number
WARRNING !
The music pause for 6 seconds or more the unit switches off the bulb and resume
its work after the music starts once more.
Slave mode
To the unit operating in either Internal program mode or Sound activated mode can
be linked 4 groups of “slave” units. Each group could contain several units, the number
of them depends on the quality and the length of the DMX cable. Starting this operation
mode you get “SL menu” with four options on the LCD display from SL.0 up to SL.3 .
The “slave” with “0” will operate synchronically with “master” other 3 indexes show the
number of steps the “slave” unit is behind the ”master”. To start with this operation
please follow these steps:
1. Chain the units by means of DMX (special cable with XLR connectors ) cables (not
included) as it is shown on the picture below.
2. Set the “master” unit either in Sound activated mode or in Internal program mode
3. Use “up” and “down” buttons on the “slave” unit until you get on the LCD display
“SL.0“. If you want the “slave” to be some steps behind the “master” during the operation
session press the ”mode” button (the number on the LCD display would blink) Using
“up” and “down” buttons you can choose the program number. Press “enter” button,
after getting in a starting position the unit operates in a chosen program.
 Loading...