44
7.0 USING THE HN4000
Now that you have set up your time clock menus, you are
ready to use your HN4000 time clock.
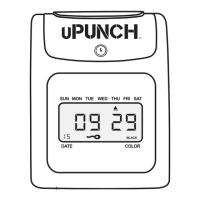
7.1 Understanding Time Cards
One time card will be used per pay period. The front of the
time card (orange side) is numbered 1–15, indicating the
rst 15 days of the month, and the back of the card (brown
side) is numbered 16–31. The row on which your punch
appears will depend on your pay period settings.
Example 1: If you have set up monthly pay periods
and have selected 1 as the rst day of the pay period,
row 1 will show punches for the 1st day of the month,
row 2 will show punches for the 2nd day of the
month, and so on.
Example 2: If you have set up weekly pay periods
and you selected Sunday as the rst day of the pay
period, row 1 will show punches for Sunday, row 2 will
show punches for Monday, and so on.
Example 3: If you have set up bi-weekly pay periods,
row 1 will show punches for the rst day of the pay
period.
Example 4: If you have set up semi-monthly pay
periods, row 1 will show punches for the rst day of
the pay period.
NOTE: Make sure you insert the time card on the
correct side. The time clock will recognize if the time
card has been inserted backward and will display an
error message.
7.2 Punching Time Cards
If you are not using the Automatic Column Shift Settings,
employees must make sure they punch their card in the
proper cell. Use these steps as a guide for punching time
cards on the HN4000. The clock will display an error
message if you attempt to repeat punches in the same cell.
 Loading...