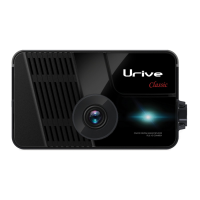
Urive Classic ... 15 ... User's Guide
07. How to install the Urive Classic -Precautions
■
#
The installation requires embedding and constant power supply; thus, you are advised to seek help from one of
our partners.
■
#
It is recommended to use only Urive-certified power and connection cables. (The rear camera cable must UL-
certified, and check the “UL” marking on the yellow band of the cable. You are provided with a 6 m-long rear
camera cable. Make sure that the length is appropriate for your car).
■
#
Try to avoid high-temperature and small sections for installing the cable as the sheath can melt
or be damaged resulting in a short circuit.
■
#
Wrong installation may lead to a fire, for which we are not liable.
■
#
To install it, park your car on a level surface under good lighting with the engine turned off.
■
#
Ensure that the power cable is not connected before the rear camera is connected.
■
#
Before finishing the installation process, make sure that the front-/rear-view video is properly saved.
■
#
Try to avoid any interruption of sight of driver.
■
#
Make sure a micro SD card is inserted and then connect the power.
■
#
For the clean and safe installation, try to hide the cables.
■
#
Keep your windshield clean.
■
#
The rear camera may be influenced by the tinting or hot wire.
■
#
Remove the lens protection of front and rear cameras after installation.