10
−−−−
sec.5
ONE-FAMILY AND TWO-FAMILY KITS
DOOR PHONE AND VIDEO DOOR PHONE SYSTEM: Product Technical Manual
VIDEO DOOR PHONE
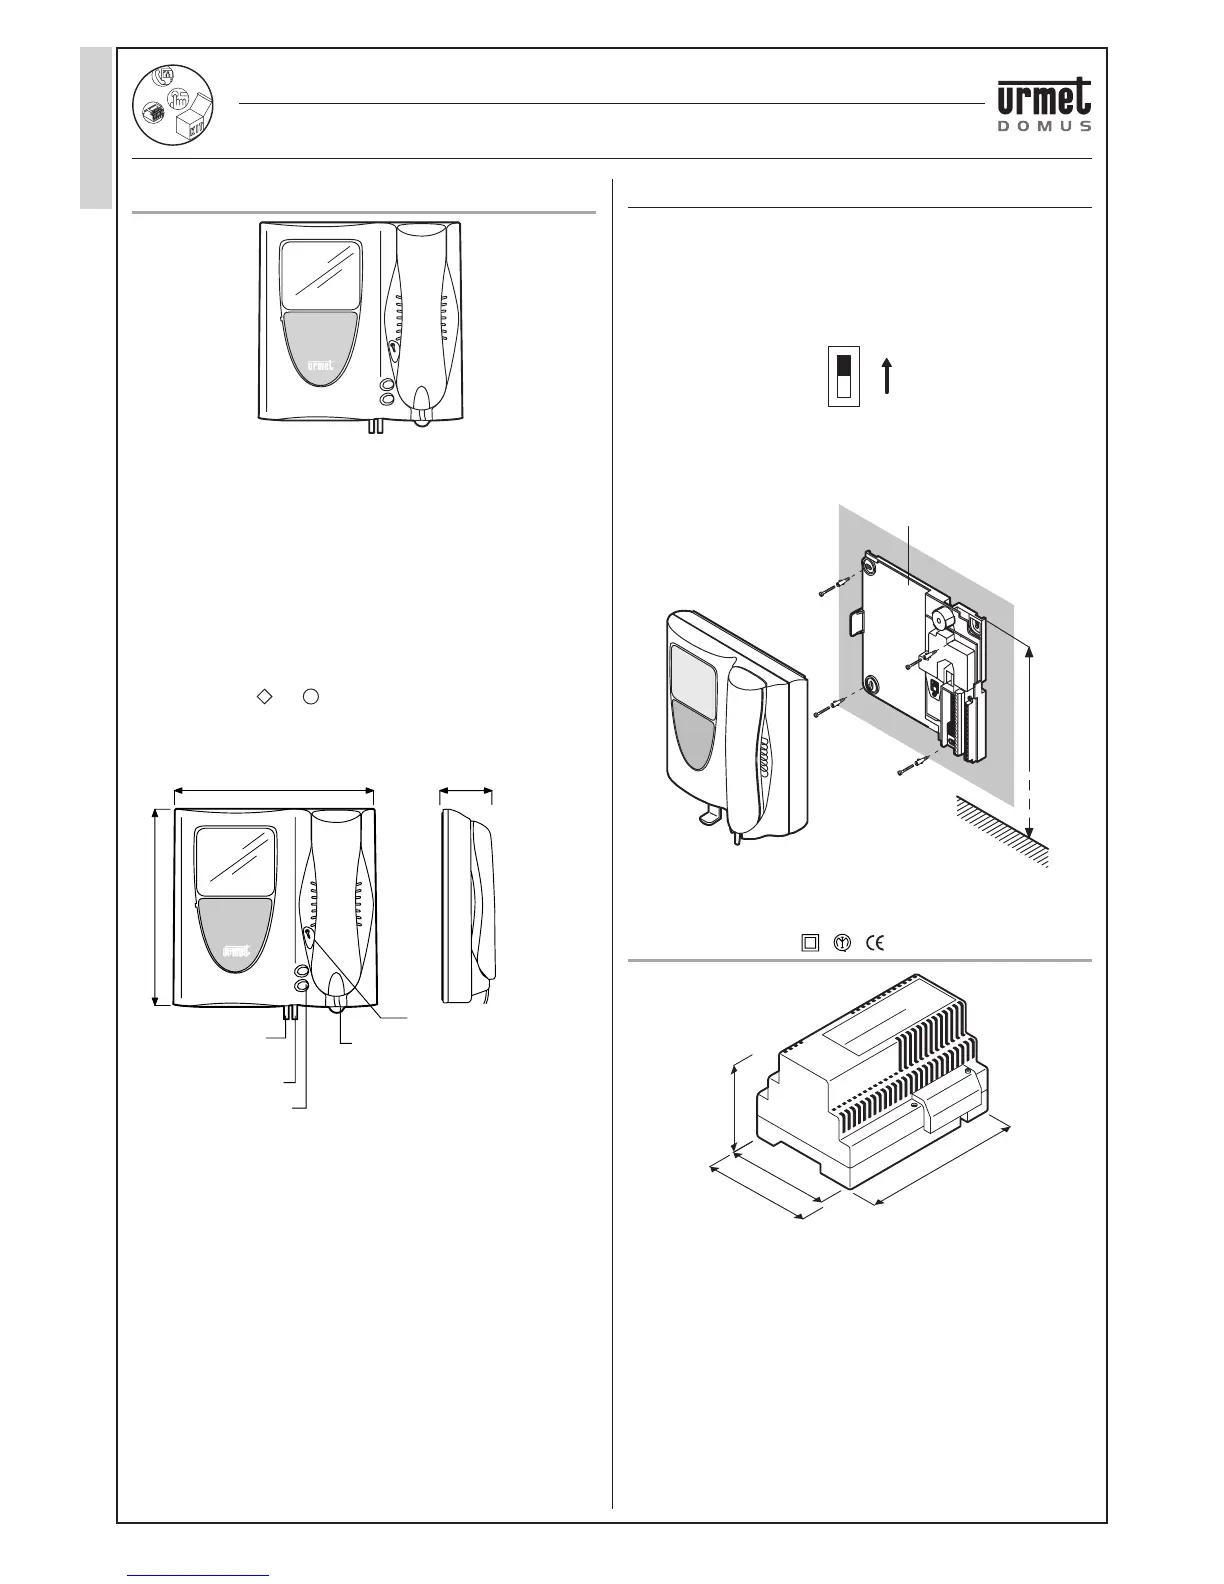
This wall-mounted video door phone apartment station with next
generation fl at 4” kinescope screen does not need to be fl ush-mounted
given the minimum protrusion from the wall.
Installation is extreme simple and fast because the connections are
shown on the terminal boards arranged on the bracket.
The main characteristics of the video door phone are:
• Adjustable and mutable call volume. The adjustment wheel appears
red when the volume is muted.
NOTE: when volume is set to “MUTE” the video door phone will not
ring but the video module will light up.
• Door opener button is lit up and green when video module is on.
•
Service buttons
( and
) for activating, for example, supplementary
electrical locks, staircase lights, video door phone auto-on function,
etc.
• Adjustable brightness and contrast.
INSTALLATION
1) Arrange the duct so that it ends in correspondence with one of the
input holes.
2) Fasten the bracket to the wall at the height from the fl oor shown by
means of the four screws.
3) Connect the wires to the specifi c terminals.
4) Check that switch on back of video door phone is in the A
position.
5) Extract the retainer hook A by inserting the tip of a screwdriver and
pulling the hook downwards.
6) Fasten the monitor to the bracket as shown in the fi gure.
7) Fasten the monitor by pushing the retainer hook A upwards.
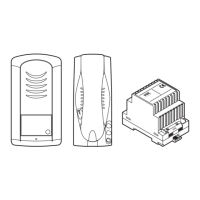
POWER SUPPLY
The power supply unit provides power to the entire system. It is
connected to the monitor by means of two wires. It can be wall-fi tted or
fi tted on DIN bar.
The power supply unit must be installed in dry places protected from
weather conditions.
126mm in length correspond to seven 18mm modules, as per DIN
43880 standard.
218 mm 80 mm
220 mm
Door opener button
Call volume control and adjustment




 To Next Page