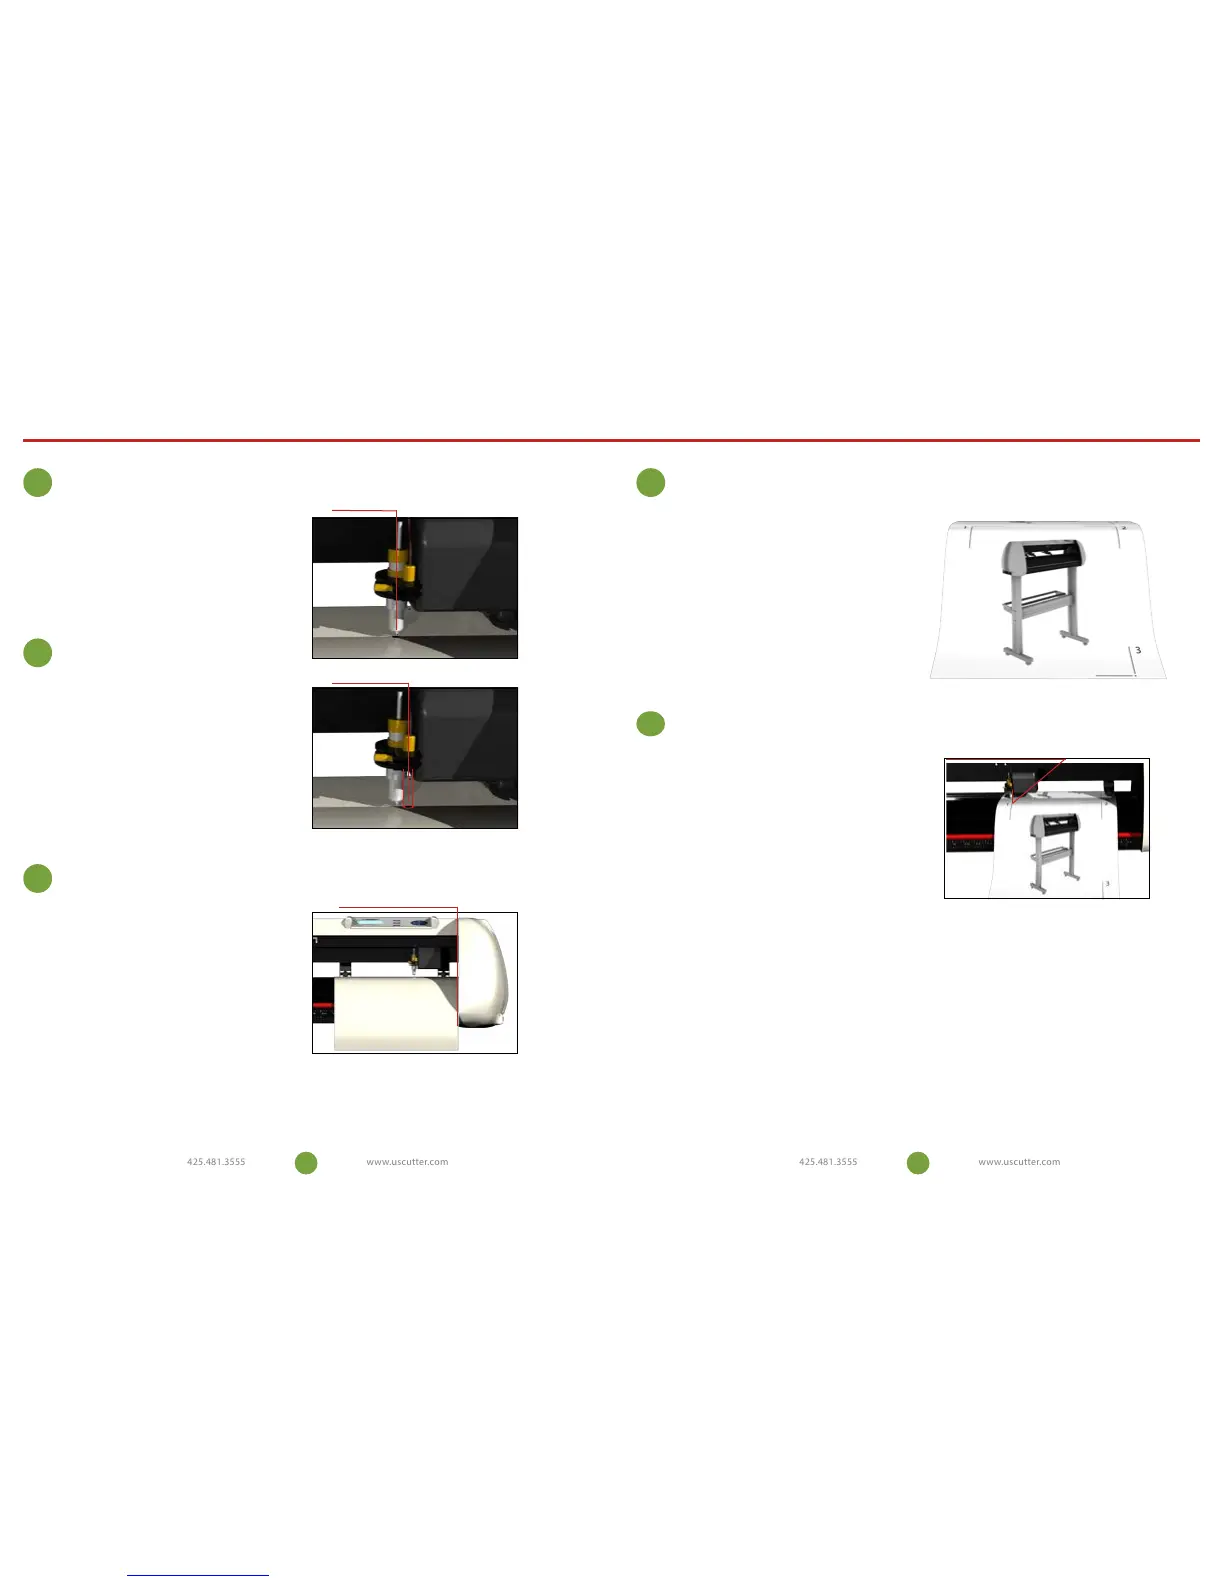
Laser centered on registration dot
18 19
Contour Cutting Contour Cutting
1
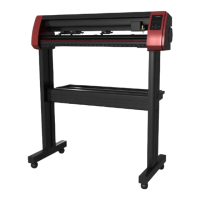
Calibrating the laser
Press “Enter” and use the arrow buttons to place the
carriage over a piece of paper. Insert plotter pen and
make an impact on the paper by pressing down and
twisting the pen cartridge.
Turn the cutter’s laser on by pressing the “Select” button
to highlight the word “On” and press “Enter”. e
cartridge and the paper should move immediately and
the laser should be exactly centered on your pen mark.
is shows that the oset between the laser and the pen/
blade is properly calibrated. If your laser doesn’t line
up exactly with the mark, your cuts will not land in the
proper lacation and you will need to adjust the oset.
2
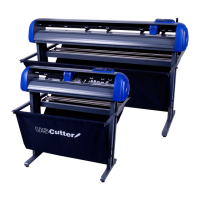
Testing the laser oset
Start by placing the test paper ush against the right side
of the cutter and secure the pinch rollers. Hold down the
“Right” arrow and ress the “Reset” button or simply turn
the power o and then back on. If you are successful you
should see the word “OK” on the start up screen. If you
do not see the word “OK” repeat resetting the machine
until you do. Next, make a new impact mark with the
pen. Use the arrows to center the laser directly over
the pen mark and press the “Enter” button. Re-test the
laser oset by repeating step 2. Once you have nished
calibrating your laser it’s time to print your image.
Adjusting the oset
3
4
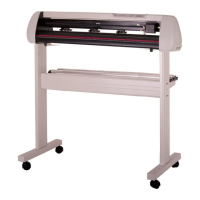
Printing your image
Load your image into the “Sure-Cuts_Allot” soware.
Make sure your art is centered and the size of the cutting
mat in your soware is the same size as the media you
are going to be using. Double check that you have the
correct printer selected by going to “File”, and select
“Print”. Select your printer and make sure you have
checked the box that says “Print Registration Marks”.
Press “OK” to send the job to your printer. You should
now have your printed image with three numbered
registration marks at the corners. Now back to your
cutter for the nal step.
5
Load your image with the registration mark number
“1” in the upper-le hand corner. Now set the position
of the pen/blade infront of, and to the right of your
printed image. Specically infront of the registration
mark. is insures the cutter has enough room to nd all
the registration marks located on the media. To set the
position, press “Enter” with “Local” highlighted and use
the “Arrow” keys to position the carriage. When the pen
is in it’s proper place press “Select” to highlight the word
“On”, and press “Enter”. Now use the “Select” button to
highlight the word “Current” and press “Enter”. e laser
will now be on and the cutter is ready. In the Sure-Cuts-
Allot soware, click on the scissors icon to open your cut
settings window. Click on “Print and Cut” option and
click the “Next” tab twice. e cutter will move from it’s
current position to registration mark number “1”. Don’t
be alarmed if it stops short. Using the keys on your
computer’s keyboard, center the laser over the dot in the
registration mark, then click “Next”. e cutter will move
towards registration mark number “2”. Again, center the
laser over the dot using your computer’s keyboard and
click “Next”. Repeat this process for registration mark
number “3”. Click the “Cut” button and the cutter will
briey return to it’s home position and complete the cut.
Registering prints with the cutter
Flush on right edge
Laser centered
Pen Mark
 Loading...