Please read all instructions before operating the VP210.
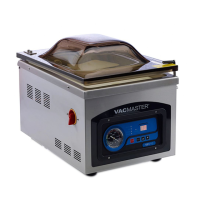
SETTING UP THE VP210
1. Attach the power cord and plug the machine into a grounded electrical outlet
Properly insert the electrical cord into the power outlet on the back of the machine and
then plug the cord into the wall outlet.
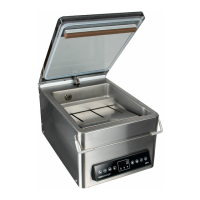
2. Open the machine lid
Release the lid lock, located on the right side of the machine, and allow the lid to lift and
remain open.
IMPORTANT: DO NOT TURN THE MACHINE ON UNTIL THE LID LOCK HAS BEEN
RELEASED. THE LID LOCK FEATURE IS USED ONLY TO KEEP THE LID CLOSED
WHILE THE MACHINE IS IN STORAGE.
7
Operating Instructions
ADJUSTING/SETTING THE VP210 TIMING CONTROLS
Note: All timing adjustments must be made with the lid lock off and the lid open.
To adjust/set the timing controls, press the button on the control panel until the
required label is illuminated – Vacuum, Sealing or Cooling. For each selection, the current
time setting will show on the LED Screen. Each time setting is displayed in seconds.
For initial testing, the time settings should be: Vacuum Time - 40 seconds
Sealing Time - 1.2 seconds
Cooling Time - 2 seconds
SET
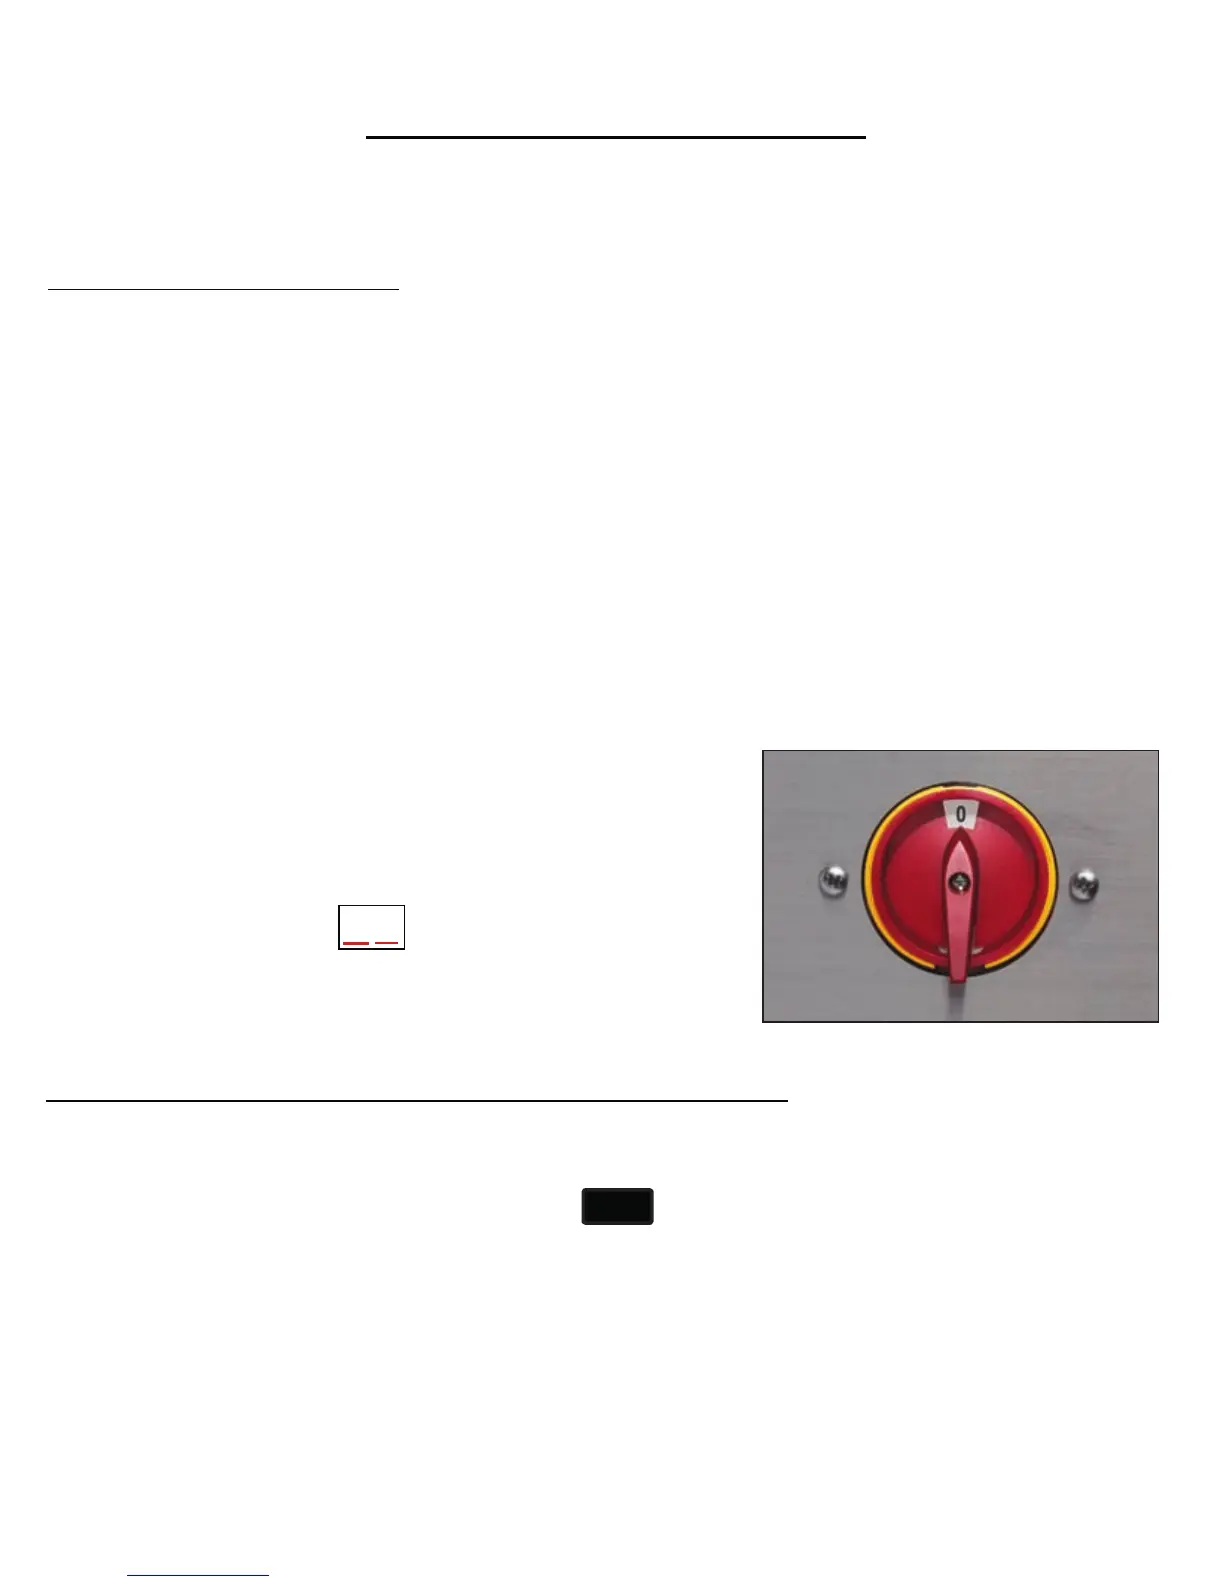
3. Turn the power switch on
Turn the red switch on the left side of the machine
toward the front, switching from the “0” to the “1”
position. The LED Screen on the control panel will
illuminate showing a symbol.